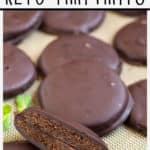
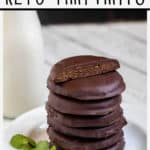
Just like the original Girl Scout cookies, these Keto Thin Mints have a crispy, wafer-type chocolate cookie coated in a peppermint chocolate shell. They're the perfect way to indulge in Girl Scout cookies - but without the carbs or gluten!
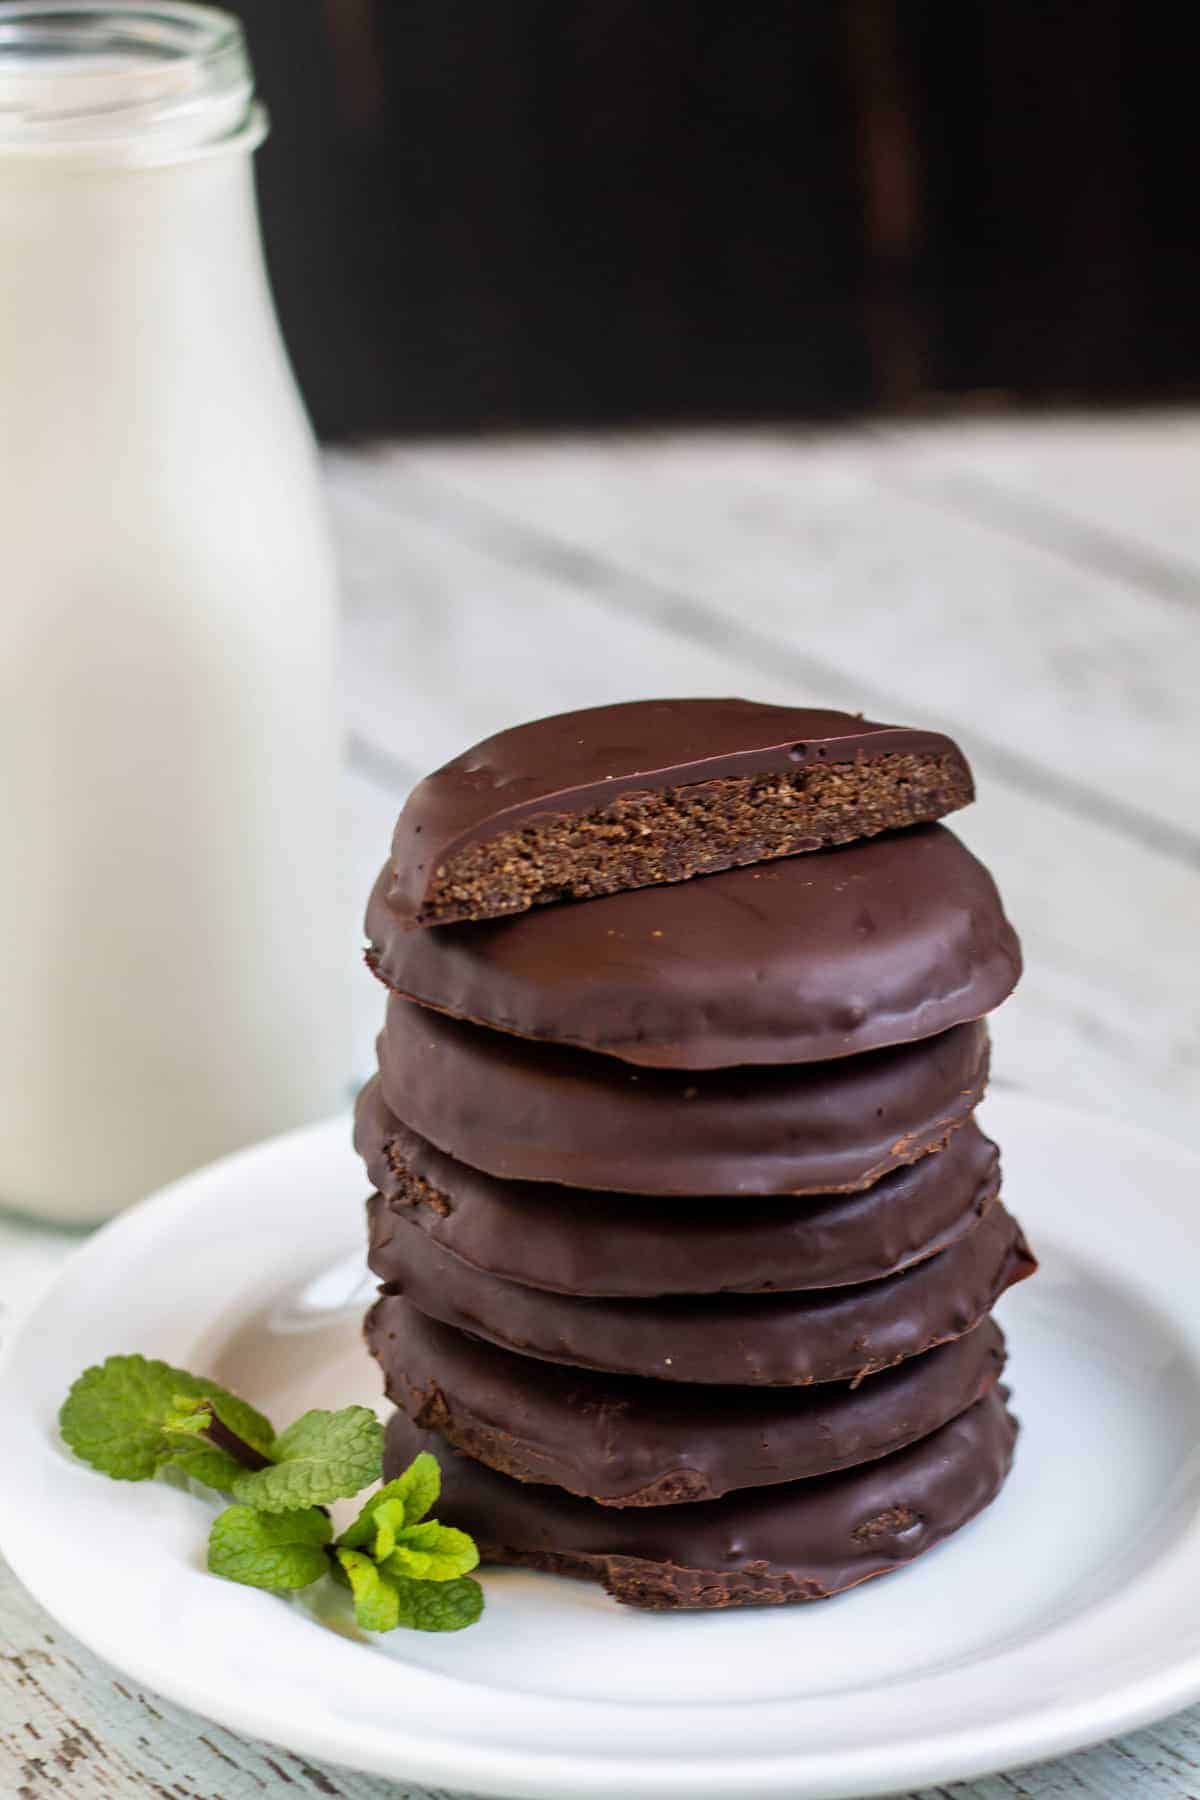
Thin Mints have always been my absolute favorite Girl Scout cookies. And for real, these keto thin mint cookies are just as good as the original!!!
Even though they are Low-Carb and keto-friendly, they still have a crisp, wafer-like chocolate cookie covered in a to-die-for peppermint chocolate shell.
I don't even look longingly anymore when I see the Girl Scouts around town because I know I have some that are not only allergy and diet-friendly but are just as good.
And if you love mint, be sure to check out my keto peppermint bark! It's a quick and easy treat with layers of dark and white peppermint chocolate topped with crushed sugar-free peppermints and is a must-make if you love peppermint!
And if you're looking for more keto cookie recipes, check out these keto snickerdoodles, keto chocolate chip cookies, keto sugar cookies, and low-carb flourless peanut butter chocolate chip cookies!
Or these Low-Carb Tagalongs from Swerve Sweetener and Brownie Keto Cookies from My Life Cookbook look yummy too!
Ingredients
Here are the simple ingredients you will need:
- Unsalted Butter - Be sure it's softened to room temperature.
- Erythritol-Based Keto Sweetener - It must be erythritol-based, or the wafers won't crisp up.
- Large Egg - Binds the ingredients and adds moisture.
- Blanched Almond Flour - Low-carb flour.
- Cocoa Powder - Adds chocolatey goodness!
- Sea Salt - Enhances the flavors.
- Baking Soda - For rising.
- Pure Peppermint Extract - Don't use peppermint essential oil as it measures different and would only require a few drops!
- Sugar-Free Chocolate Chips - For the chocolate coating.
- Coconut Oil - Added to the chocolate chips to help the melting process.
Sugar-free sweetener
For the keto sweetener, you need to use an erythritol-based sweetener. Otherwise, the wafers will not crisp up.
I prefer to use a Monk Fruit Erythritol Blend instead of pure erythritol. This is because the blend will reduce the slight cooling-like aftertaste that erythritol can sometimes leave. However, plain erythritol works too!
If you use Swerve (a popular erythritol sweetener), it can be used just like sugar. However, if you use Besti Erythritol Sweetener (my preferred sweetener), it's only 70% as sweet as other sugars. This means you'll need to add an extra 2 to 3 tablespoons.
*Note- As a special gift to my readers, I've teamed up with BESTI SWEETENERS to give you guys 10% off! Simply use the code "CRAVEABLE" at checkout.
Butter
Room-temperature butter is essential for this recipe. It's the perfect temperature when you can poke it with your finger, leaving a dent without sinking into the butter.
If the butter is too cold, it won't mix well with the sugar, and if it's melted, it will change the texture of the cookies.
We want the butter to be like Goldilocks - just right! If you don't have all day to let your butter soften, though, here's a nifty trick to soften butter in just 10 minutes from Sally's Baking Addiction!
Chocolate wafers
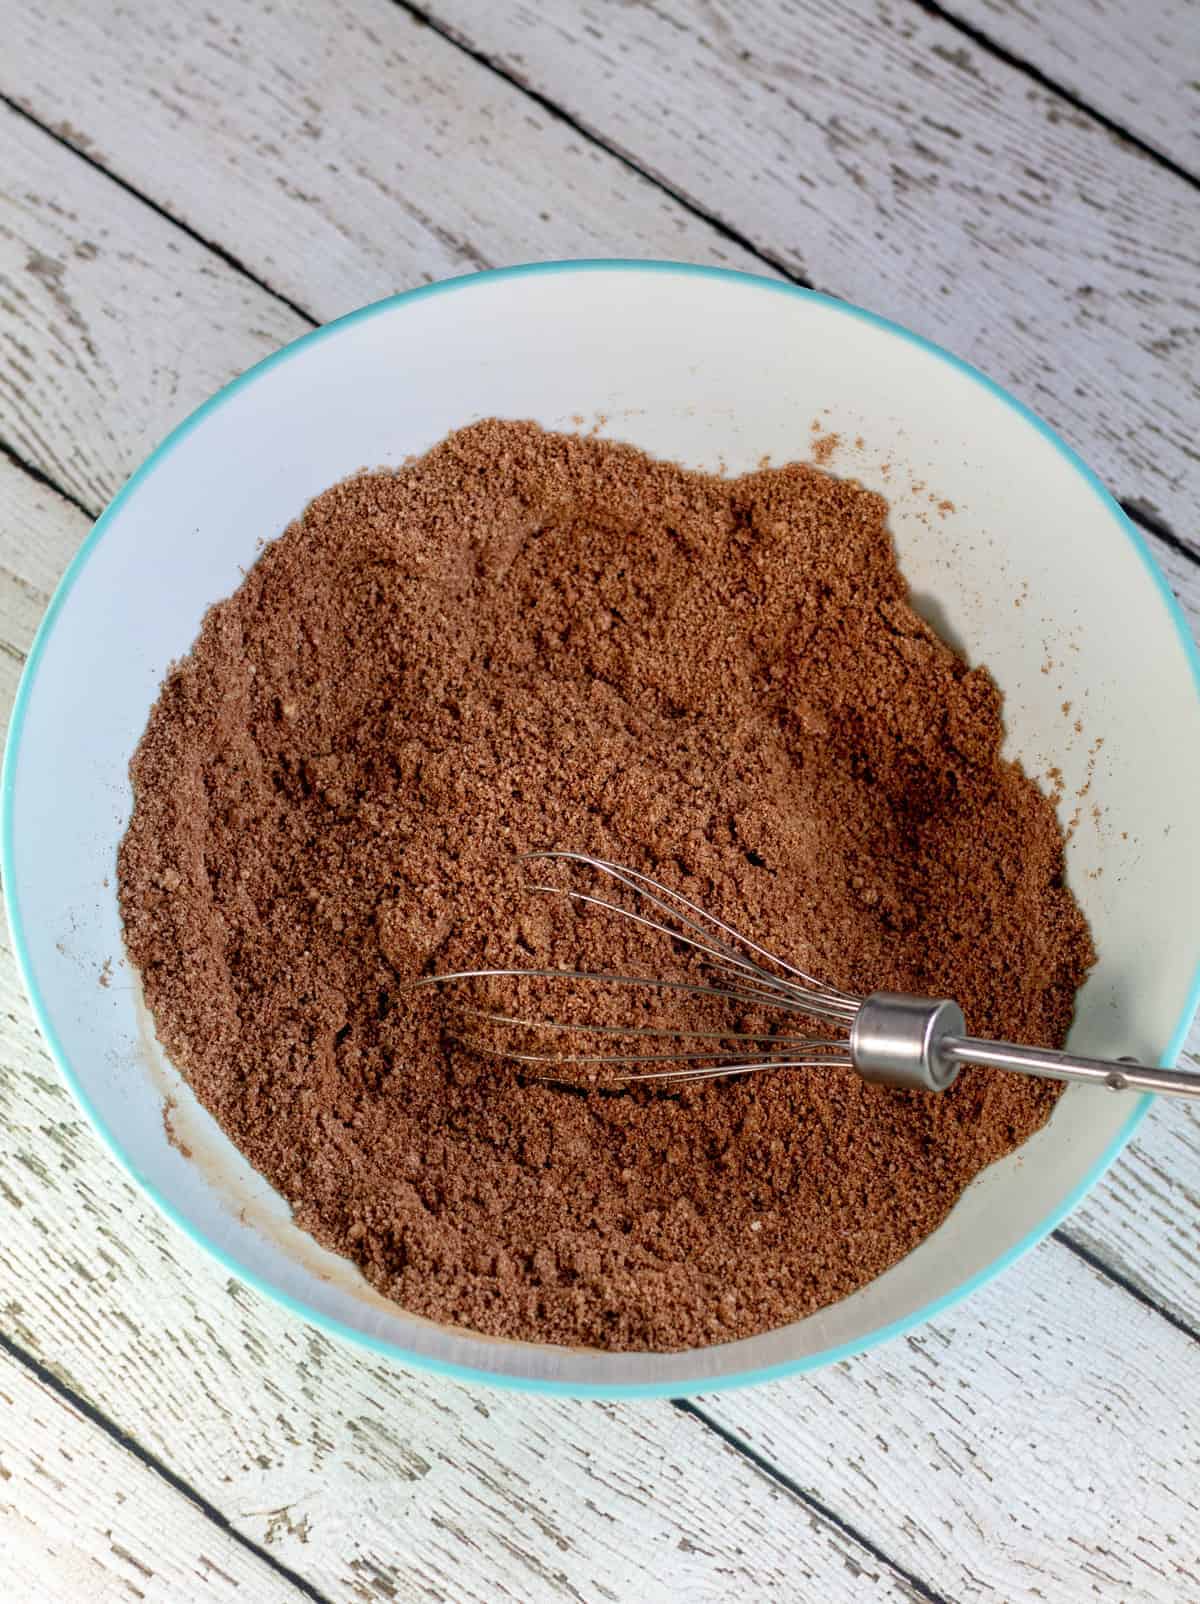
Step #1: Whisk together the dry ingredients.
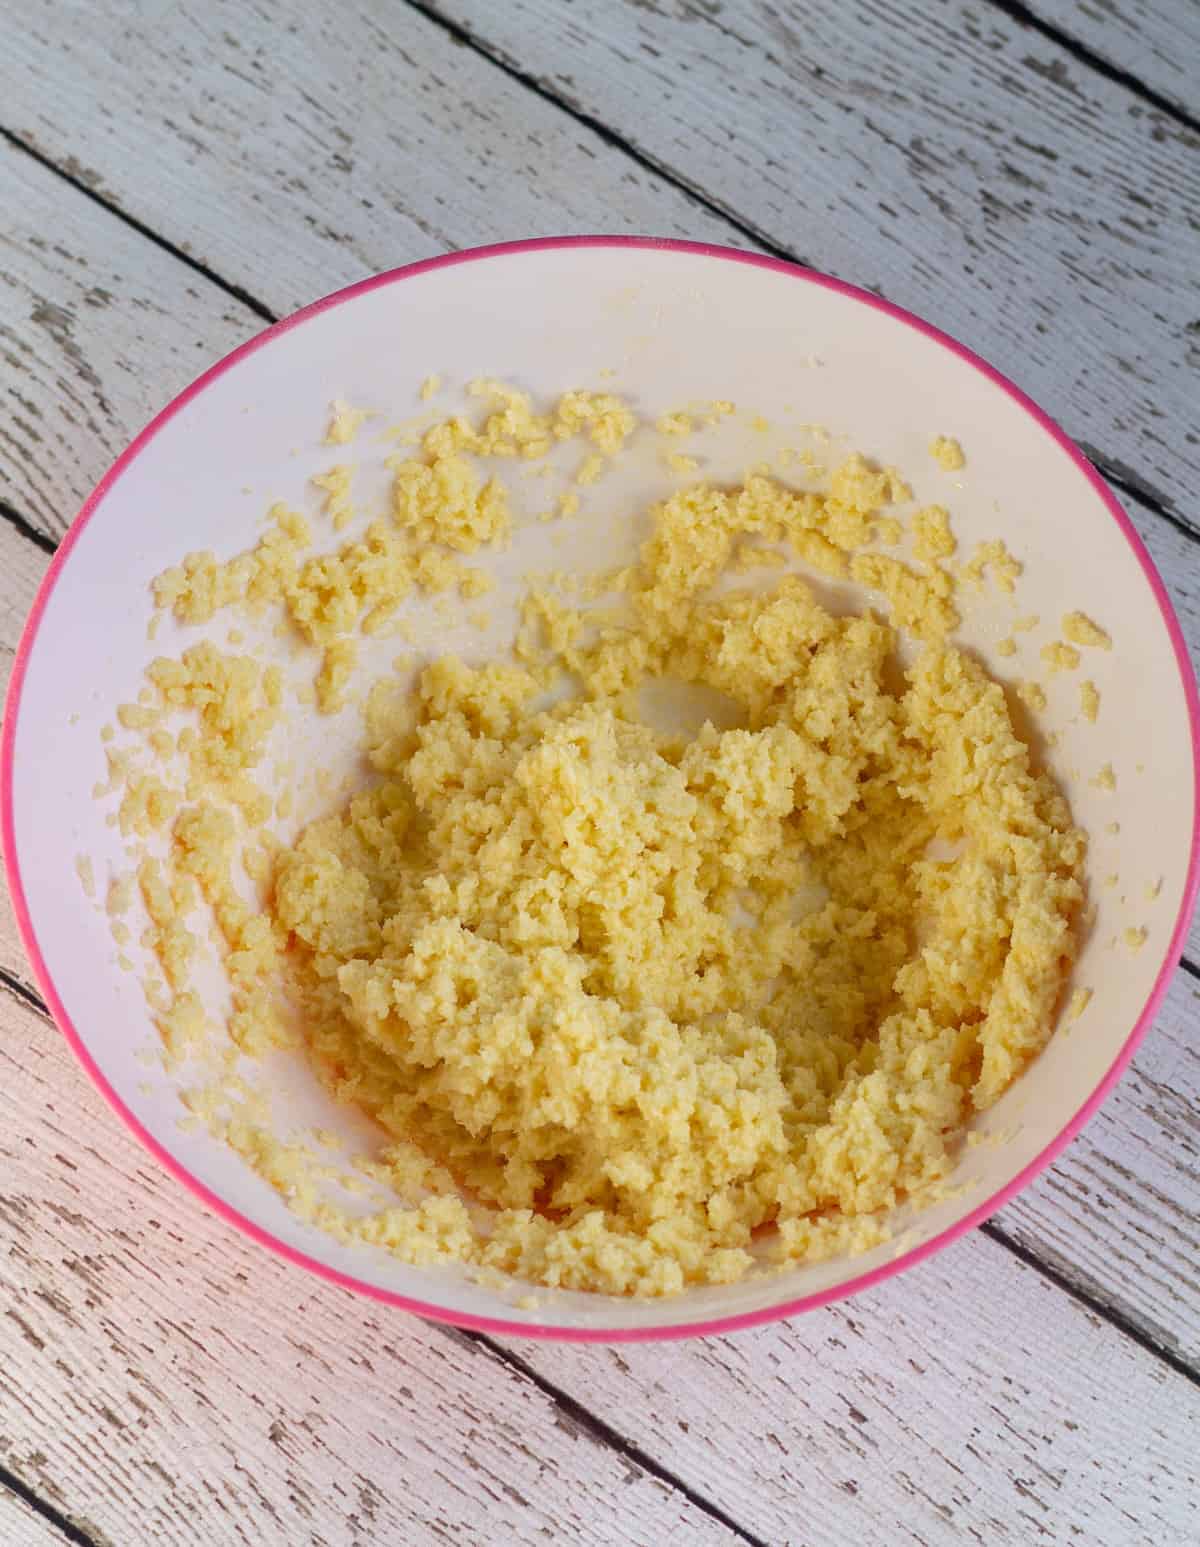
Step #2: Cream together ½ cup, or one stick, of softened butter and sweetener.
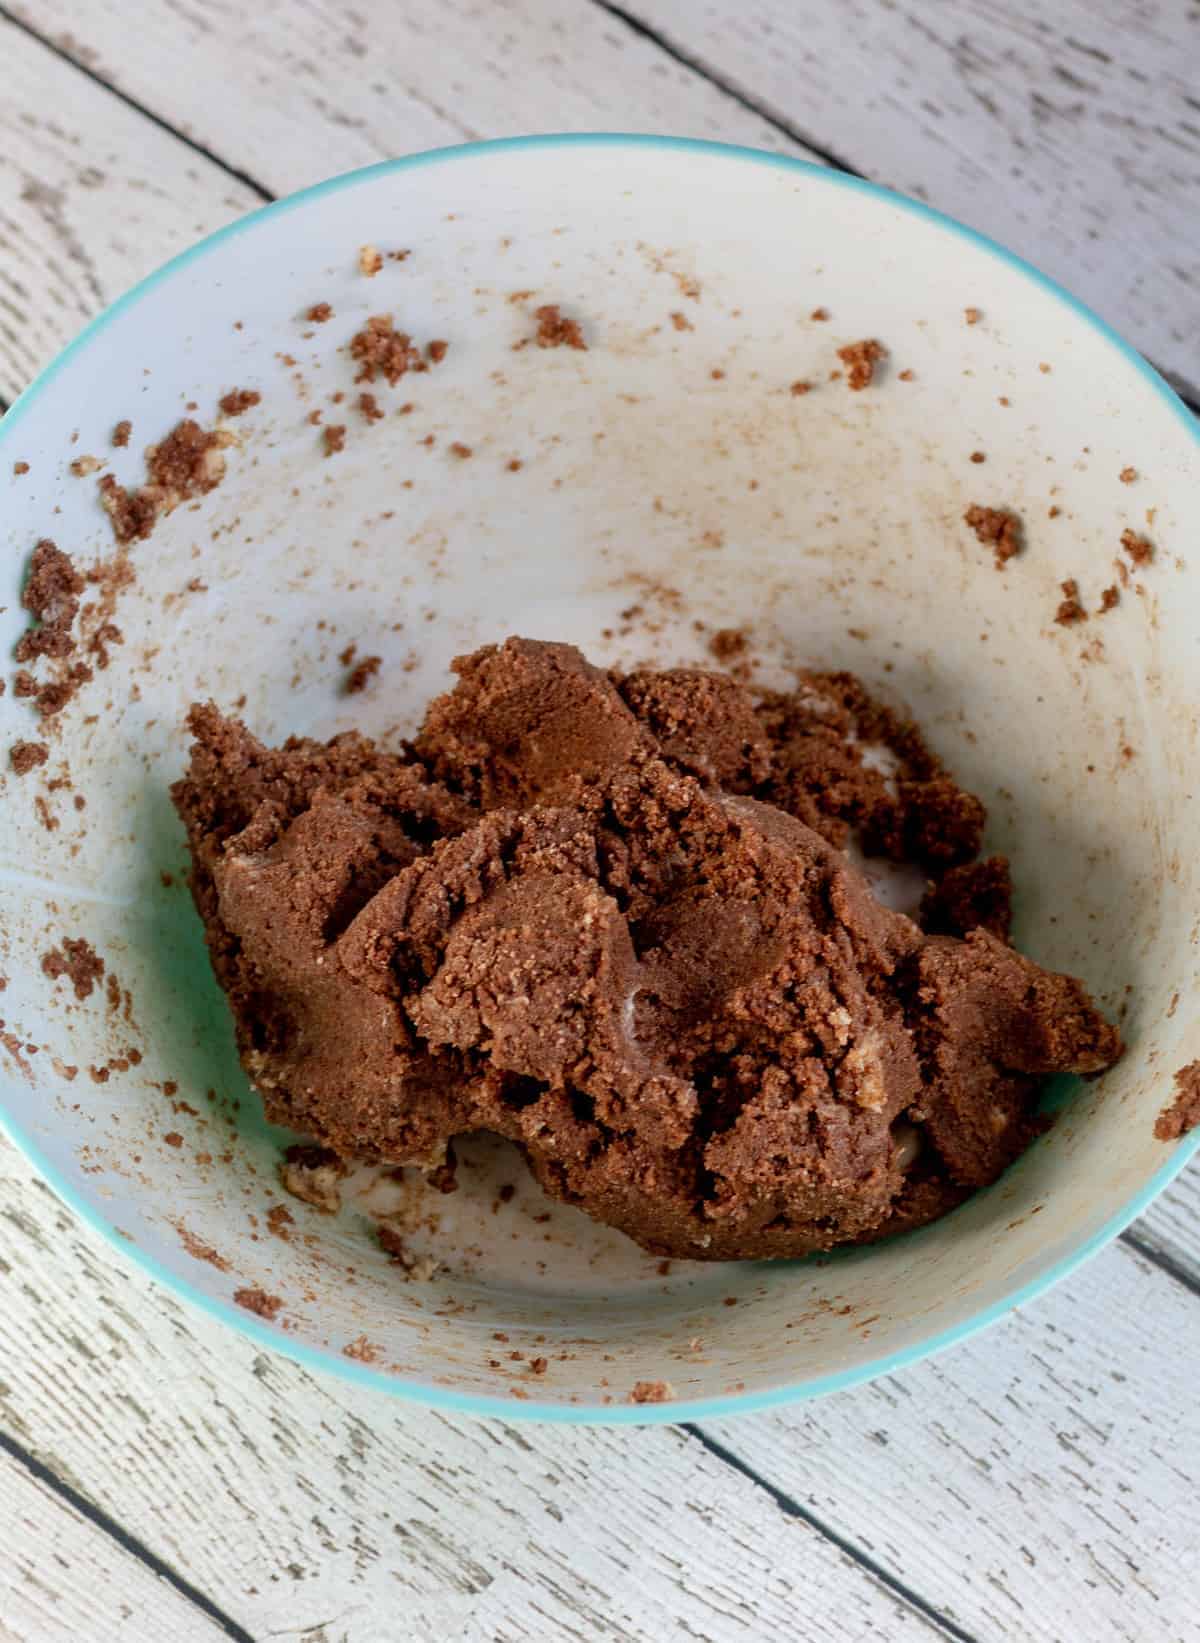
Step #3: Beat the egg and peppermint into the butter/sugar mixture, then slowly add the dry ingredients.
The mixture will be very thick and a bit crumbly. Use your hands to finish mixing if needed.
Rolling out and baking the wafers
Step #4: Wrap the cookie dough in plastic wrap and refrigerate for 1 to 2 hours (or overnight) - or until chilled enough to roll out.
Step #5: Once chilled, place the batter onto a large piece of parchment paper and cover it with plastic wrap. Use a rolling pin to roll the batter to about ⅛ to ¼ inch thick.
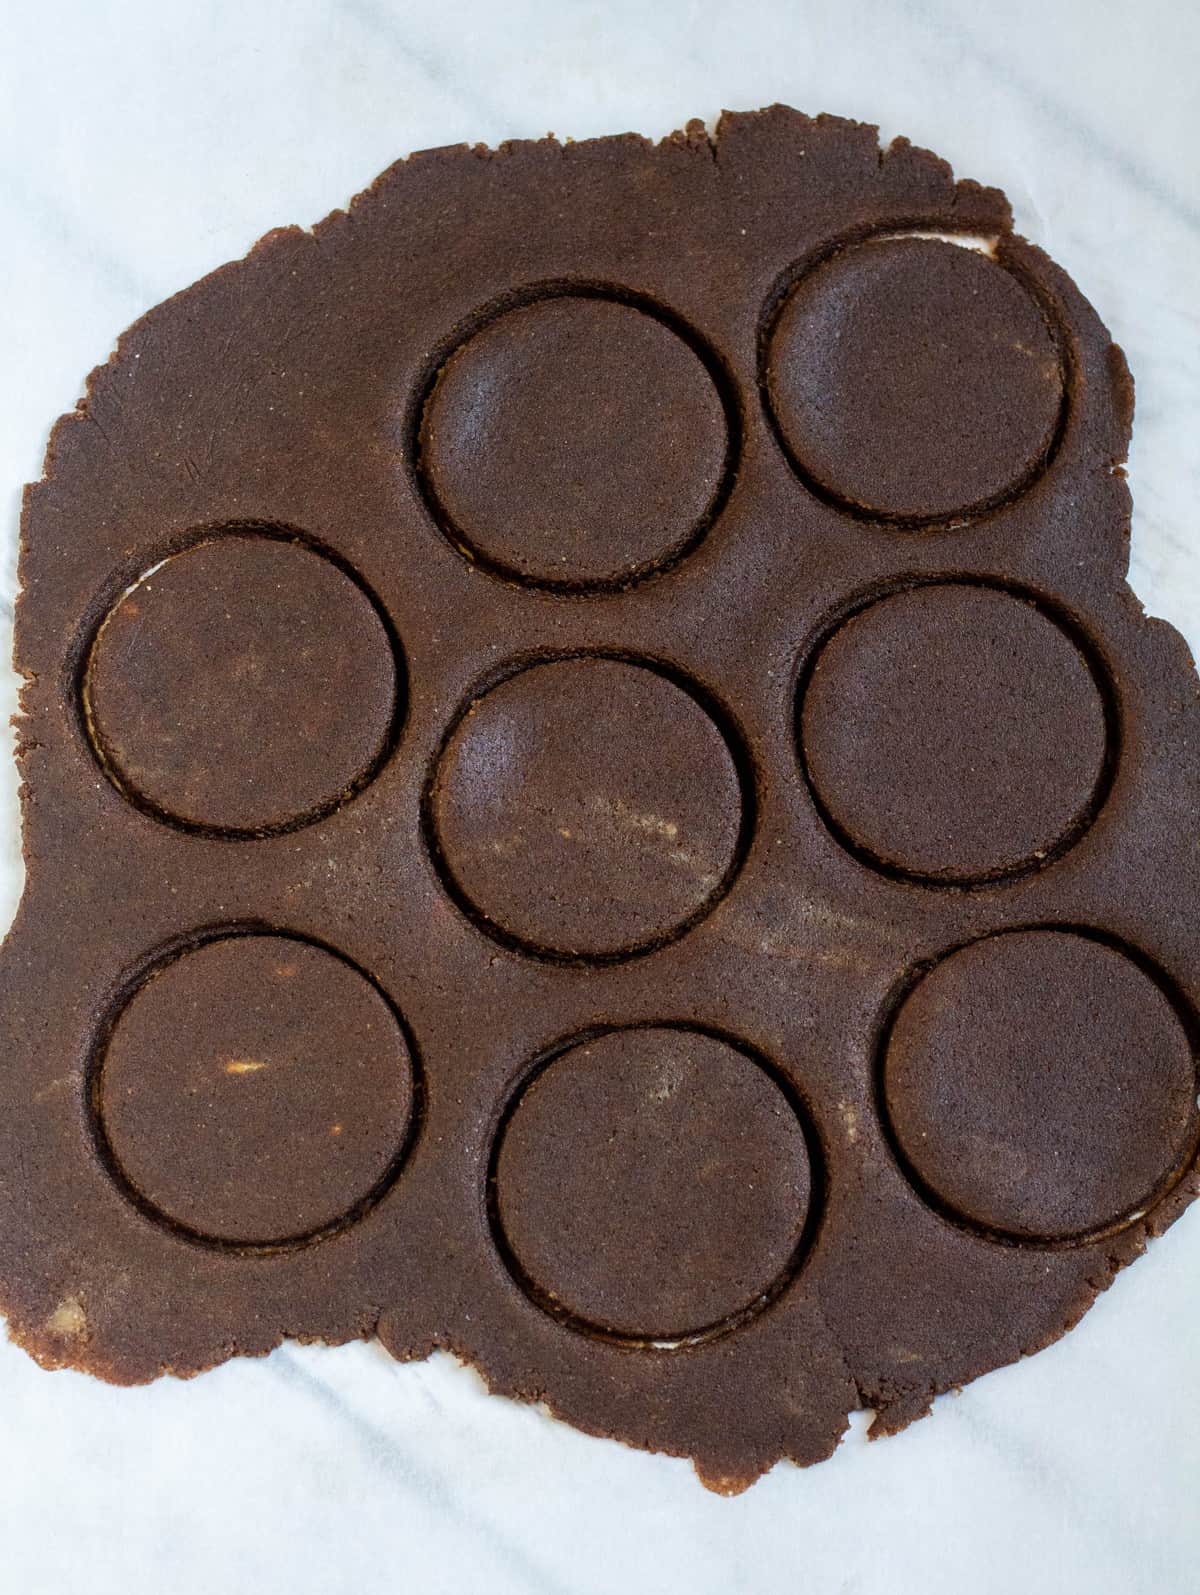
Step #6: Cut out rounds and place them on a parchment or Silpat-lined baking sheet. Keep re-rolling the scraps to cut out more cookies.
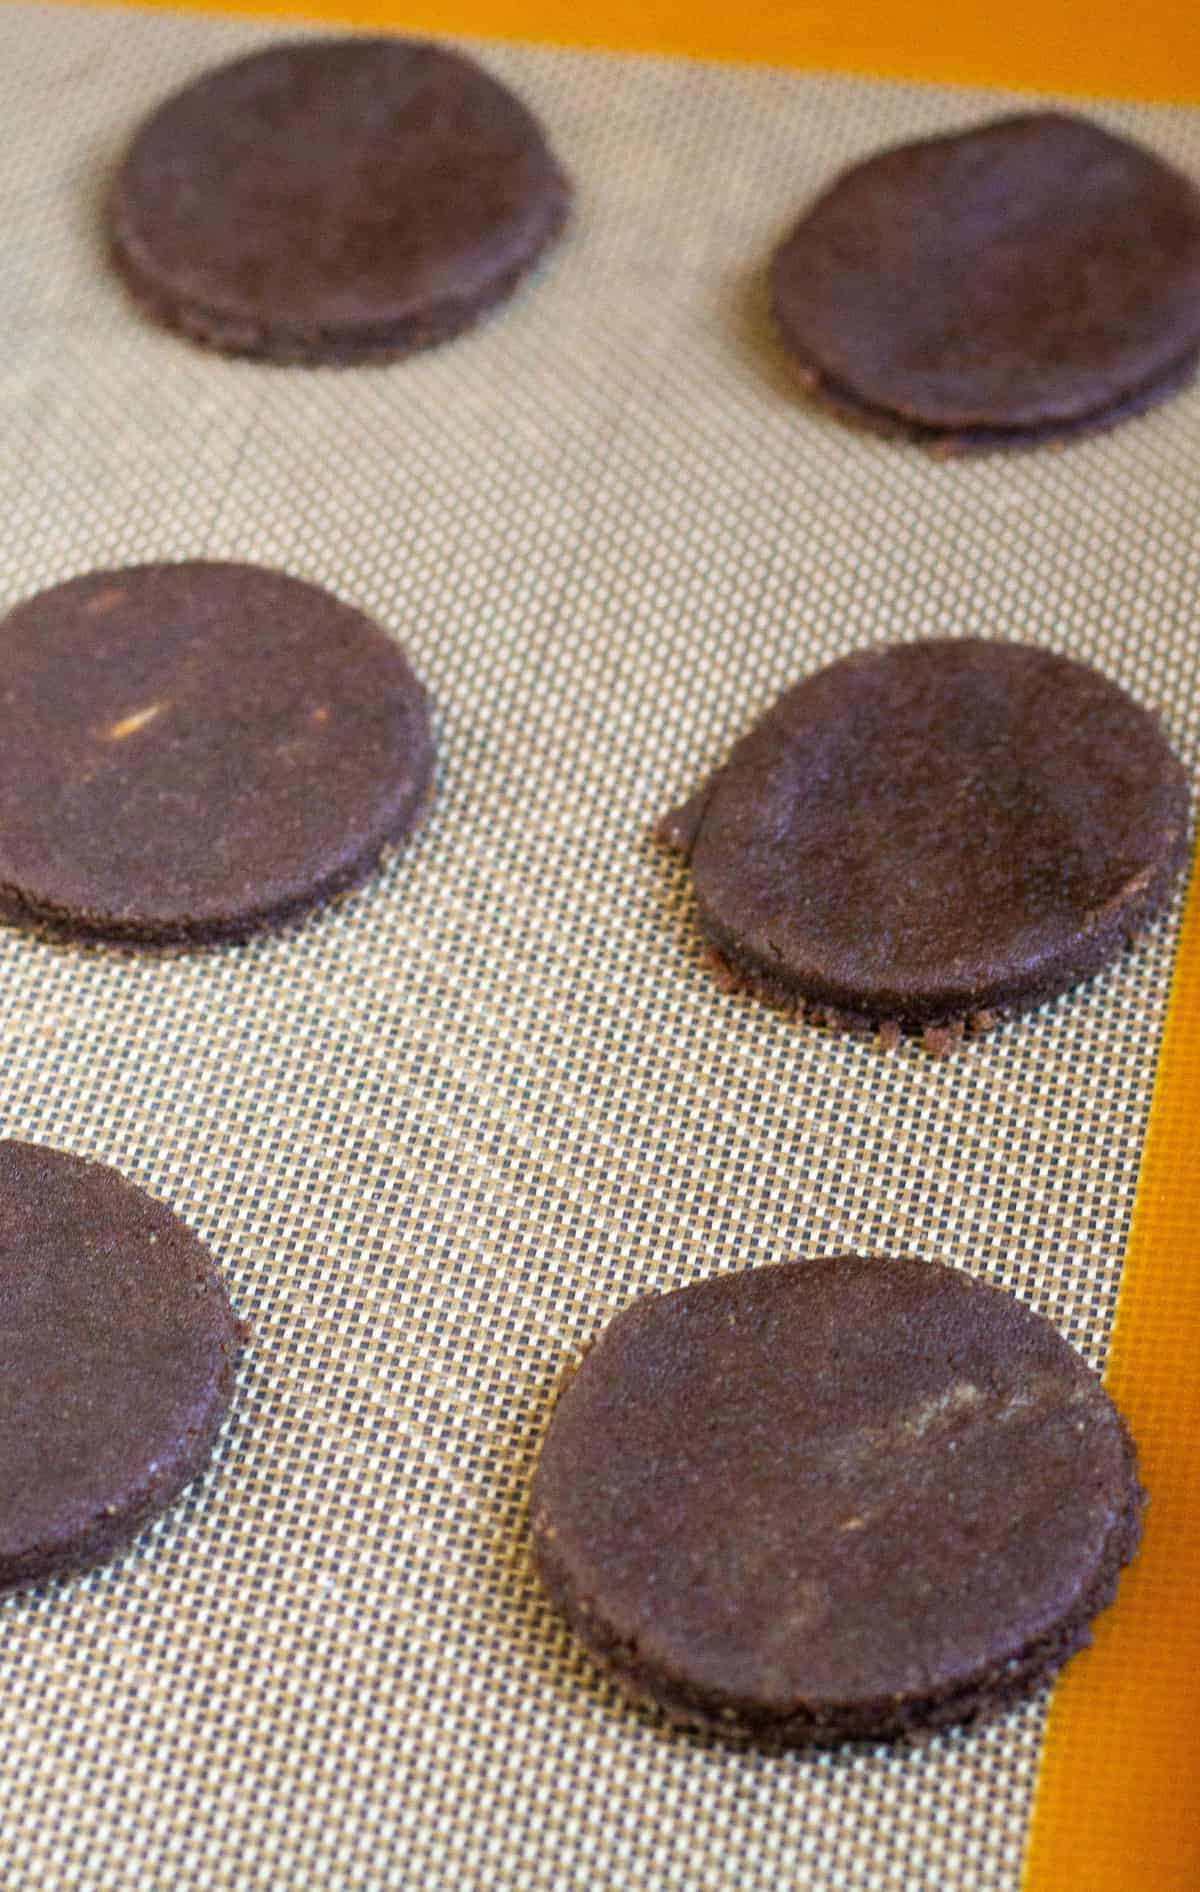
💭Tip: If the dough gets too sticky while rolling, just pop it in the freezer for a few minutes.
Step #7: Place the cookies in the freezer for 10 to 15 minutes, then bake.
This helps prevent the dough from spreading too much and makes the cookies crispier. Bake at 350 degrees for 9 - 13 minutes.
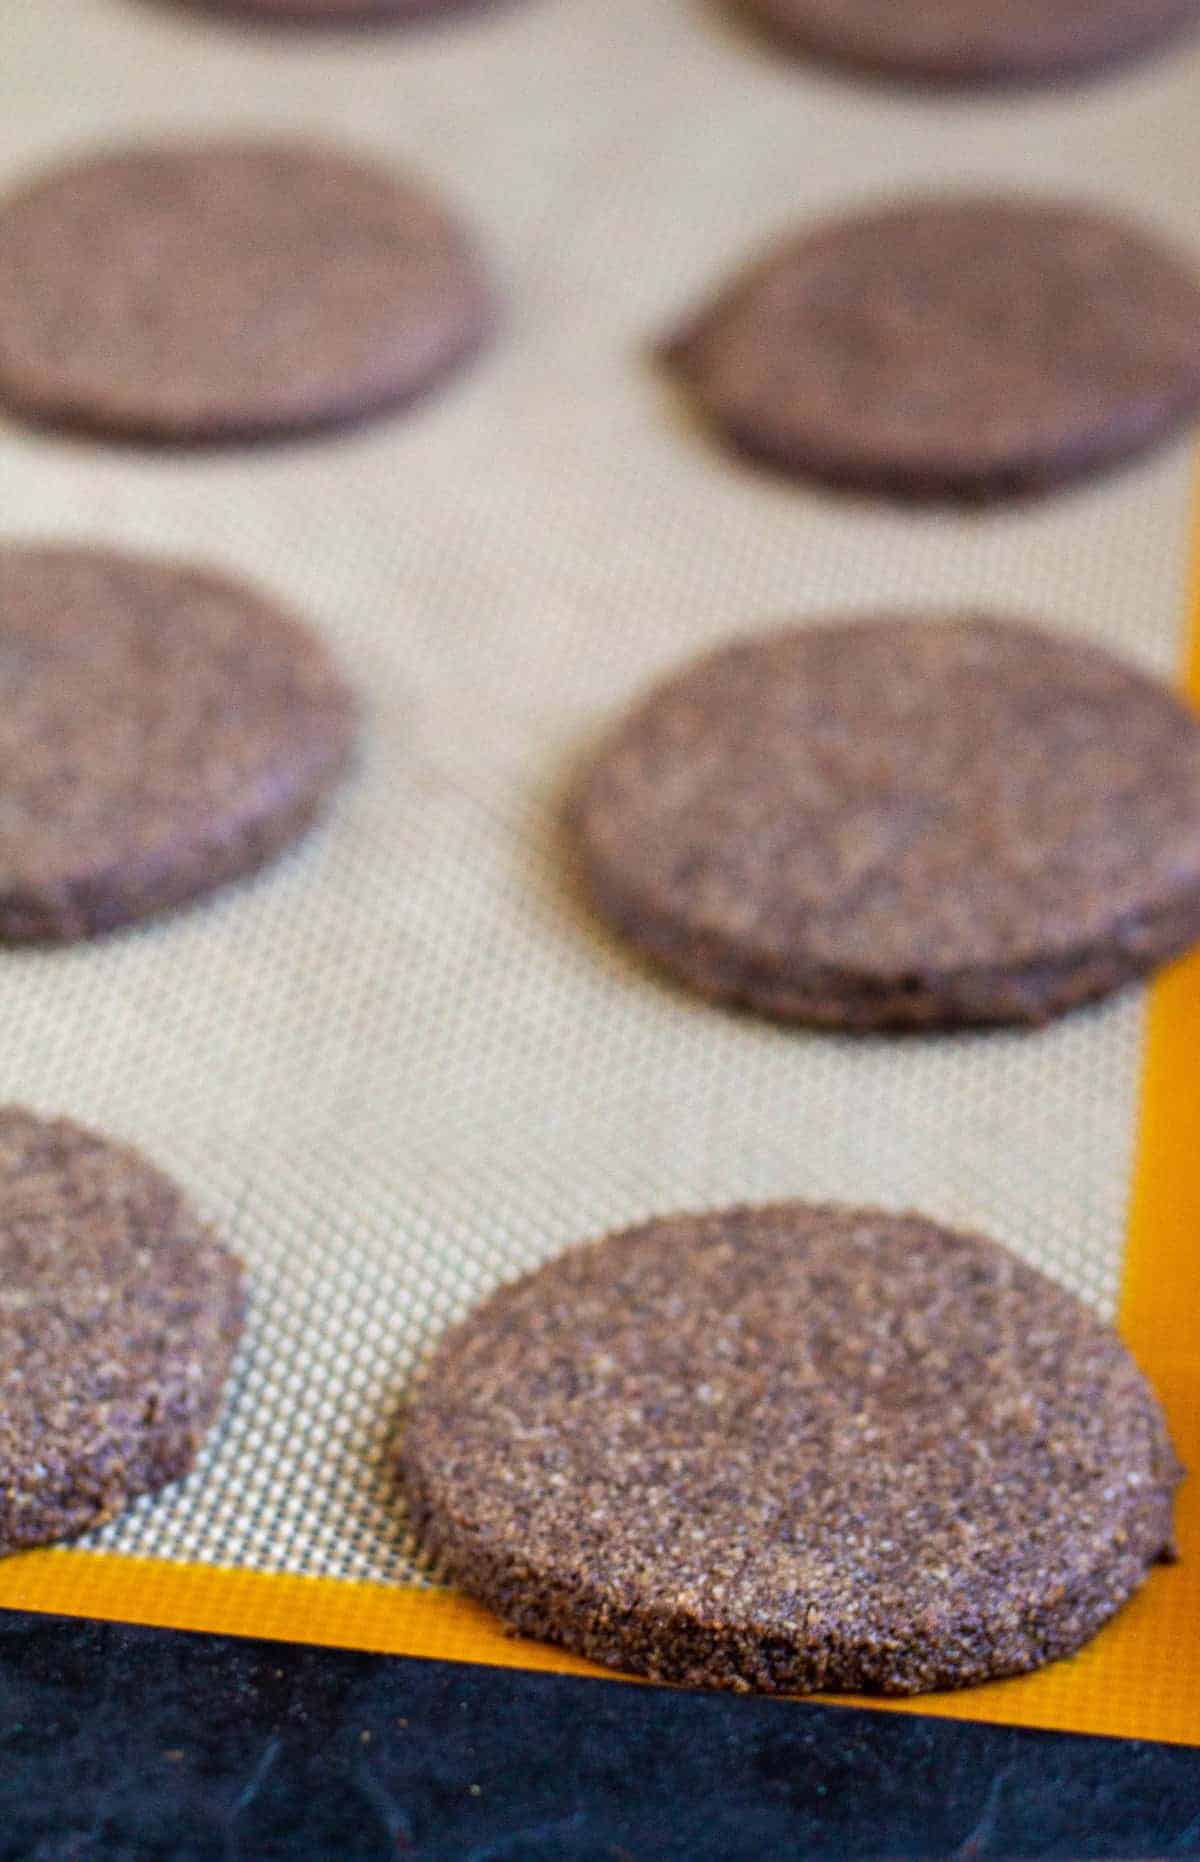
It's a fine line between cooking the cookies long enough to get crispy and burning them, so watch them carefully! They are done when they become fragrant, and the centers start to feel firm to the touch.
Step #8: Place them on a cooling rack to cool completely and get crunchy.
🍫 The chocolate coating
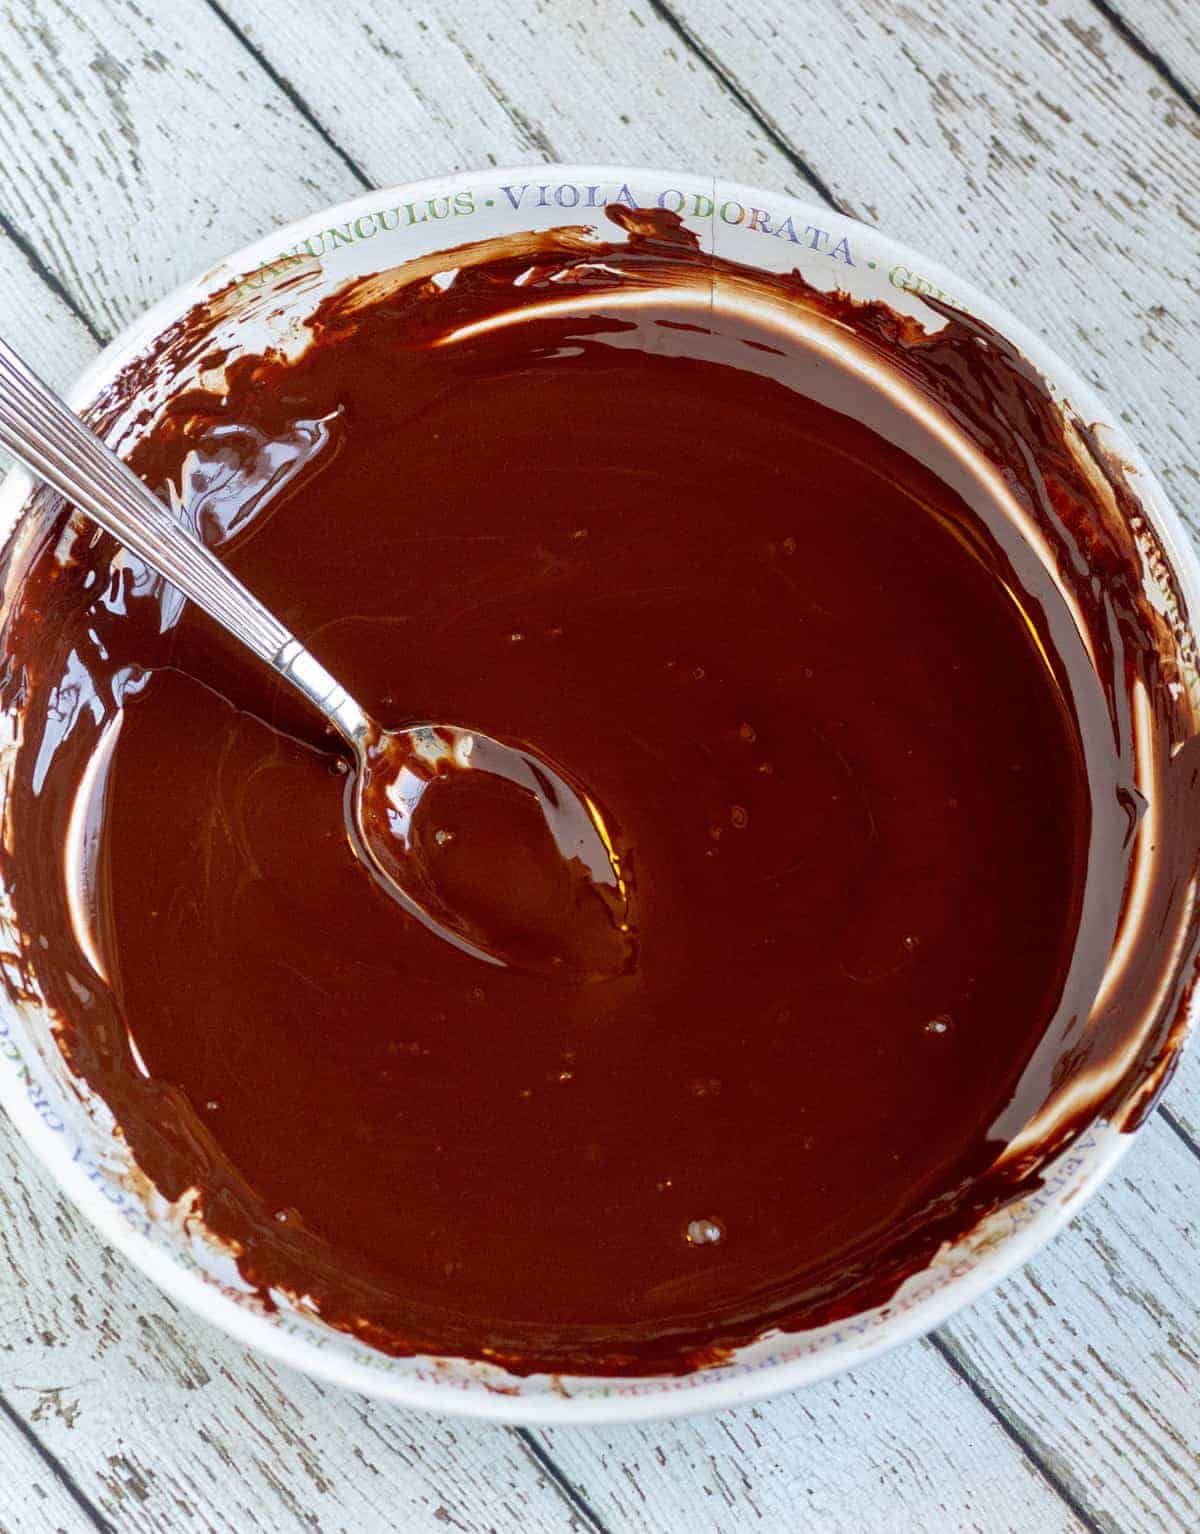
To melt the chocolate, place some chocolate chips and coconut oil in a microwavable safe bowl.
If you heat the chocolate too fast or unevenly, it will get hard and be ruined, so I recommend melting it in a double-boiler or at intervals in the microwave.
💭Tip: You can easily make your own double-boiler by placing a large, heatproof bowl over a small saucepan of boiling water. Then, add the chocolate to the heatproof bowl and stir it until it’s fully melted.
After that, add the peppermint to taste. I prefer to use 2 tsp. but I like mine extra minty!
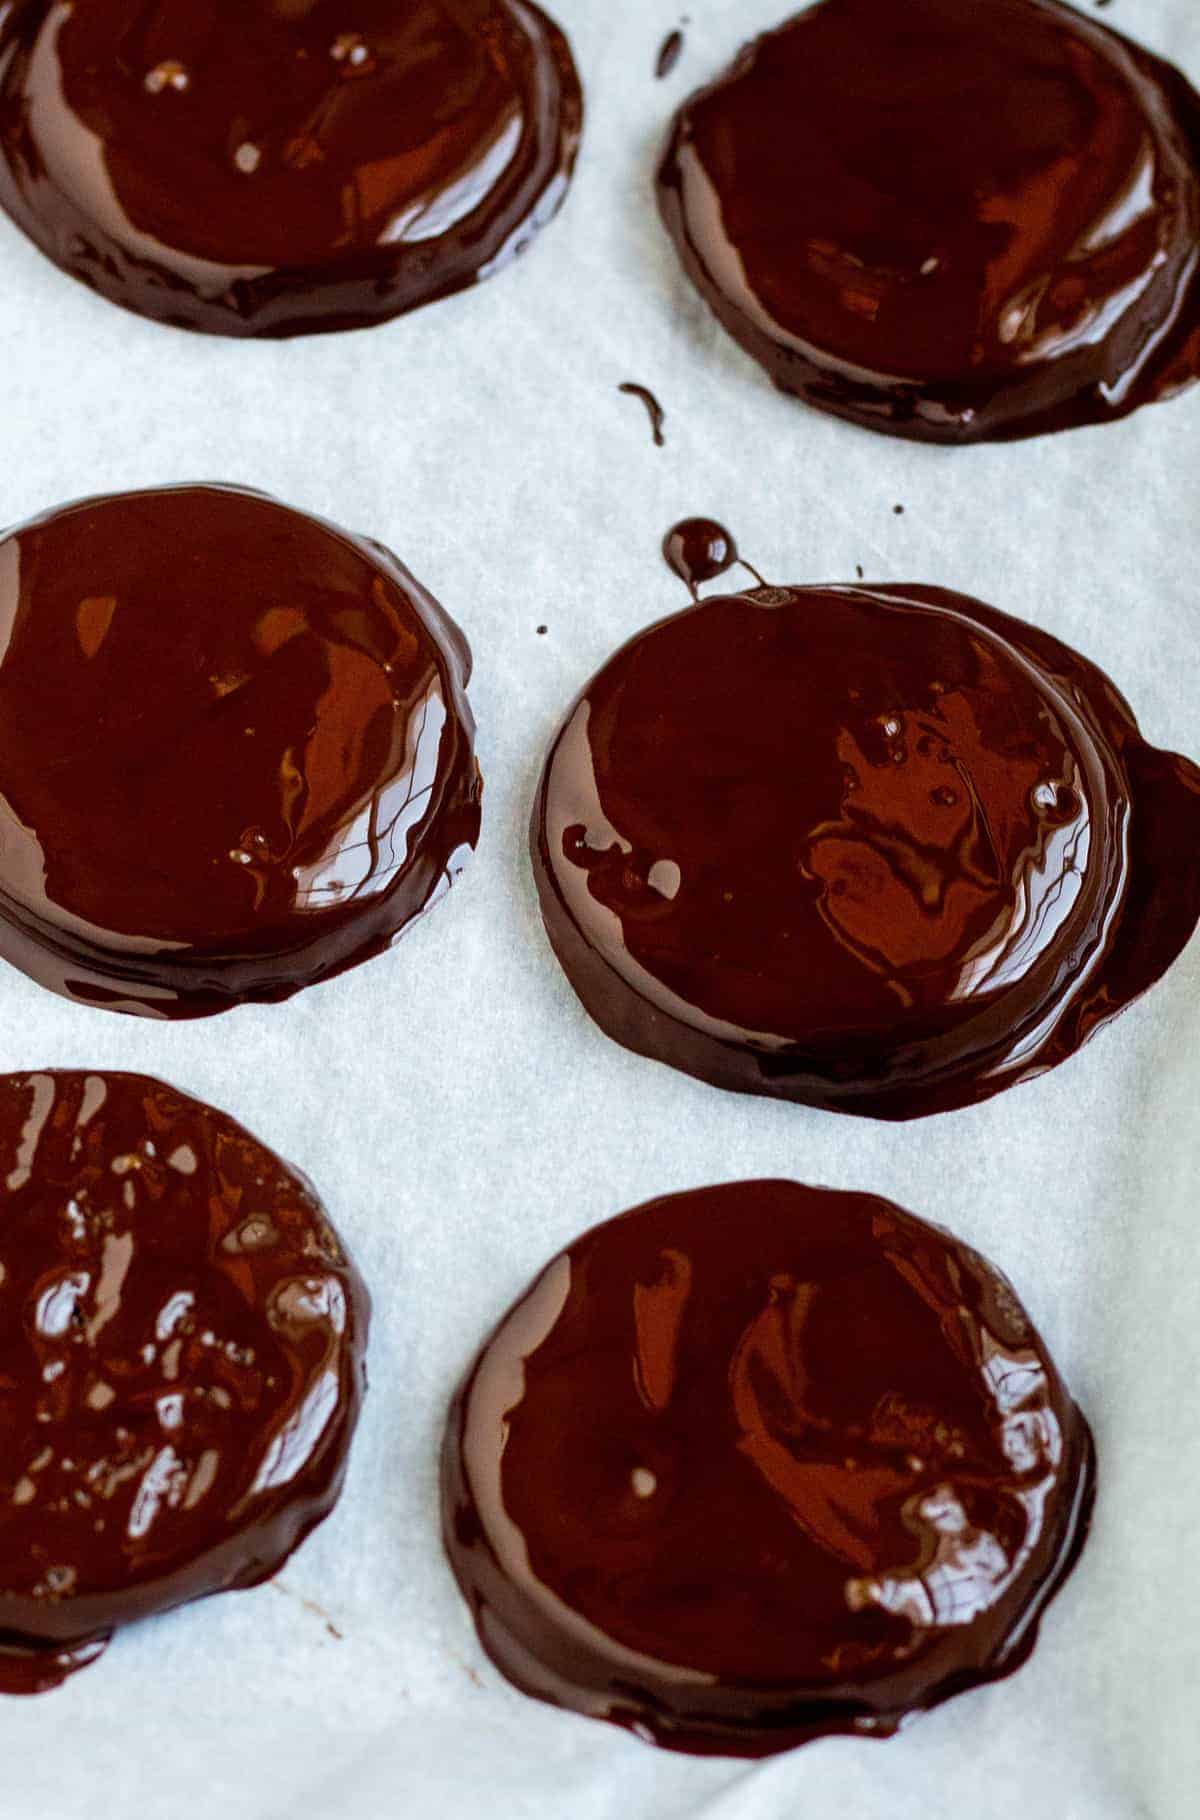
Using a fork, cover the chocolate wafers in the melted chocolate, one at a time, and tap off the excess chocolate.
Place the cookies on a parchment-lined baking sheet and put them in the fridge until the chocolate hardens, 30 minutes to an hour.
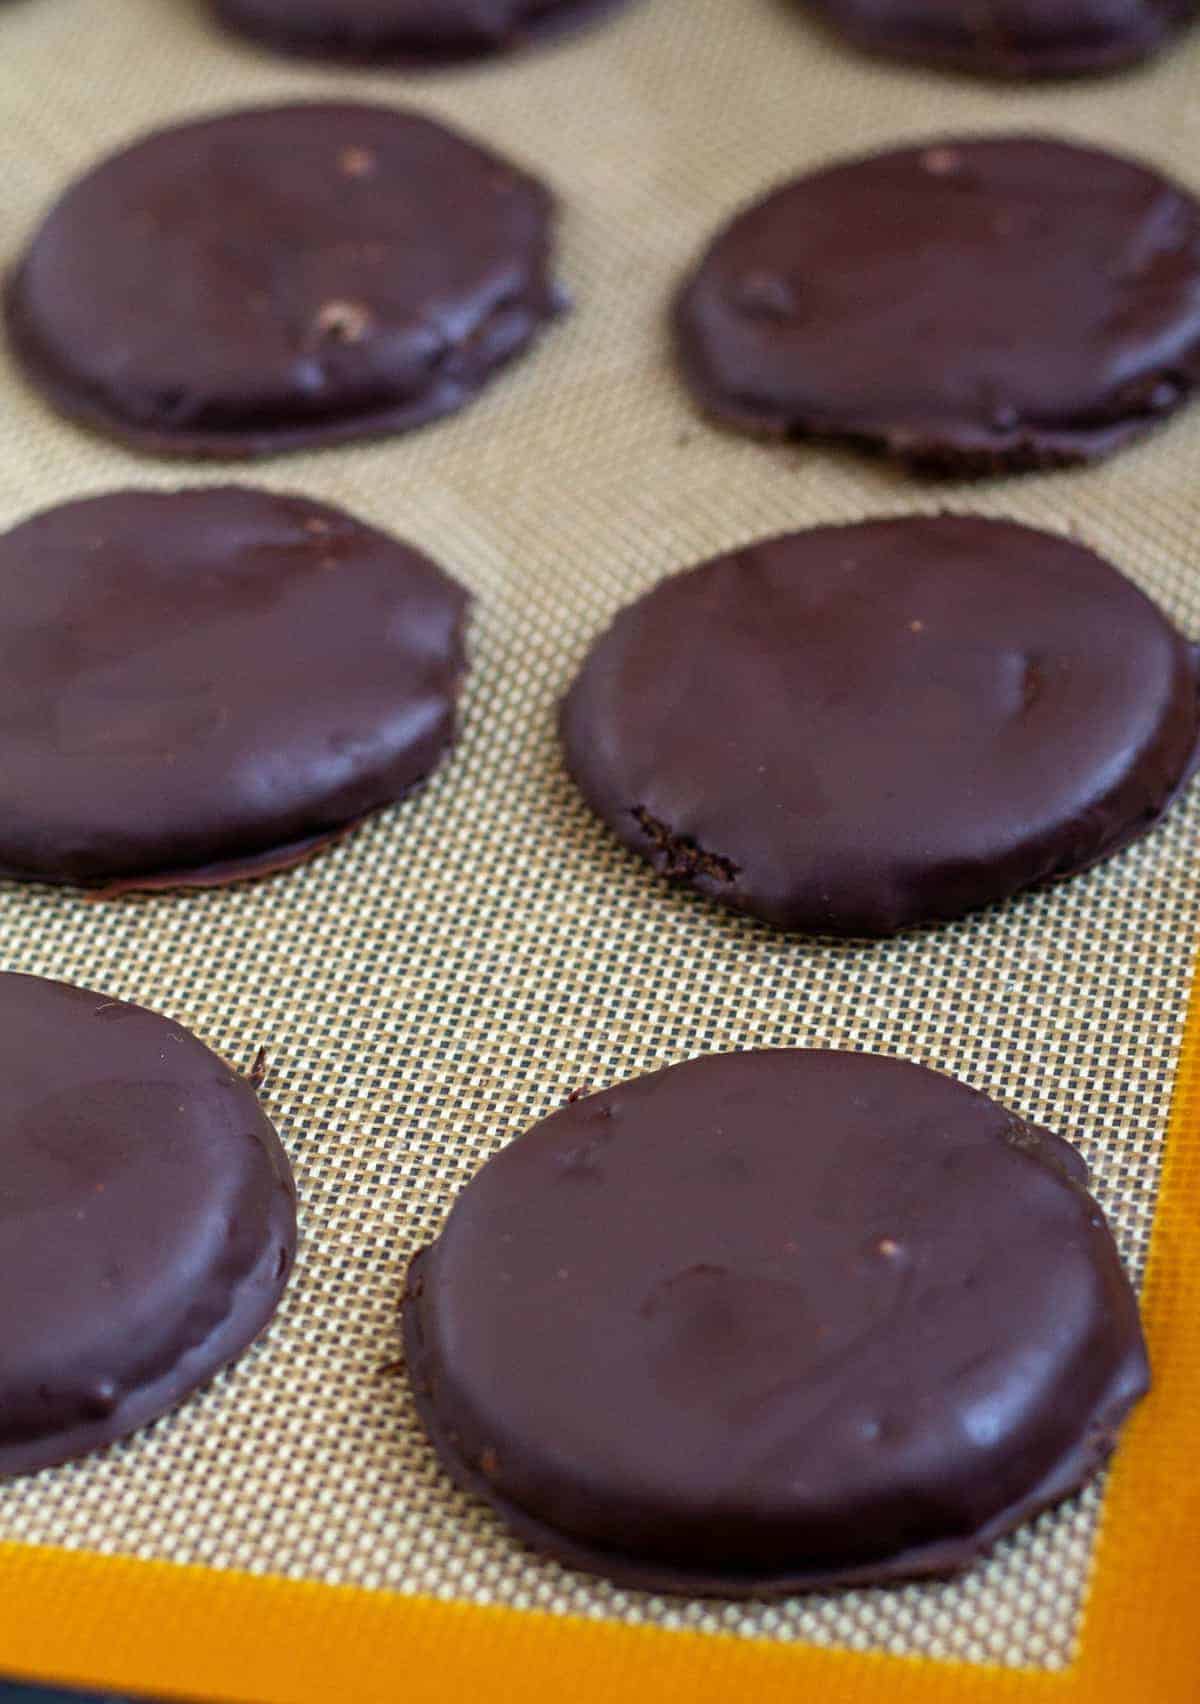
Use a sharp knife to remove the excess chocolate around the cookies, and enjoy!!!!
Storage
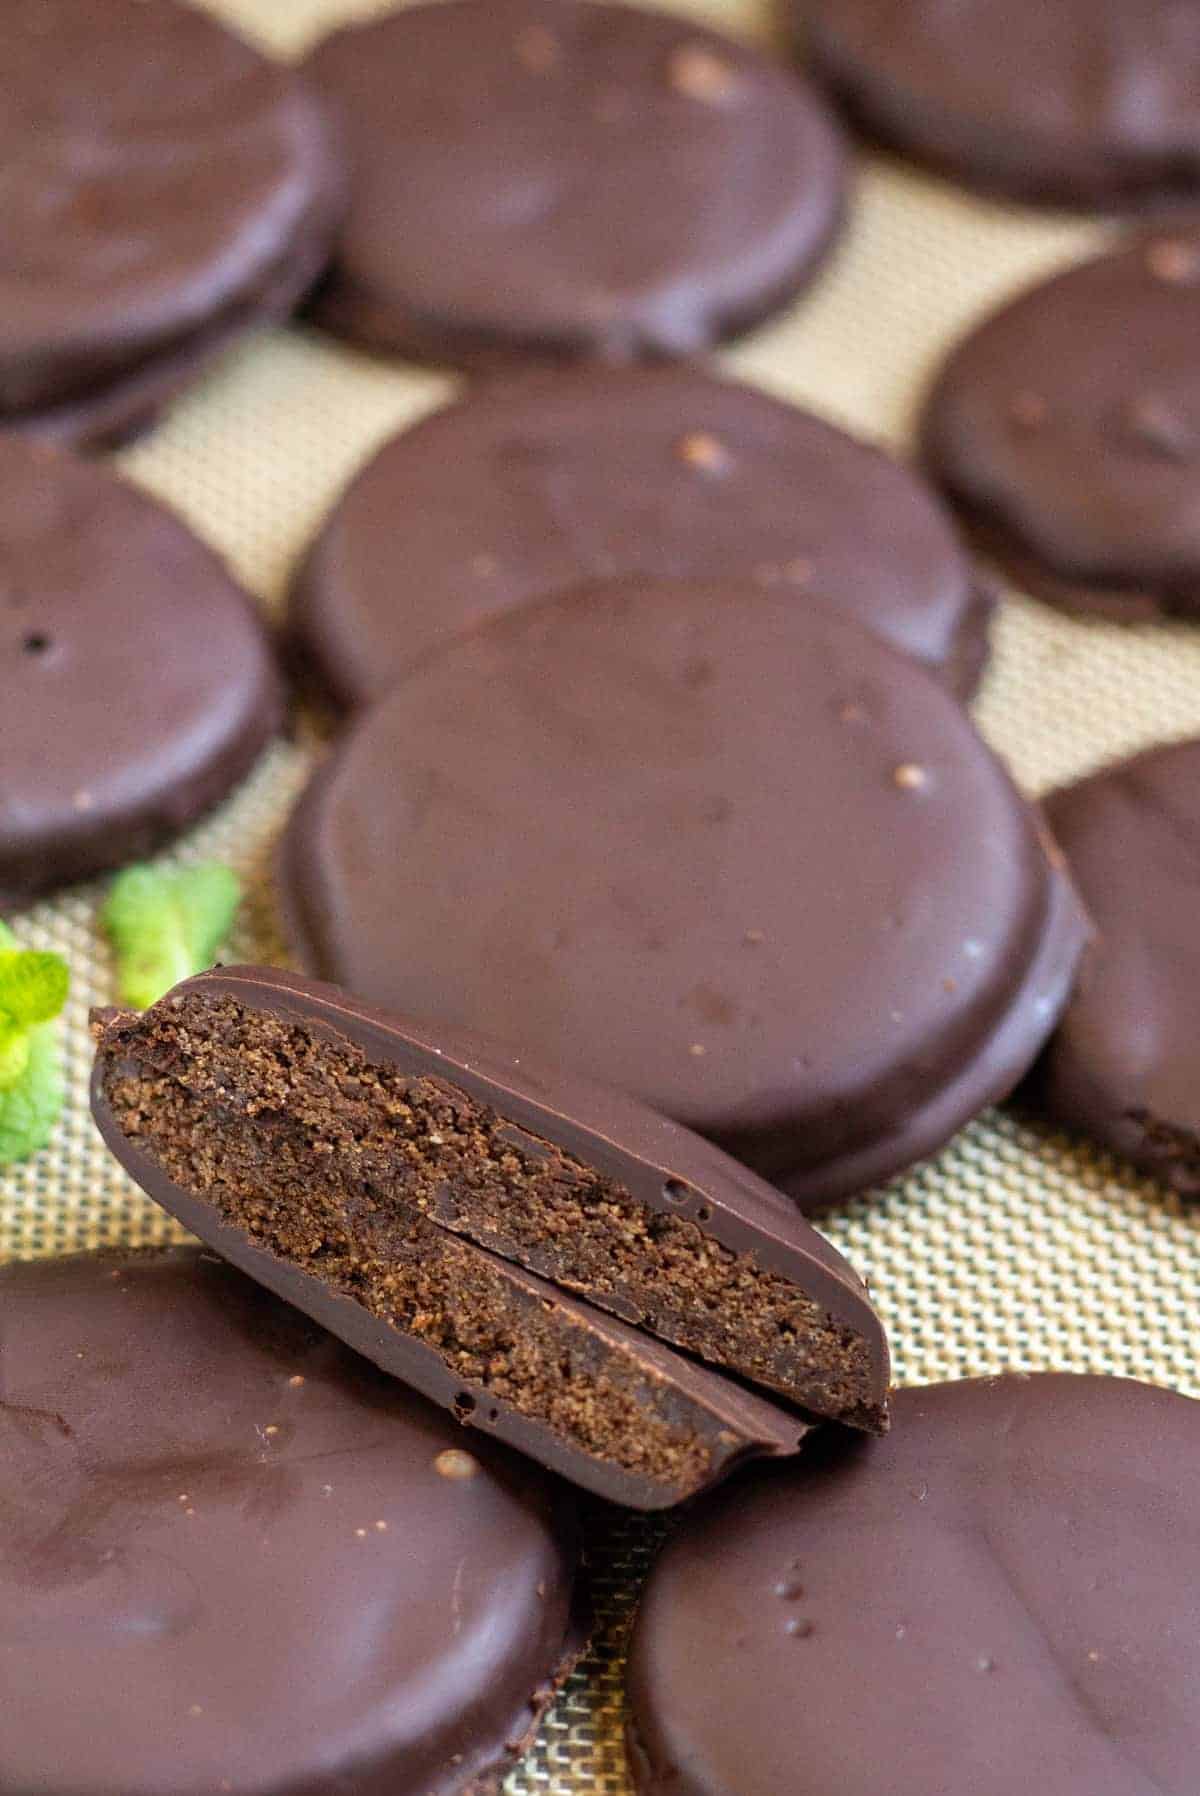
Store the leftover low-carb thin mints in an airtight container in the refrigerator for around two weeks or in the freezer for a couple of months.
Substitutions
This recipe is gluten-free, grain-free, low-carb, and keto. However, here are some substitutions to make them fit more diets:
- Dairy-Free: Use dairy-free butter and dairy-free chocolate chips.
- Paleo: Replace the sweetener with coconut palm sugar and use compliant chocolate chips.
💭 Top tips
- Be sure to thoroughly chill the dough before rolling. The butter needs to solidify before it can be rolled and cut out.
- If the dough gets too sticky while rolling, just pop it in the freezer for a few minutes.
- Place cut-out cookies in the freezer for 10 minutes before baking to help prevent the dough from spreading too much and to make the cookies crispier.
- It's a fine line between cooking the cookies long enough to get them crispy and burning them, so watch them carefully! They are done when they become fragrant, and the centers start to feel firm to the touch.
- When melting the chocolate, don't heat it all at once in the microwave! It needs to be heated in intervals and stirred between each interval. Otherwise, the chocolate will harden and be ruined!
- If you prefer not to use a microwave to melt the chocolate, simply place the chocolate and coconut oil in a large, heatproof bowl over a small pot of boiling water, making sure the bottom of the bowl isn’t touching the water. Stir until chocolate is completely melted, then remove from heat and stir in the peppermint.
If you’ve tried these Keto Thin Mints or any other recipe on the blog, please let me know in the comments below!
Craving more? FOLLOW ME on Pinterest, Instagram, Facebook, YouTube, or E-Mail to find more delicious food!
📖 Recipe
Keto Thin Mints
Ingredients
Chocolate Wafers:
- ½ Cup Unsalted Butter (preferably grass-fed) - softened
- ½ Cup Erythritol-Based Keto Sweetener
- 1 Large Egg
- 2 Cups Blanched Almond Flour - very finely ground
- ¼ Cup Cocoa Powder
- ¼ tsp. Sea Salt
- ½ tsp. Baking Soda
- ½ tsp. Pure Peppermint Extract
Chocolate Coating:
- 16 Oz. Keto Chocolate Chips - or chocolate chips of choice, roughly 1 ½ bags or 2 ¾ cups
- 2 Tbsp. Coconut Oil
- 1 - 2 tsp. Pure Peppermint Extract - to taste
Instructions
- Whisk together the almond flour, cocoa powder, sea salt, and baking soda in a large bowl. Set aside.
- Beat softened butter in a large bowl with an electric mixture until creamy. Add the sweetener of choice and beat until soft and fluffy, several minutes.
- Beat in the egg and peppermint until incorporated.
- With mixer on low, slowly add the dry ingredients and beat until just incorporated. Mixture will be thick, finish mixing with your hands or with a wooden spoon if necessary.
- Wrap cookie dough in plastic wrap and refrigerate for 1 to 2 hours (up to overnight) or until dough is thoroughly chilled.
- Preheat oven to 350 degrees and line a baking sheet with silpat or parchment paper.
- Place the dough on a large piece of parchment paper and cover with plastic wrap. Using a rolling pin, roll the dough to between ⅛ to ¼ inch thick.
- Remove the plastic wrap and use a round cookie cutter or the top of a small cup or lid that’s around 2 or 3 inches in diameter to cut out circles. Place the cut out cookies on prepared baking sheet 2 inches apart. Place in the freezer for 10-15 minutes prior to baking. You can keep re-rolling the scraps to cut out more cookies. If the dough gets too sticky while rolling, just pop it in the freezer for a few minutes.
- Bake 9-13 minutes, or until cookies smell fragrant and centers start to feel firm to the touch.
- Allow to slightly cool, then transfer to a cooling rack to cool completely and get crispy.
Chocolate Coating:
- Place the chocolate chips and coconut oil in a microwavable safe bowl. Then, heat the chocolate in 30-second intervals, stirring well between each interval, until the chocolate is fully melted. After that add the peppermint to taste. I prefer to use 2 tsp. but I like mine extra minty!If you prefer not to use a microwave, place the chocolate and coconut oil in a large, heatproof bowl over a small pot of boiling water, being sure the bottom of the bowl isn’t touching the water. Stir until chocolate is completely melted then remove from heat and stir in the peppermint to taste.
- Using a fork, cover the chocolate wafers in the melted chocolate, one at a time, and tap off the excess chocolate. Place the cookies a parchment lined baking sheet and put in the fridge until the chocolate hardens, 30 minutes to an hour.
- Use a sharp knife to remove the excess chocolate around the cookies and enjoy!!!!Store in an airtight contain in the refrigerator for around 2 weeks or in the freezer for a couple of months.
Add Your Own Notes
Video
Notes
- See how easy this recipe is to make on my YouTube channel! Watch the full video here: Thin Mints YouTube Video
- Nutrition info uses ALL the chocolate, but there will be some leftover after dipping and after removing the excess after the cookies are finished, so nutrition info will actually be slightly less. Nutrition info is for 1 cookie
- For the keto sweetener, you need to use an erythritol-based sweetener, otherwise, the wafers will not crisp up.
- As a special gift to my readers, I've teamed up with BESTI SWEETENERS to give you guys 10% off! Simply use the code "CRAVEABLE" at checkout
- Be sure to thoroughly chill the dough before rolling. The butter needs to solidify before it can be rolled and cut out.
- If the dough gets too sticky while rolling, just pop it in the freezer for a few minutes.
- I prefer ChocZero Chocolate Chips to keep the recipe low-carb, but feel free to use whatever brand you prefer!
- Place cut-out cookies in the freezer for 10 minutes prior to baking to help prevent the dough from spreading too much and to make the cookies crispier.
- It's a fine line between cooking the cookies long enough to get them crispy and burning them so watch them carefully! They are done when they become fragrant and the centers start to feel firm to the touch.
- I love this tutorial from Sally's Baking Addiction on How To Soften Butter Quickly!
Nutrition
NET CARBS = Total Carbs - Fiber - Allulose - Xylitol
Nutritional information is approximate and may vary. Sugar alcohols, xylitol, and allulose are included in the total carbs and fiber.
Looking for more information on the keto diet? Check out my






Stephanie says
These look great! But It says no dairy but you used 1 egg. Is there a no dairy recipe or what would work well in place of the egg for this one?
Cassidy Stauffer says
Hi Stephanie,
While eggs are usually sold near the milk, they aren't a dairy product. I do think, however, that you *may* be able to use a "flax egg" in place of the egg. However, without testing it myself I just can't say for sure. Hope this helps!
-Cassidy
DebK says
I just tried these and they are wonderful!!! YUM!
Cassidy says
Awesome DebK, I'm so excited that you liked them!!! Thank you!
XO,
Cassidy
Cindy (Vegetarian Mamma) says
OH!!!!!! Can't wait to try these! Thanks for linking up at our Gluten Free Fridays party! I have tweeted and pinned your entry to our Gluten Free Fridays board on Pinterest! 🙂
Cindy
amber says
Hi Cassidy,
Long time no comment. I've been slowly getting back into the blogging groove after my break. I sure missed keeping up with recipes and stopping by my favorite blogs. I hope you're great and your family is well. I'm also selling doTerra oils now! Yay. They are so awesome. I look forward to incorporating them into my holistic healing posts.
So these cookies look amazing. I remember thin mints. My sister was in girl scouts I would dust off one entire bag in one setting (as a hopelessly skinny teenager, I could eat whatever I wanted, but that doesn't mean I made great choices). Ha ha.
I would love to try these and recreate that delicious taste with this MUCH healthier version!! On my list.
Hugs,
--Am
Theresa Scholtz says
mmmm…I haven't had a thin mint in years! Thanks to you, that is about to change!! 🙂
Cassidy says
Thanks Theresa! I hope you like them 🙂
Nancy @http://glutenfreetravels.blogspot.com/ says
I haven't had an opportunity to make these yet, but they sound wonderful. The GS Thin Mints were always my favorite. I'll definitely be making these. Thanks!
Jeanie says
Wow! They look fabulous!
Thanks for sharing!