These homemade dill lacto fermented pickles (also known as half-sour pickles) are cool, crunchy, slightly sour, a cinch to make, and packed with nutrition.
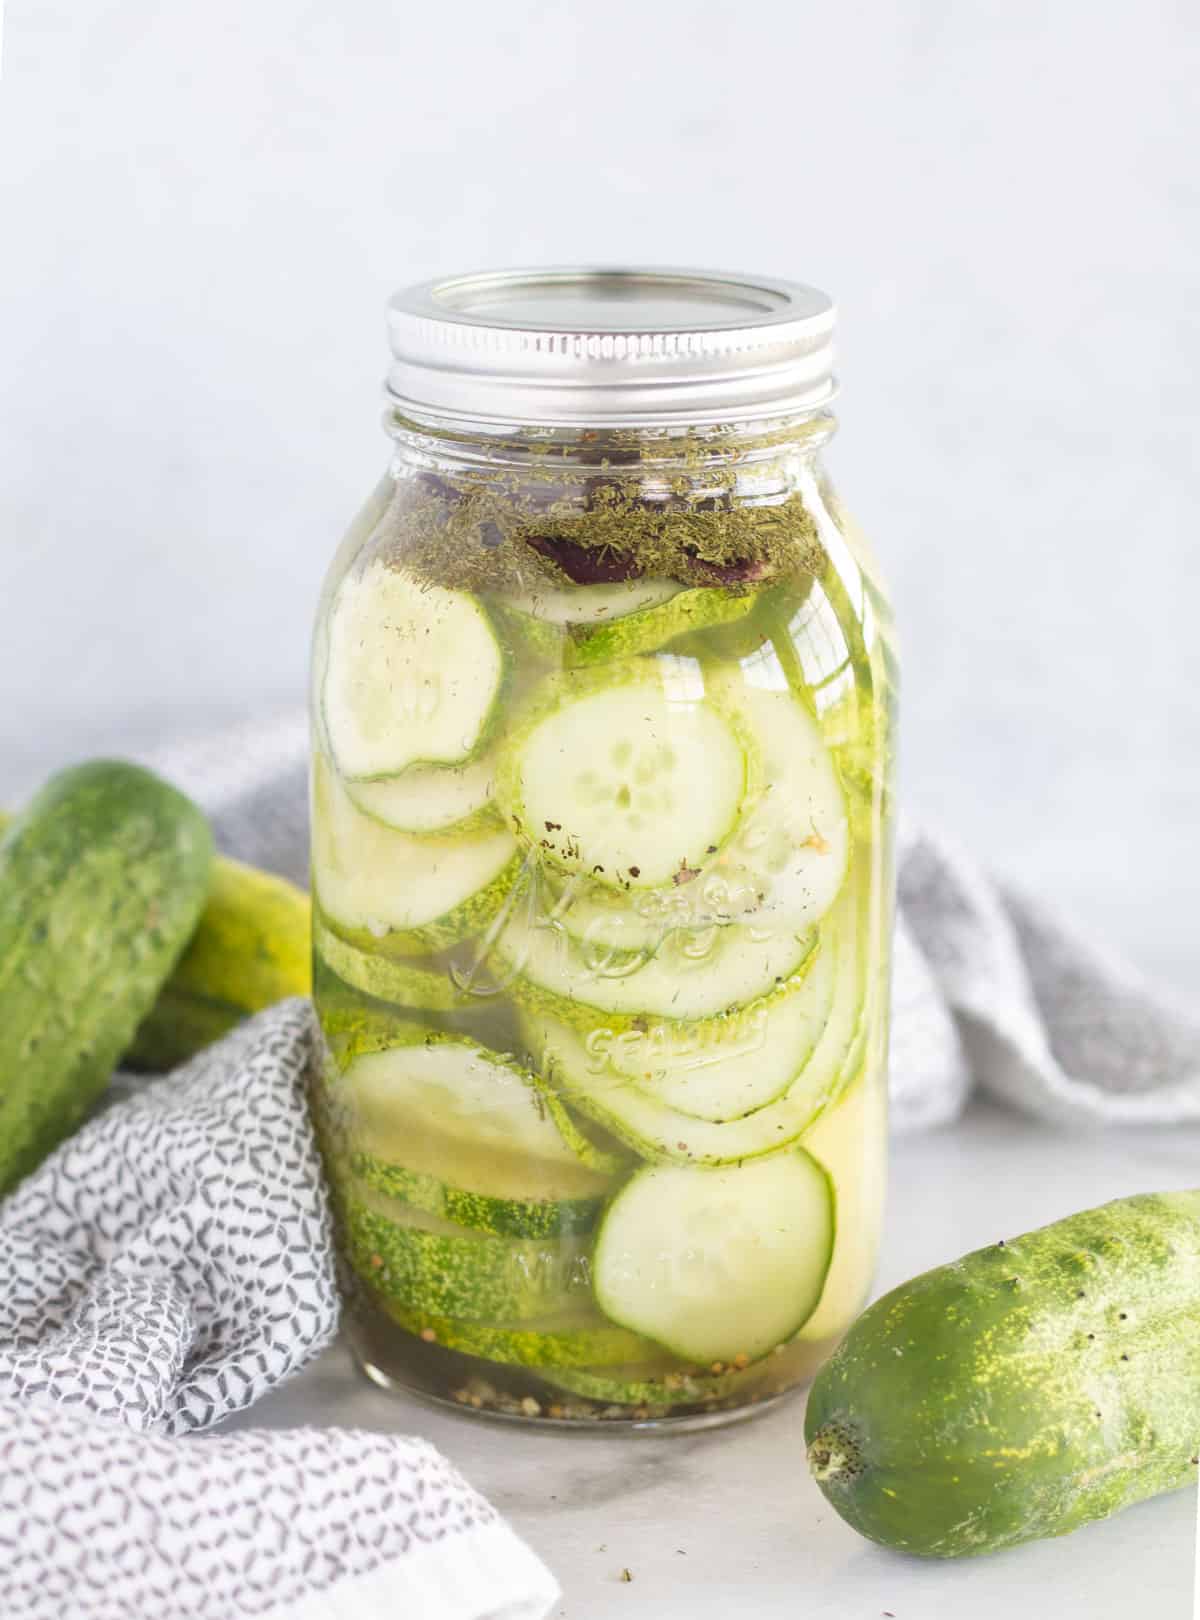
This year I planted 2 cucumber plants in my straw bale garden and they have grown wild. I'm picking 8 to 15 every other day!
Since I have been having so many cucumbers I decided to make lacto fermented pickles with them!
I decided on lacto fermented pickles (also known as half-sour) instead of the traditional boiled vinegar variety because lacto fermentation has many health benefits that traditional pickles just don't have.
At first, I just made a recipe I found online but they had a super strong taste and no one liked them 🙁 I wanted a recipe that tasted like the traditional pickles we all know and love - just using a different method!
So I started making recipe after recipe and didn't much like any of them.
Since I couldn't find a recipe that we liked I decided to experiment. After TWELVE jars of pickles - I finally found the perfect one!
They are cool, crunchy, slightly sour, a cinch to make, and packed with nutrition!
Or if you're looking for more fresh, summertime recipes be sure to check out this homemade salsa!
What is lacto-fermentation?
You might be wondering what lacto-fermentation is and if it has dairy in it.
"Lacto" is short for the friendly bacteria called Lactobacillus. So despite how it sounds, it's not from lactose and is dairy-free. It is only called this because it was first studied in milk products.
Lacto-fermentation is the oldest form of food preservation. It happens because harmful bacteria can't tolerate salt the way healthy bacteria can.
The saltwater brine kills off the harmful bacteria while the Lactobacillus bacteria (the good guys) survive.
Then the Lactobacillus bacteria begin converting lactose and other sugars into lactic acid. This creates an acidic, oxygen-free environment that safely preserves the vegetables.
And it's super easy...
All you do is sprinkle the spices over the sliced cucumbers, then shake up a simple saltwater brine and pour it over the veggies.
Then you just let it sit a few days - that's it!!
In my opinion, it's pretty much the easiest and safest form of food preservation out there!
The benefits of this method
When the Lactobacillus bacteria convert sugars into lactic acid, not only does it inhibit the growth of harmful bacteria, it also increases or preserves the vitamin and enzyme levels.
This makes the food easier to digest and creates beneficial enzymes, b-vitamins, Omega-3 fatty acids, and various strains of probiotics.
It strengthens your immune system, promotes a healthy gut, increases vitamin and mineral absorption, and helps balance hormones - YAY!
While I've certainly bought my fair share of store-bought pickles, I'm going to now try to keep homemade pickles on hand instead. The homemade version is super easy to make and so much healthier than the store-bought variety.
Store-bought pickles are usually packed with unhealthy ingredients (including sodium benzoate, calcium chloride, table salt, natural flavor, polysorbate 80, and yellow 5) and just don't offer the benefits of lacto-fermented pickles.
Choosing cucumbers
Always use homegrown cucumbers or buy small pickling cucumbers from a farmer's market.
Pickling cucumbers are small and have thick, bumpy skin. This variety holds up well and stays crunchy. The pickles at the store have a wax coating and will not turn out well.
Pick small to medium-sized cucumbers (about 4 - 5 inches long) that are firm and aren't wilt-y or limp.
Easy steps
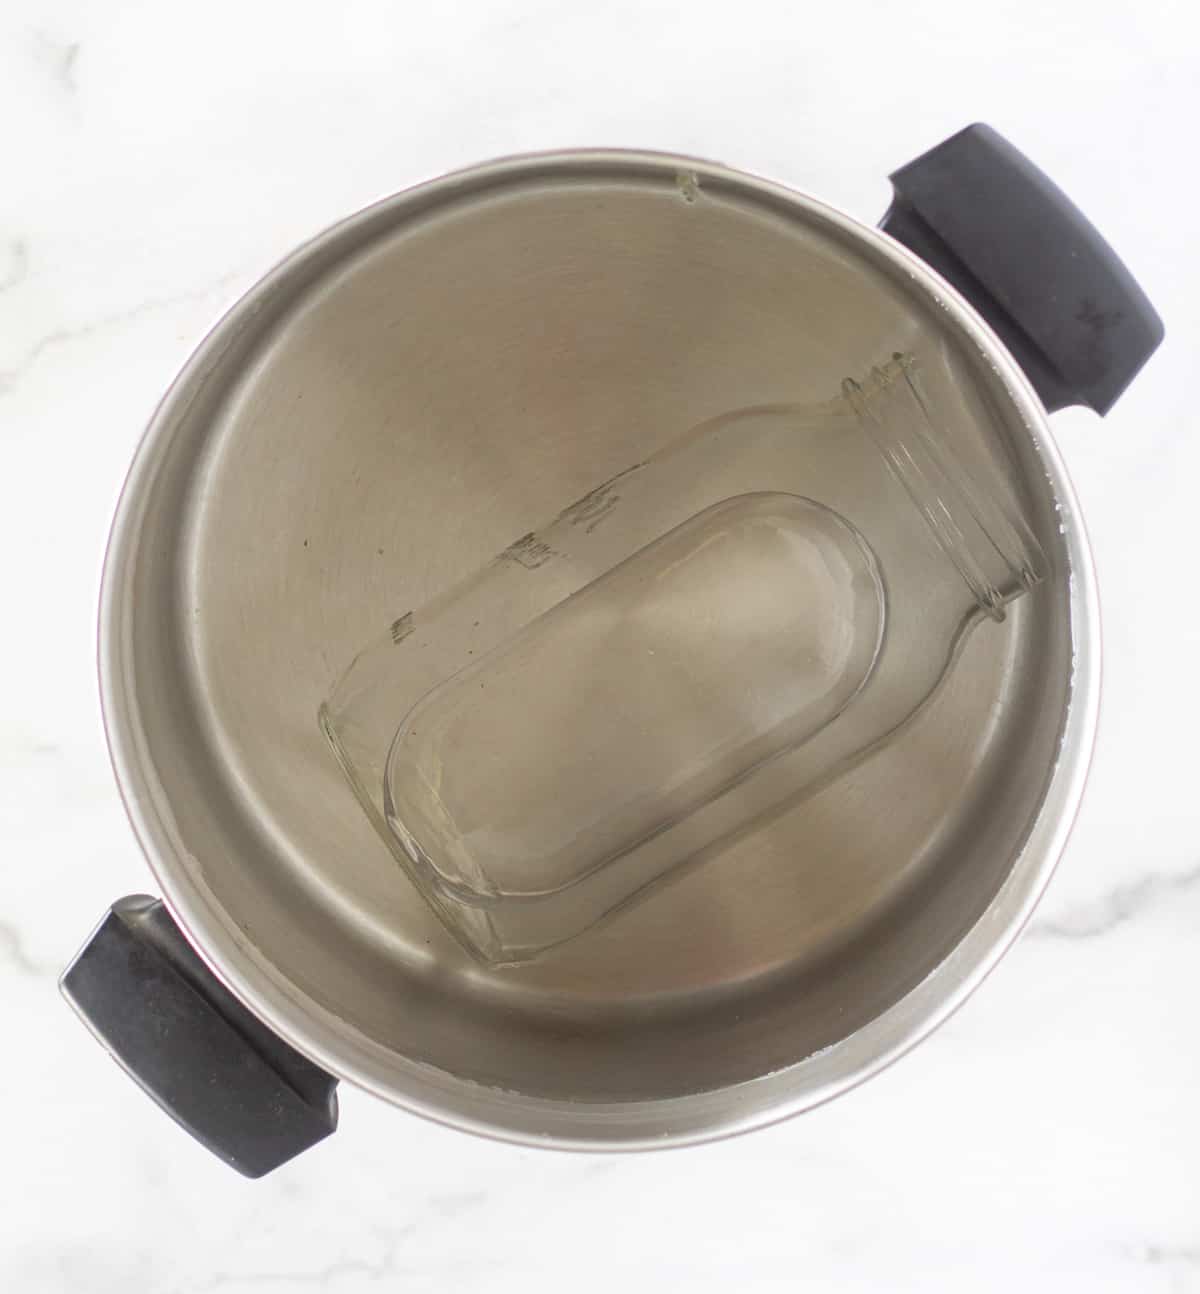
Technically, you don't have to sanitize your jars when using this canning method, but I just can't help myself! If you're like me and want to sanitize first, here are the easy steps:
Simply run your jars through the dishwasher on the "sterilize" cycle without other dishes OR place jars in a large pot, cover with water by at least one inch, bring to boil, and then boil for 15 minutes.
Do not let jars set in water for more than an hour afterward. Carefully remove jars with tongs and set them aside.
Note- Do not boil the canning lids as this can harm their adhesive rings. Instead, add the canning lids to the hot water after you turn off the heat when the jars have finished boiling for a quick rinse. Also, be sure to only use NEW canning lids, as they are only good for one use.
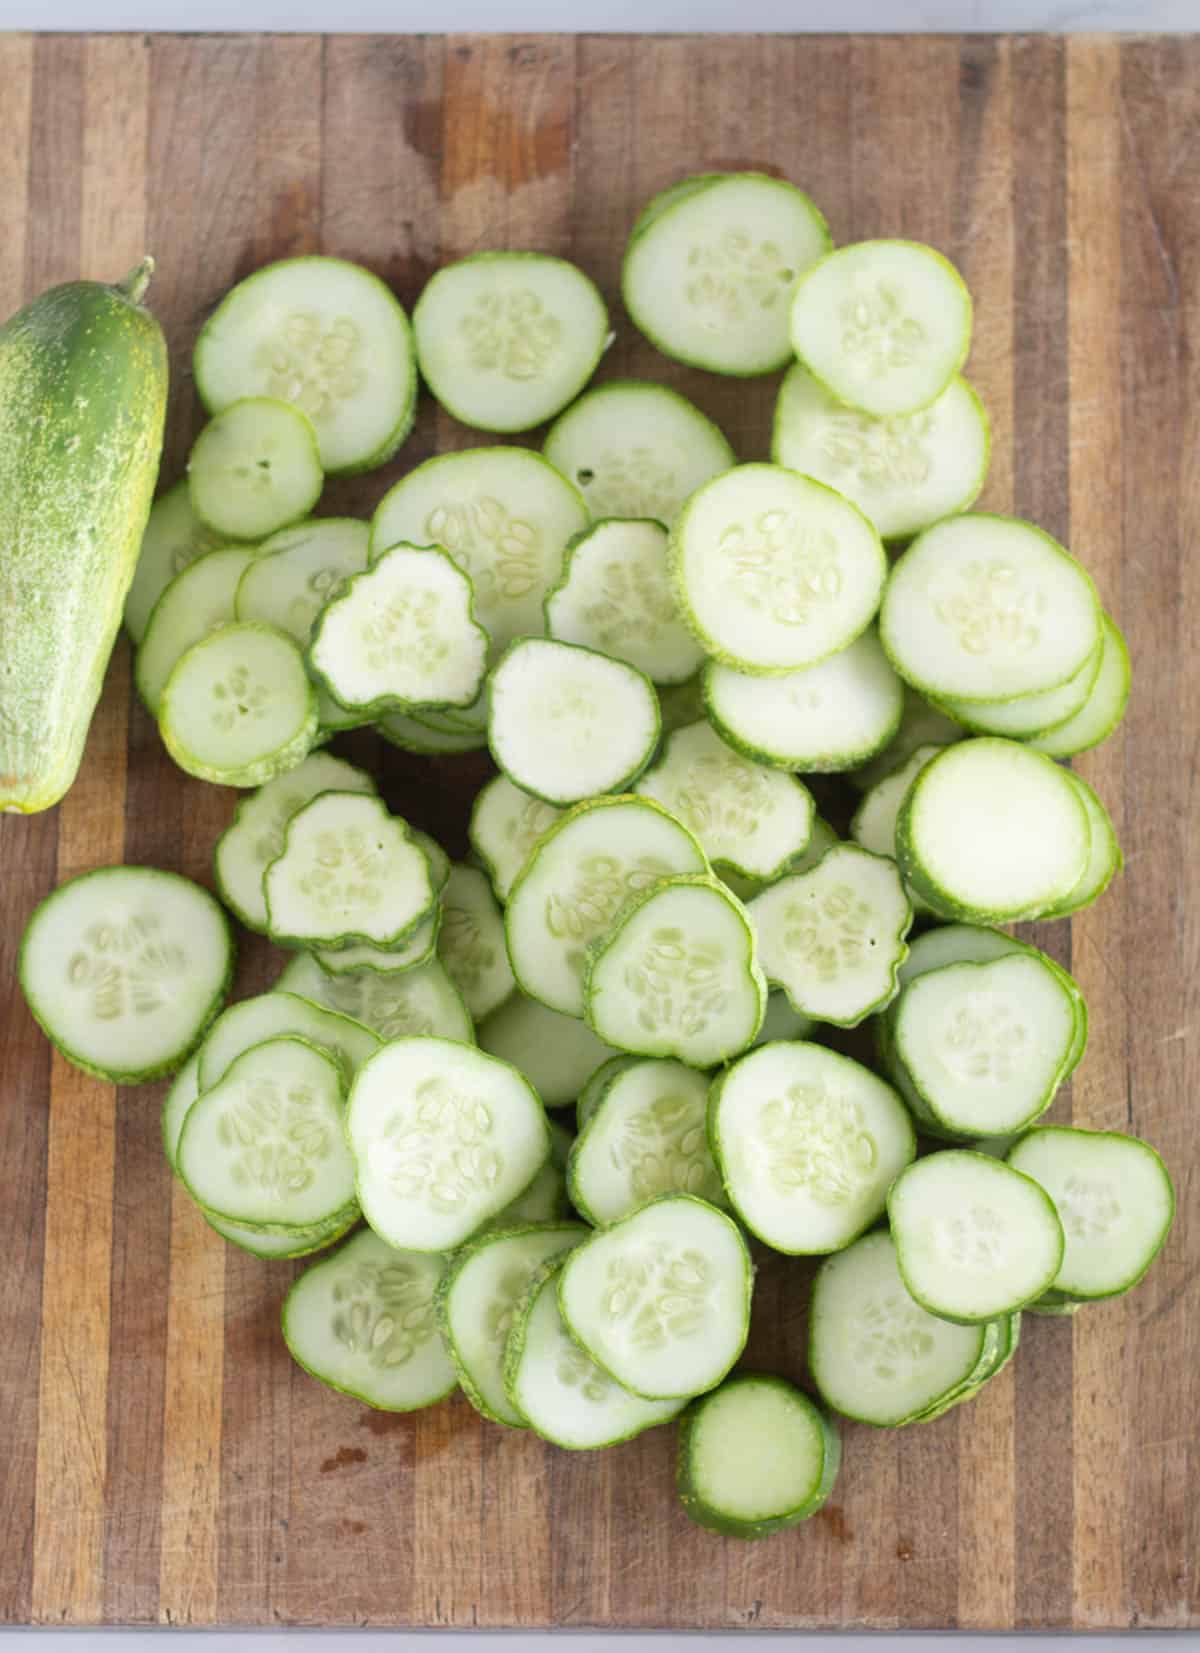
Then, thinly slice the cucumbers into slices or circular chips.
Tightly pack half of the cucumbers in a mason jar, then sprinkle on some dill, dill seeds, garlic, mustard seeds, and tea.
Add the remaining cucumbers, packing tightly up to about 2 inches below the rim of the jar.
Sprinkle on some more dill, dill seeds, garlic, mustard seeds, bay leaves, thyme, and tea.
For the tea, I just opened a black tea bag from my pantry and sprinkled it over the cucumber.
Be sure not to skip the tea or bay leaves because they make the pickles crunchy!
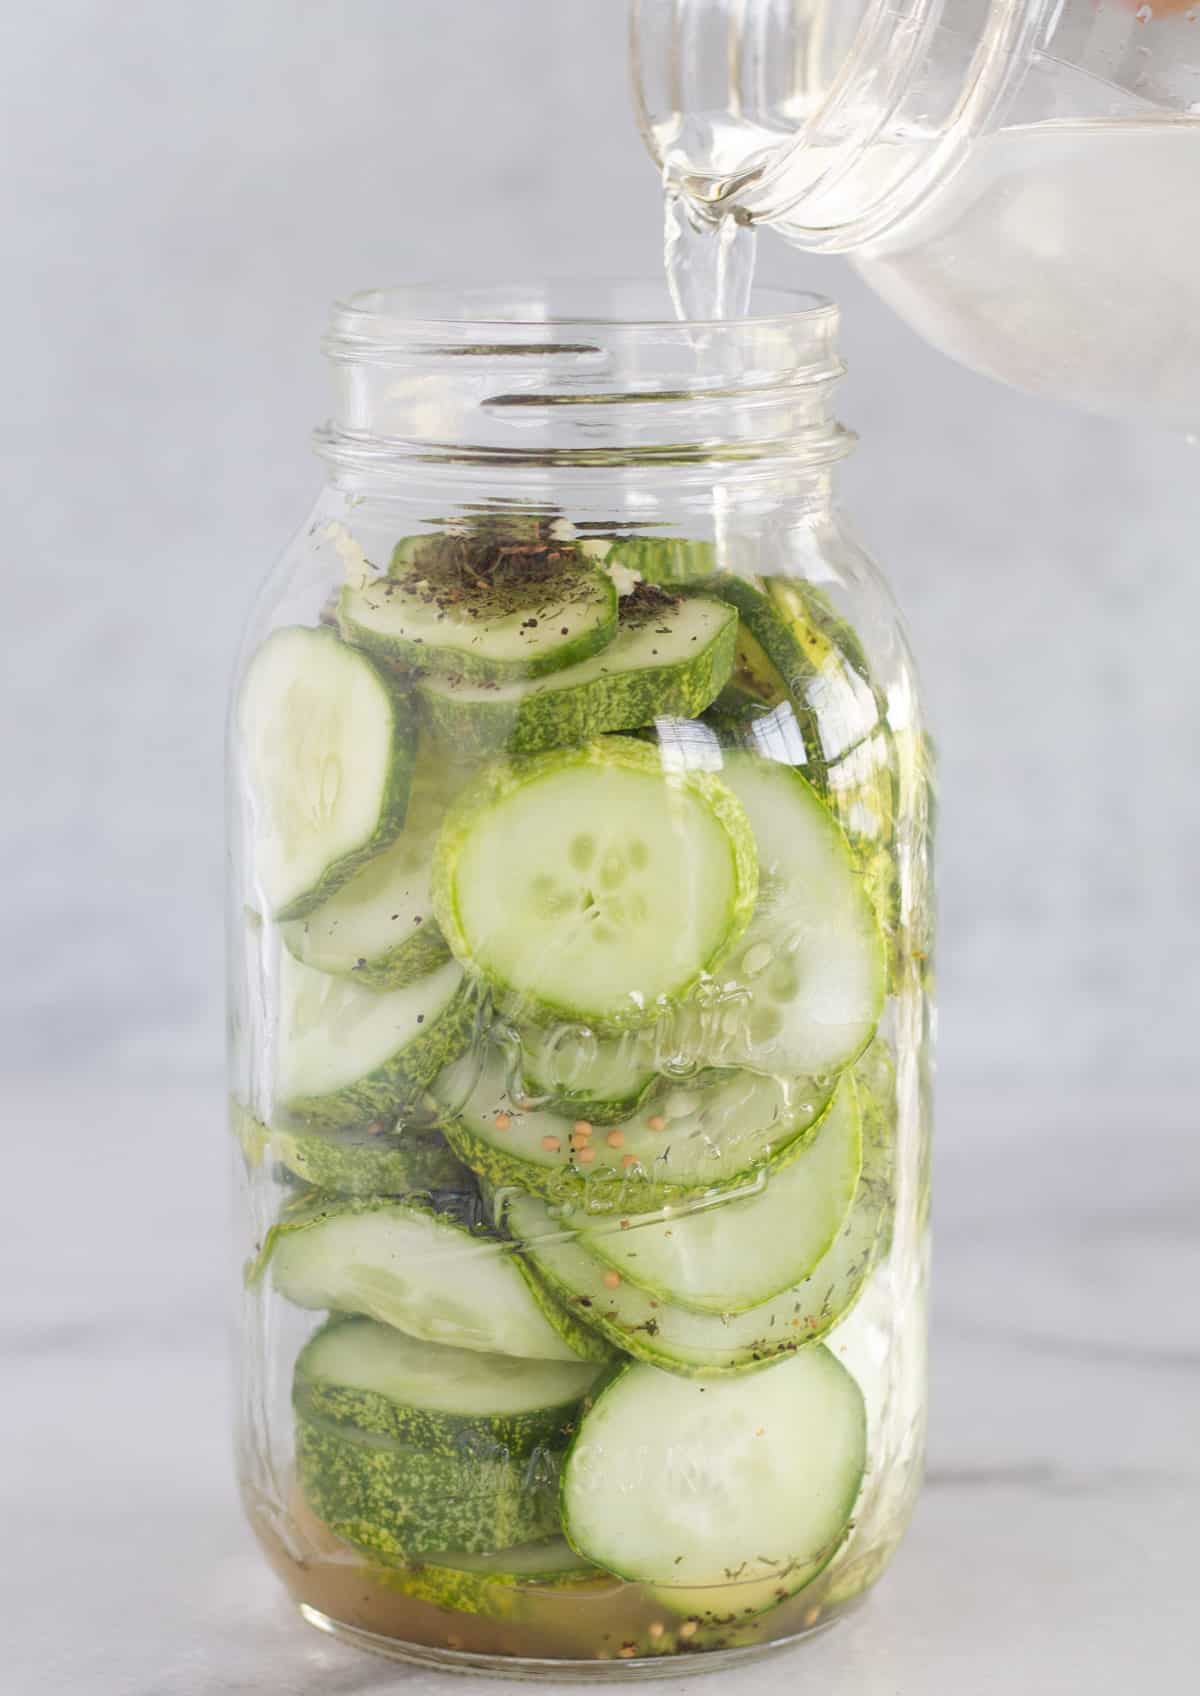
In a second jar about the same size, fill almost halfway with filtered water and add kosher salt or pickling salt.
Vigorously shake the jar with the saltwater and pour over the pickles
Kosher or pickling salt is a must because you need to use salt without additives or iodine.
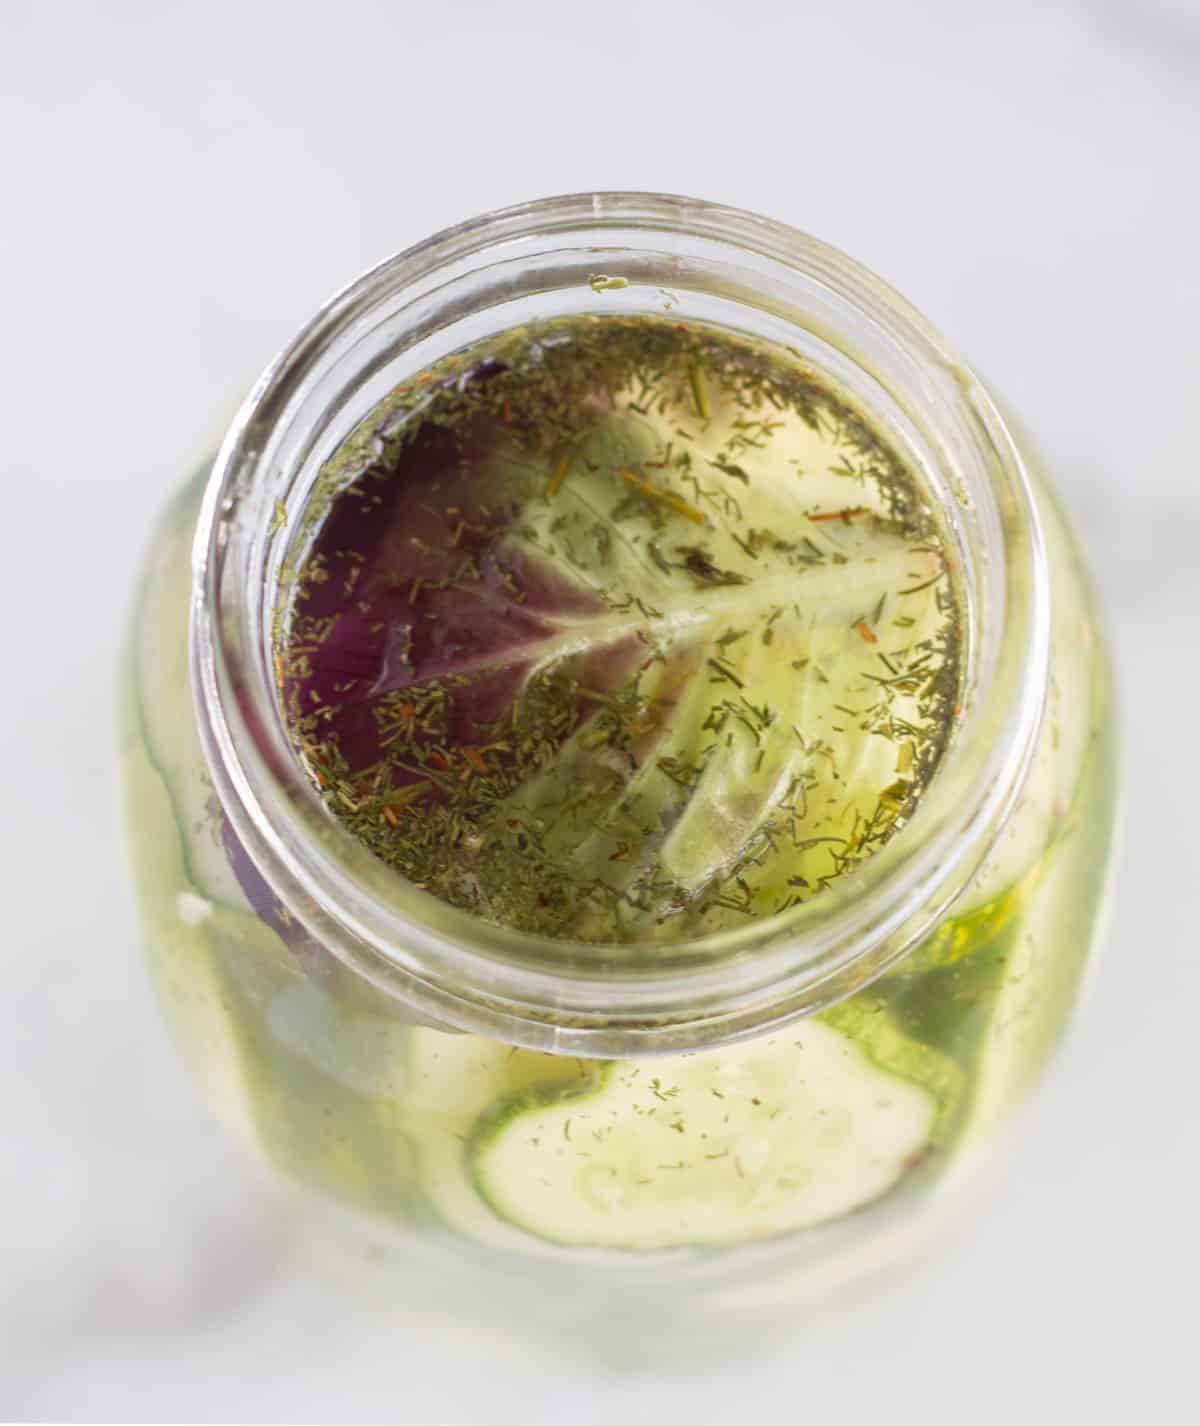
Make sure all the cucumbers are completely submerged.
If veggies will not stay below the water (sometimes they float), place a clean, folded cabbage leaf or similar lettuce leaf into the top of the jar, pressing it below the waterline.
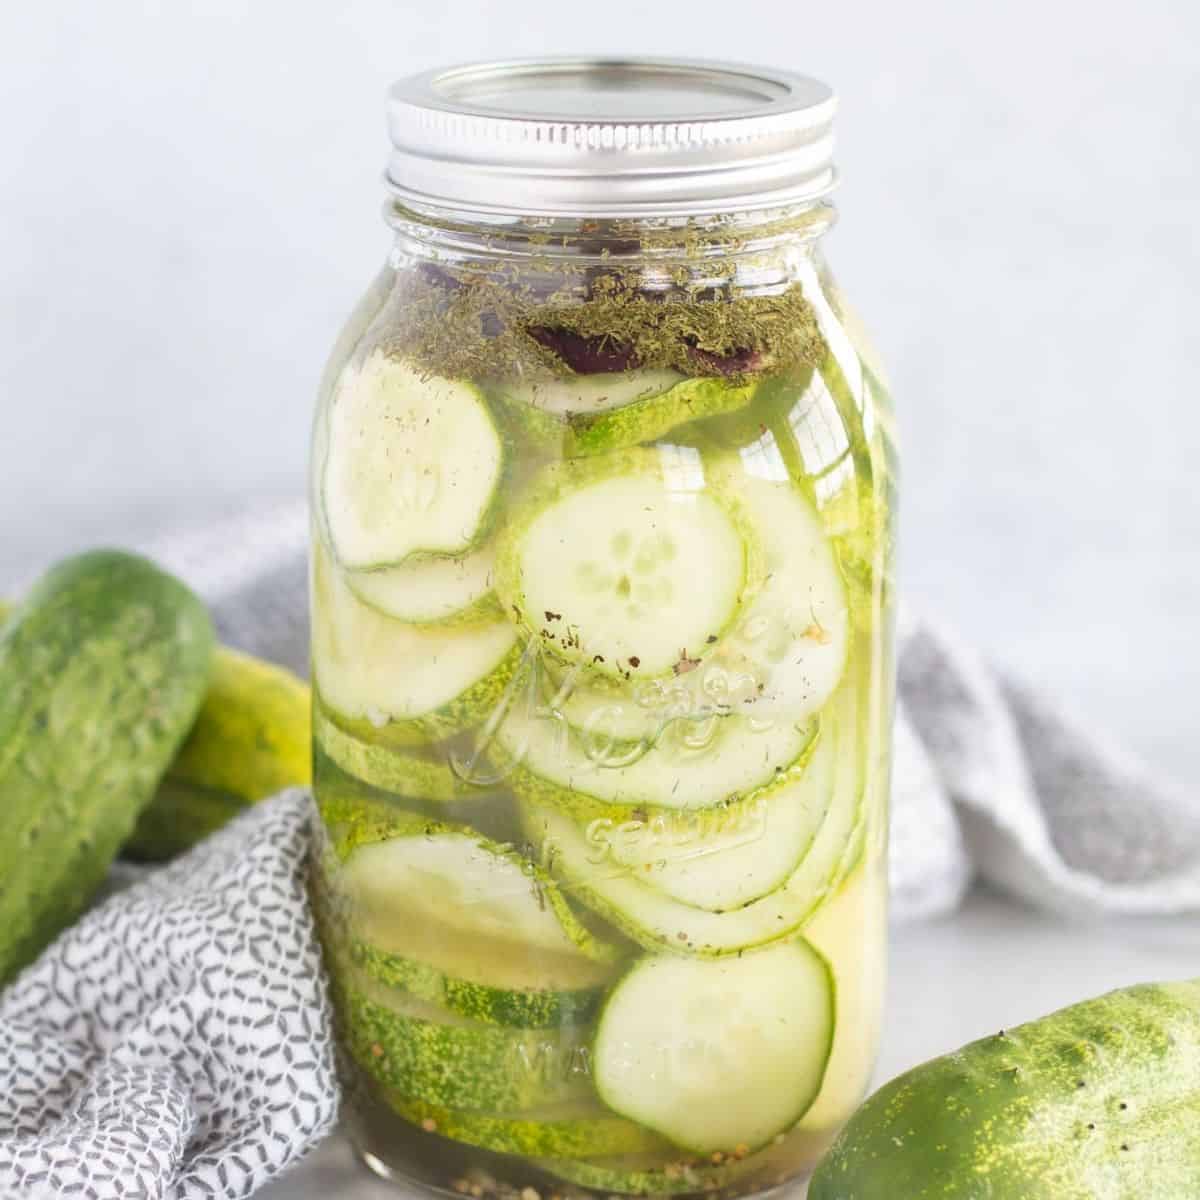
Loosely screw the lid on or cover and place it on the counter or in the pantry out of direct sunlight for 3-5 days.
Check after 3 days for signs of fermentation. The water should be getting cloudy and if you tap the bottle bubbles should rise to the top.
Taste them and allow them to set longer if needed. The longer they set, however, the less crispy they will be so don't let them set too long!
Transfer to the fridge when you are satisfied with the taste. After refrigerating, if you decide you want more tang, you can always pull them out again and ferment for a few days longer.
They will last 4 - 6 months in the fridge.
*Note- While refrigeration will slow down the fermentation process, it will not stop it. So even though they are in the fridge, they gradually get sourer over time.
Looking for more summertime recipes?
Or this Guava Smoothie from Running To The Kitchen looks delicious too!
If you’ve tried these Homemade Dill Lacto-Fermented Pickles or any other recipe on the blog please let me know in the comments below!
Craving more? FOLLOW ME on Pinterest, Instagram, Facebook, YouTube, or E-Mail to find more delicious food!
📖 Recipe
Homemade Dill Lacto-Fermented Pickles
Ingredients
- 4 to 6 Pickling Cucumbers - depending on size
- ¾ tsp. Dried Dill
- ¾ tsp. Dill Seeds - If you can't find these I've successfully replaced these with more dried dill
- ½ tsp. Ground Thyme
- 4 - 6 cloves Garlic - minced
- ½ tsp. Mustard Seeds
- ½ tsp. Loose Black Tea Leaves - I just opened up a tea bag from my pantry!
- 2 Bay Leaves
- 1 Tbsp. Kosher or Pickling Salt - (do not use table salt)
- Filtered Water
- 1 Cabbage Or Lettuce Leaf
Instructions
- Wash cucumbers and thinly slice into sandwich slices or circular rounds.
- Tightly pack half of the cucumbers into a sterilized quart mason jar. Then sprinkle on approximately half of the dill, dill seeds, garlic, mustard seeds, and tea.
- Add the remaining cucumbers, packing tightly up to about 2 inches below the rim of the the jar.
- Sprinkle on the remaining dill, dill seeds, garlic, mustard seeds, ground thyme, bay leaves, and tea.
- In a separate jar the same size, fill just under halfway with filtered water and add the salt. Cover and shake vigorously until the salt is dissolved.
- Pour the salt water over the cucumbers, filling until the jar is about 1 inch below the rim (If you didn't make enough salt water, just top off with more filtered water). Make sure all the cucumbers are completely submerged. If veggies will not stay below the water (sometimes they float), place a clean, folded cabbage leaf or similar lettuce leaf into the top of the jar, pressing it below the water line.
- Loosely screw the lid on or cover and place the jar on the counter or in the pantry out of direct sunlight for 3-5 days. The longer they sit, the tangier they will taste. The longer they ferment though, they will lose their crispiness so don't let them set too long! The warmer your house is, the faster they will ferment. Check after 3 days for signs of life. The water should be getting cloudy and if you tap the bottle bubbles should rise to the top. Taste them and allow them to set longer if needed. Transfer to the fridge when you are satisfied with the taste. After refrigerating, if you decide you want more tang, you can always pull them out again and ferment for a few days longer. The pickles will stay good in the fridge for 3 to 6 months. Note - While refrigeration will slow down the fermentation process, it will not stop it. So even though they are in the fridge, they gradually get sourer and softer over time.
How to sterilize your canning jar
- Run your jar through the dishwasher on the "sterilize" cycle without other dishes OR place jars in a large pot, cover with water by at least one inch, bring to boil, and then boil for 15 minutes. Do not let jar set in water for more than an hour afterward. Carefully remove with tongs and set aside. Cool before using. *Note- Do not boil the canning lids as this can harm their adhesive rings. Instead, add the canning lids to the hot water after you turn off the heat when the jars have finished boiling for a quick rinse. Also, be sure to only use NEW canning lids, as they are only good for one use.
Add Your Own Notes
Notes
- Kosher or pickling salt is a must because you need to use salt without additives or iodine.
- This recipe can also be divided between 2 pints instead of 1 quart. If doing this you can skip the step of layering the spices in the middle of the jar (step 2).
- Be sure not to skip the tea or bay leaves because they are what make the pickles crunchy!
- Even though the jars need to be cleaned before using, sterilizing the jars is not vital when fermenting. However, I just can't help myself and I always sterilize my jars first!
- You can replace the bay leaves with grape leaves if desired.
- Feel free to change up the spices as desired! Some other spices you may want to add include fennel seeds, peppercorns, coriander seeds, allspice, sliced onion, fresh dill, or even some red chilis for some heat!
- Fermented pickles are known as half-sour pickles because they're not quite as sour as vinegar pickles.
- To make more sour pickles, you can add 1 Tablespoon of white or apple cider vinegar, however, vinegar can kill off some of the good bacteria.
Nutrition
NET CARBS = Total Carbs - Fiber - Allulose - Xylitol
Nutritional information is approximate and may vary. Sugar alcohols, xylitol, and allulose are included in the total carbs and fiber.
Looking for more information on the keto diet? Check out my


Shelly says
I followed the recipe exactly (except, I waited 6 days to try them). My daughter loves them but, to me, they are super salty and I dont really taste all tge yummy spices. Did I do something wrong?
Cassidy says
Hi Shelly!
I'm sorry you thought they were too salty 😞 The least amount of salt I recommend using is 3/4 Tablespoon per 2 cups of water for a 3% brine, because anything less may allow bacteria to grow. You can also boil the water and salt first (then allow it to cool overnight) so the salt dissolves really well before you make the pickles.
And as far as the spices go, feel free to add as much as you like! They are completely to taste 😀
I hope this helps and that you enjoy your next batch of pickles!
XO,
Cassidy
Alicia says
In the text before the recipe you mention adding apple cider vinegar but then I don’t see it in the list of ingredients. Can you please let us know if we need to add it?
Thank you!
Cassidy Stauffer says
Hi Alicia,
I used to add vinegar to my recipe for some added tang, but now I no longer add it because I learned it can kill off some of the good bacteria. However, if you would like to add a tablespoon of vinegar to make them a bit sourer, feel free!
Sorry about that, I will fix the text right away!
XO,
Cassidy
Billy says
This recipe looks great! Thank you so much for sharing. Cannot wait to make this at home.
Jules Shepard says
Never met a pickle that I didn't like! This reminds me of my Grams - made the best pickles but this looks so much easier!
Lin Franklin says
I have been looking for a pickle recipe that I had 30 years ago. This is the CLOSEST I have found! Yaaay! We made hundreds of jars of that recipe back then, we look forward to trying yours in a few days. 😉
Cassidy says
Thanks Lin!! Be sure to let me know what you think 🙂
-Cassidy
Sabrina says
In the ingredients list, is it 'filtered water (fill up jar halfway)'?
Cassidy says
Hi Sabrina! Sorry I messed up on that, but I fixed it now! Yes, you fill the same size jar up about half way 🙂
-Cassidy