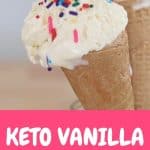
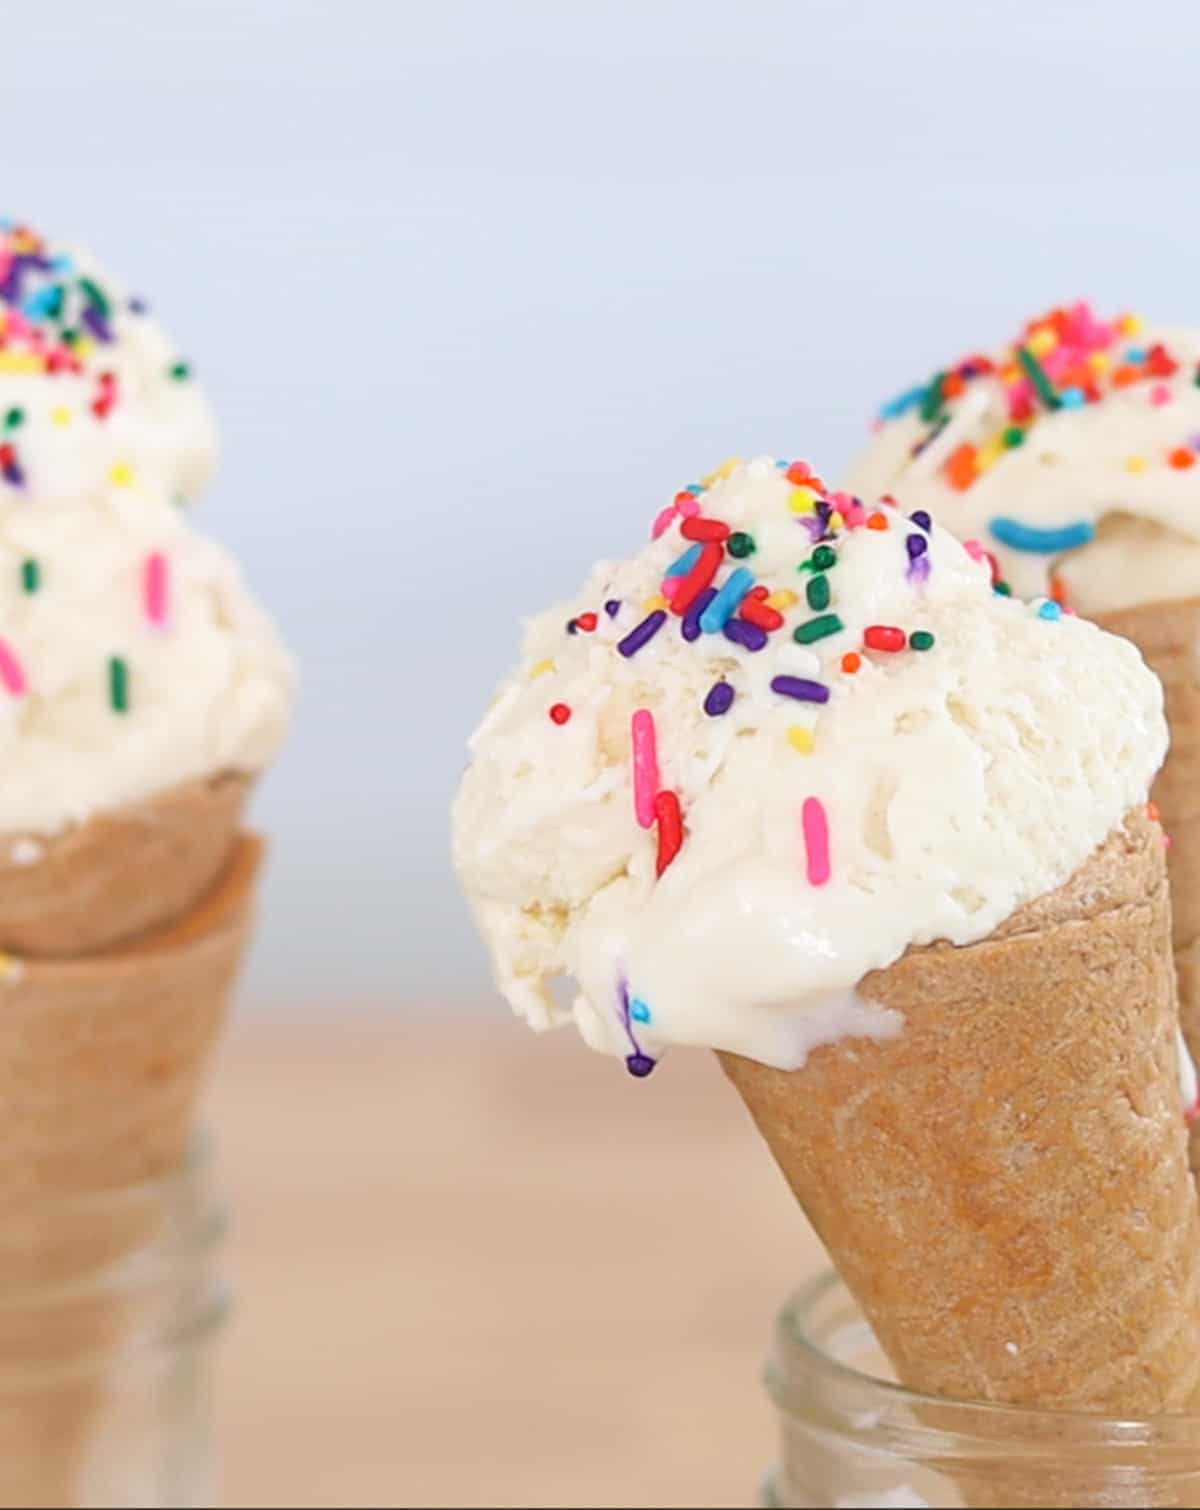
This easy, low-carb keto vanilla ice cream maker recipe only has 5 ingredients and has dairy-free and no-churn options! It's rich and creamy with caramel-like undertones and has a secret ingredient that makes it soft & scoopable!
On a hot summer day, this keto vanilla ice cream maker recipe is a must-have treat!
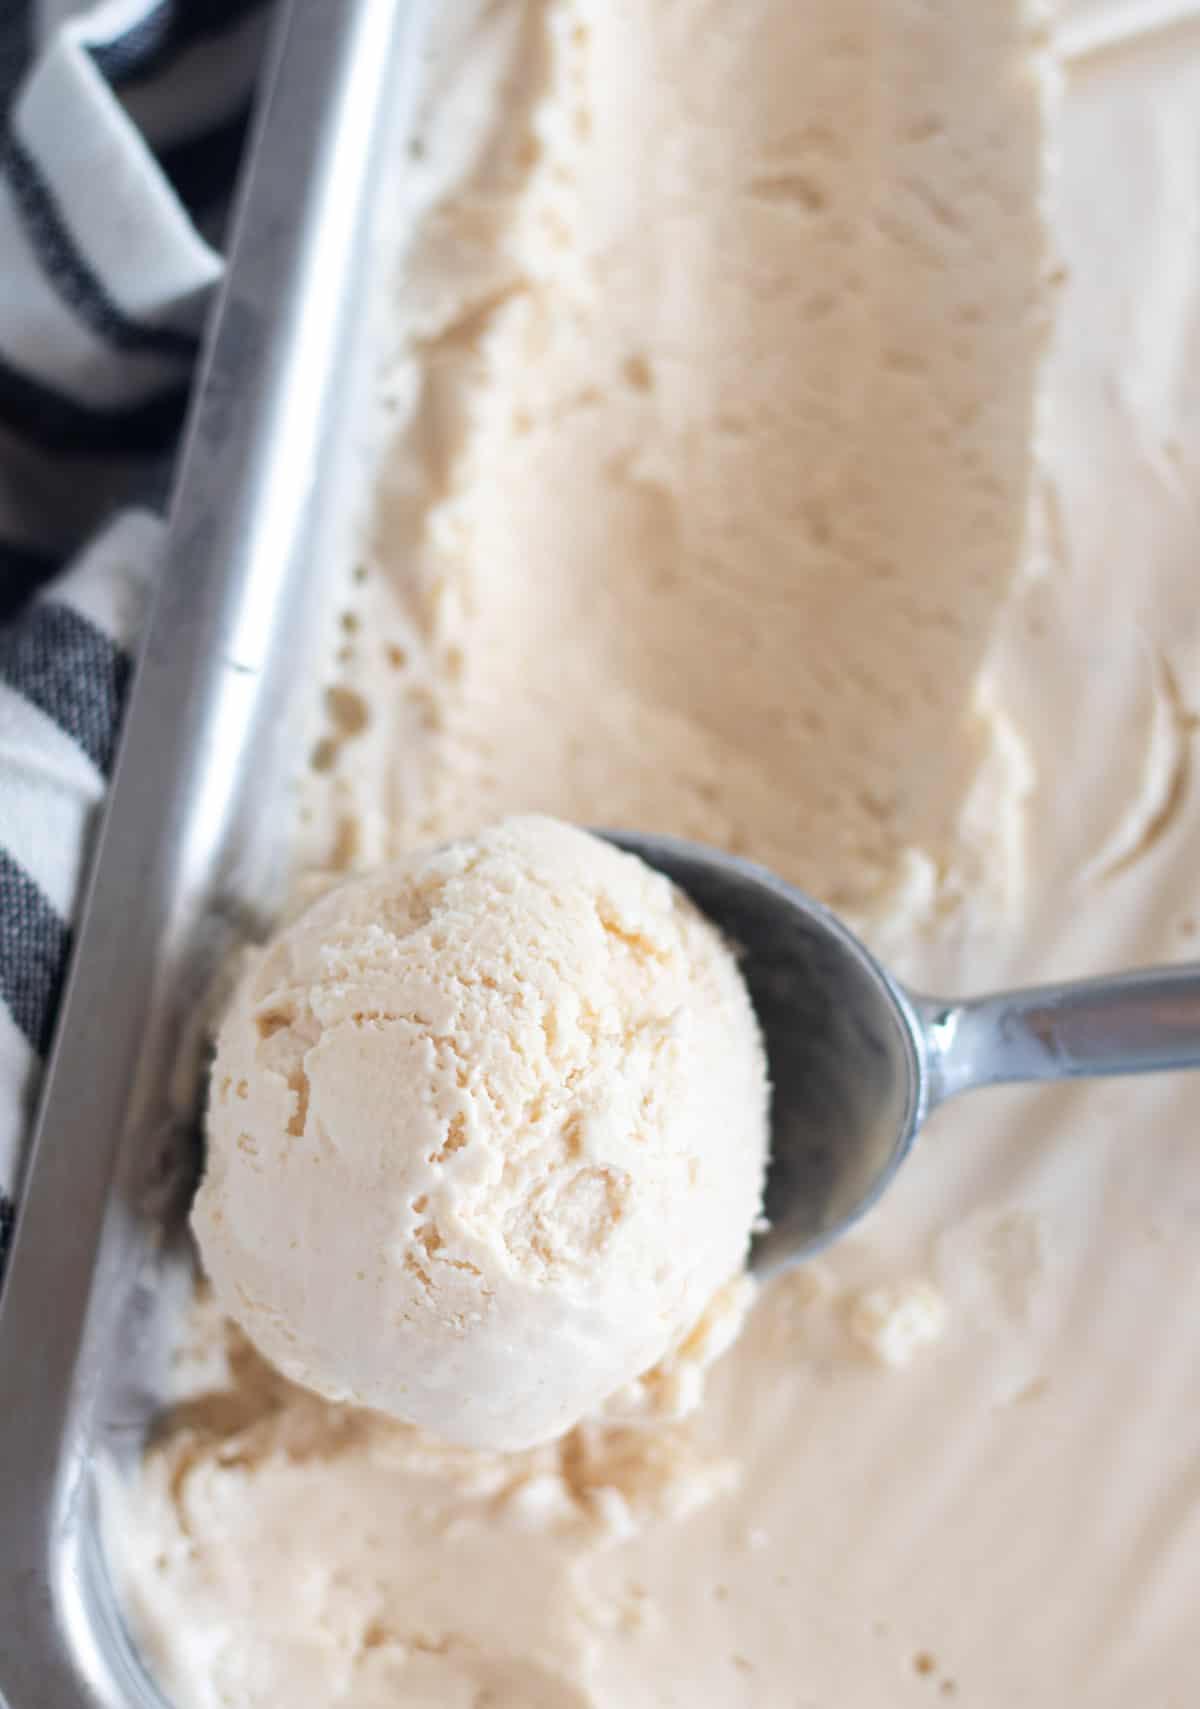
It's super easy to make because there are no eggs involved, yet it is still soft, creamy, and scoopable!
After perfecting the original version, I probably tested it more than a dozen times to perfect the dairy-free and no-churn options, so I'm really excited to share it with you today and can't wait for you to try it!
It's great on its own or served with Keto Blackberry Cobbler or The Best Keto Brownies!
Or, if you're looking to try something a little different, check out this Matcha Ice Cream from The Endless Meal! Just replace the sugar with Allulose (+ a little extra since allulose isn't quite as sweet!) to keep it low-carb 👍
Frequently asked questions
The secret to making this recipe soft & scoopable is to use allulose as the sweetener! Erythritol-based sweeteners will cause it to be hard. However, if you have to use an erythritol-based sweetener, be sure to use the powdered variety and add 2 tablespoon of vodka or white rum to help it soften. Then, allow it to rest at room temperature for 15 to 30 minutes before serving. However, I highly recommend using allulose - nothing really compares!
Yes, you can! Simply reduce the pure vanilla to 1 tsp. Then, split a vanilla bean in half lengthwise and scrape out the seeds. Add them and the pod to the mixture and refrigerate as directed. Remove the pod before churning.
Yes, it's really easy to make this dairy-free! Replace the heavy cream with full-fat canned coconut milk and use non-dairy butter. The recipe card below has all of the specifics.
This will last in the freezer for 2 to 3 months if tightly covered. However, I don't recommend re-freezing it after it has thawed because this will make it icy.
These are both thickeners, which help create pretty, creamy scoops and prevent the ice cream from being icy. While it's optional, it's highly recommended for the dairy-free and especially the no-churn options because they tend to be icy without one of them.
Ingredients
- Heavy Whipping Cream - Ice cream base.
- Allulose - Sweetener and my secret ingredient to make it soft & scoopable!
- Sea Salt - Natural sweetness enhancer.
- Butter, Ghee, Or Non-Dairy Butter - Adds richness, creaminess, and caramel-like undertones.
- Pure Vanilla Extract- Vanilla taste (can substitute some of the extracts with a vanilla bean).
- Gelatin or Guar Gum - Thickener, stabilizer, and helps prevent it from being icy.
No-churn method
If you don't have an ice cream maker, or just don't want to mess with one, it's really easy to make this into a no-churn recipe!
And the best part? You don't have to mix it every 30 minutes, and it's still creamy and scoopable! How awesome is that!?!
After you simmer the mixture (our homemade sweetened condensed milk), simply beat the remaining whipping cream until it's light and fluffy!
Then, you slowly fold in the cooled, sweetened milk mixture along with the rest of the ingredients. Easy-peasy!
Or, if you're using the coconut milk method, you simply blend everything together in a blender and then freeze.
Easy steps using an ice cream maker
Step #1: Add 2 cups of whipped cream or 1 13.5 oz. can of full-fat canned coconut milk, allulose, and butter (or non-dairy butter) in a medium-sized saucepan.
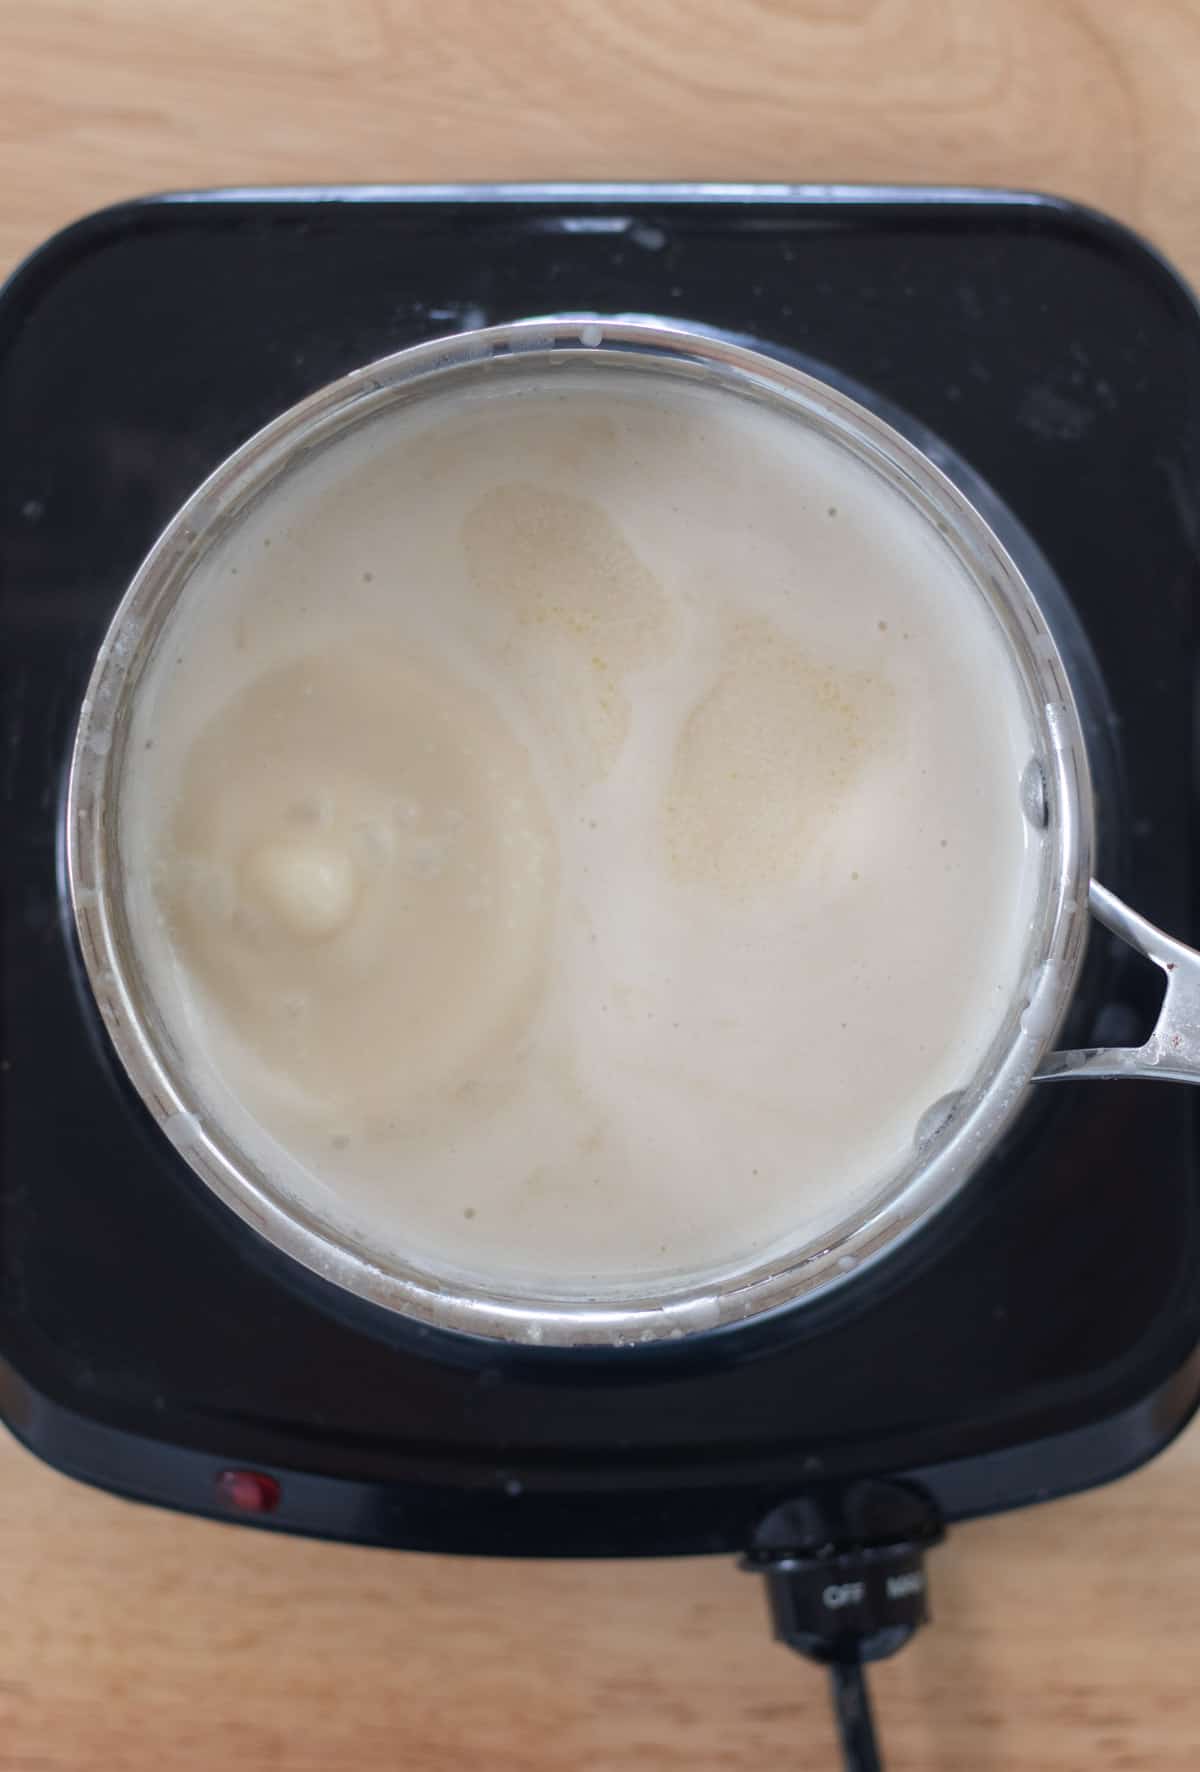
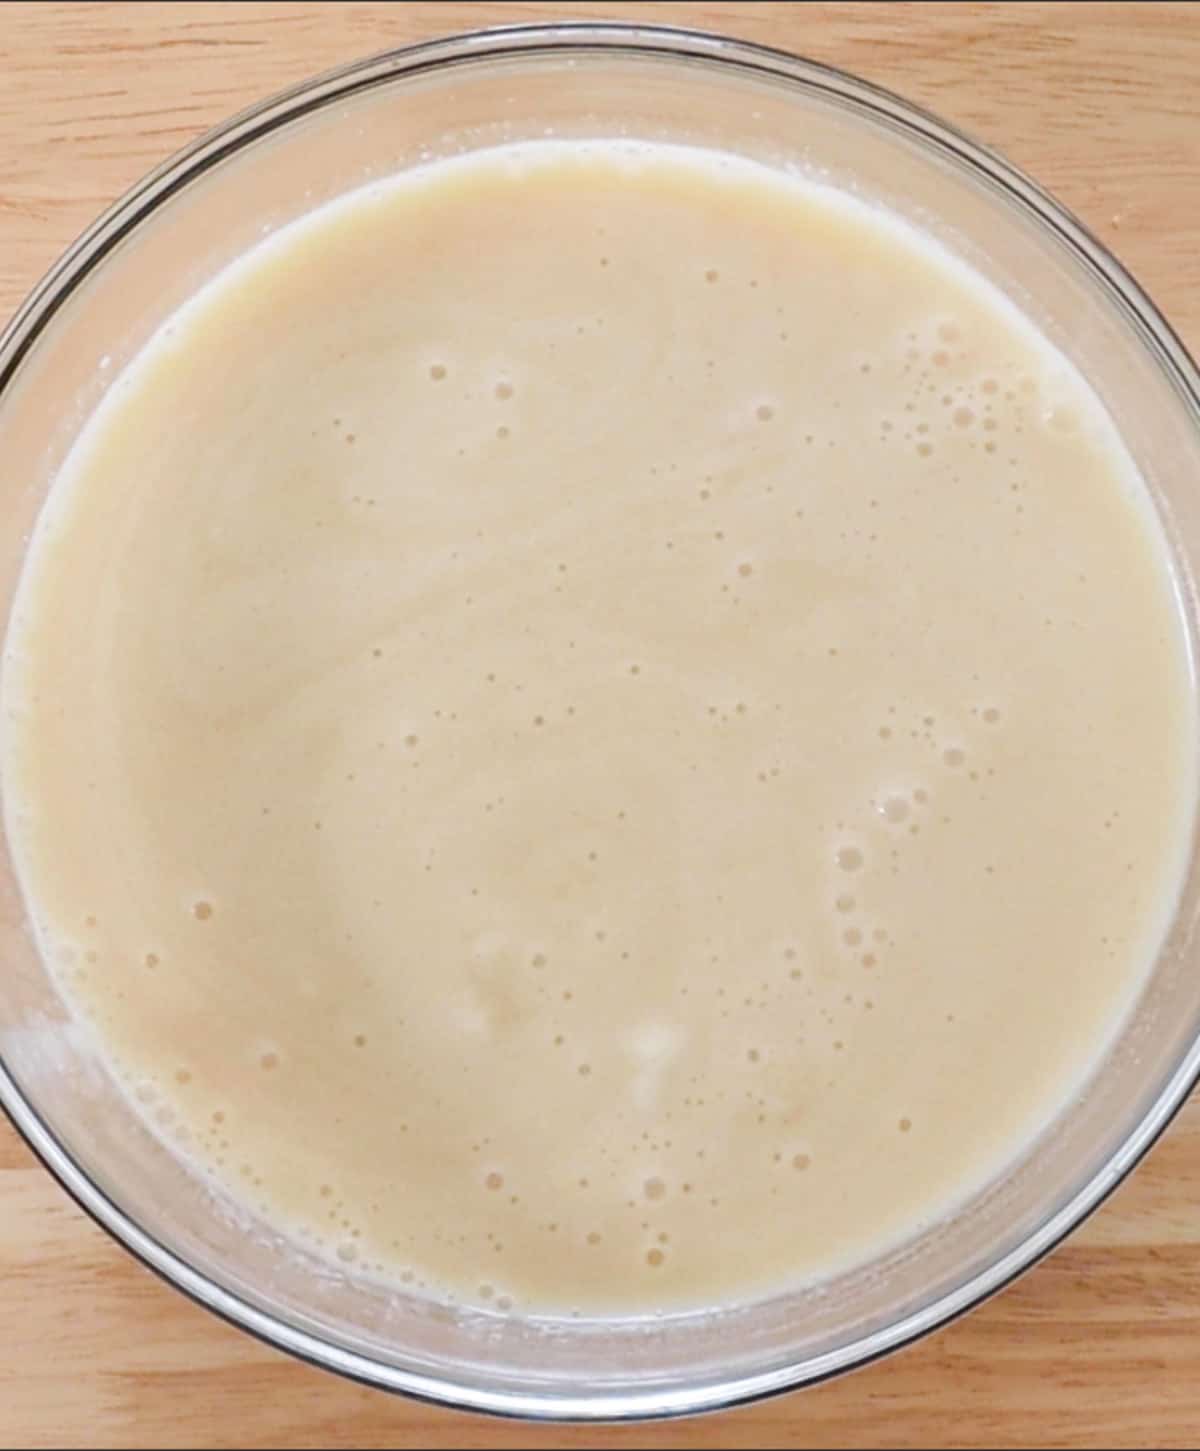
Step #2: Bring to a boil, then reduce the heat and simmer. This is our homemade, sweetened condensed milk.
Step #3: Remove from heat and transfer to a bowl. Whisk in the pure vanilla, sea salt, and remaining whipped cream or coconut milk.
💭Tip: If using the coconut milk option and it is clumpy, simply run it through a blender or food processor on low until well combined.
Step #4: Place plastic wrap directly onto the mixture and cool to room temperature. Then, chill for 4 hours up to overnight.
💭Tip: If the mixture isn't extremely cold, it will not thicken properly.
Step #5: If using guar gum, very slowly sprinkle it into the mixture while whisking constantly. Do not dump it in or it will clump!
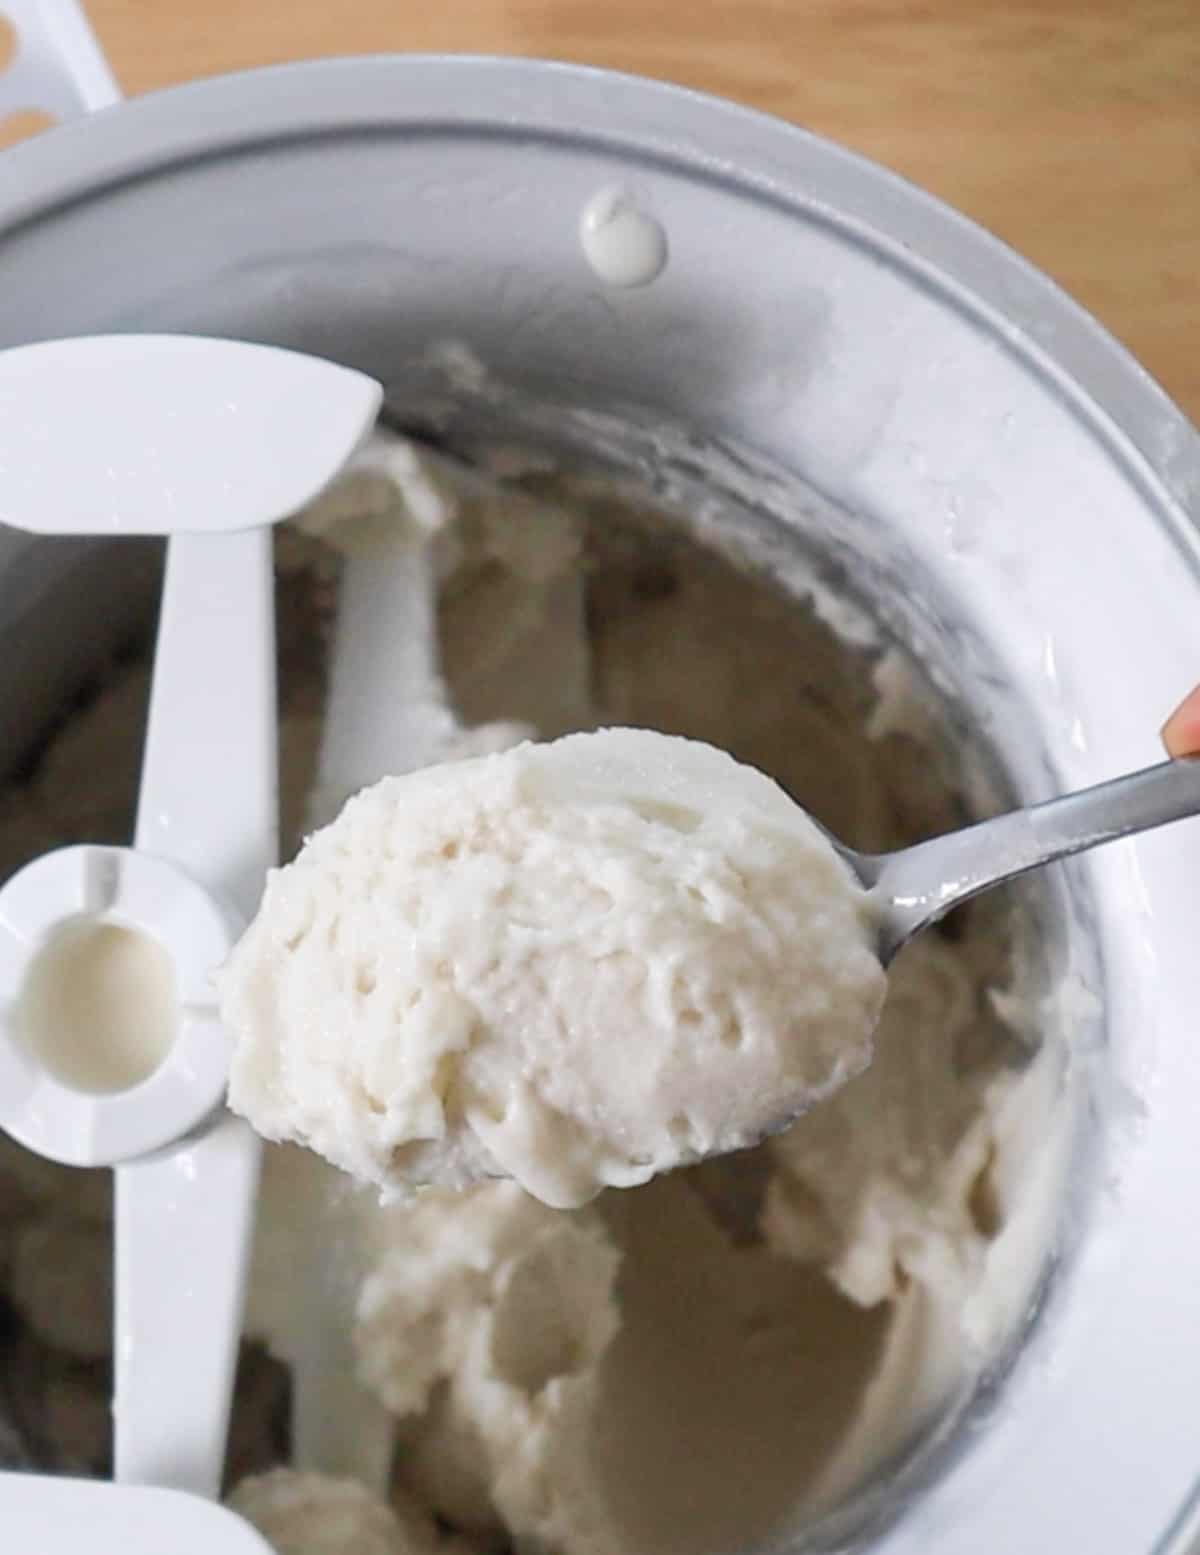
Step #6: Churn according to the manufacturer's directions. Do not over-churn; otherwise, it may turn into whipped cream!
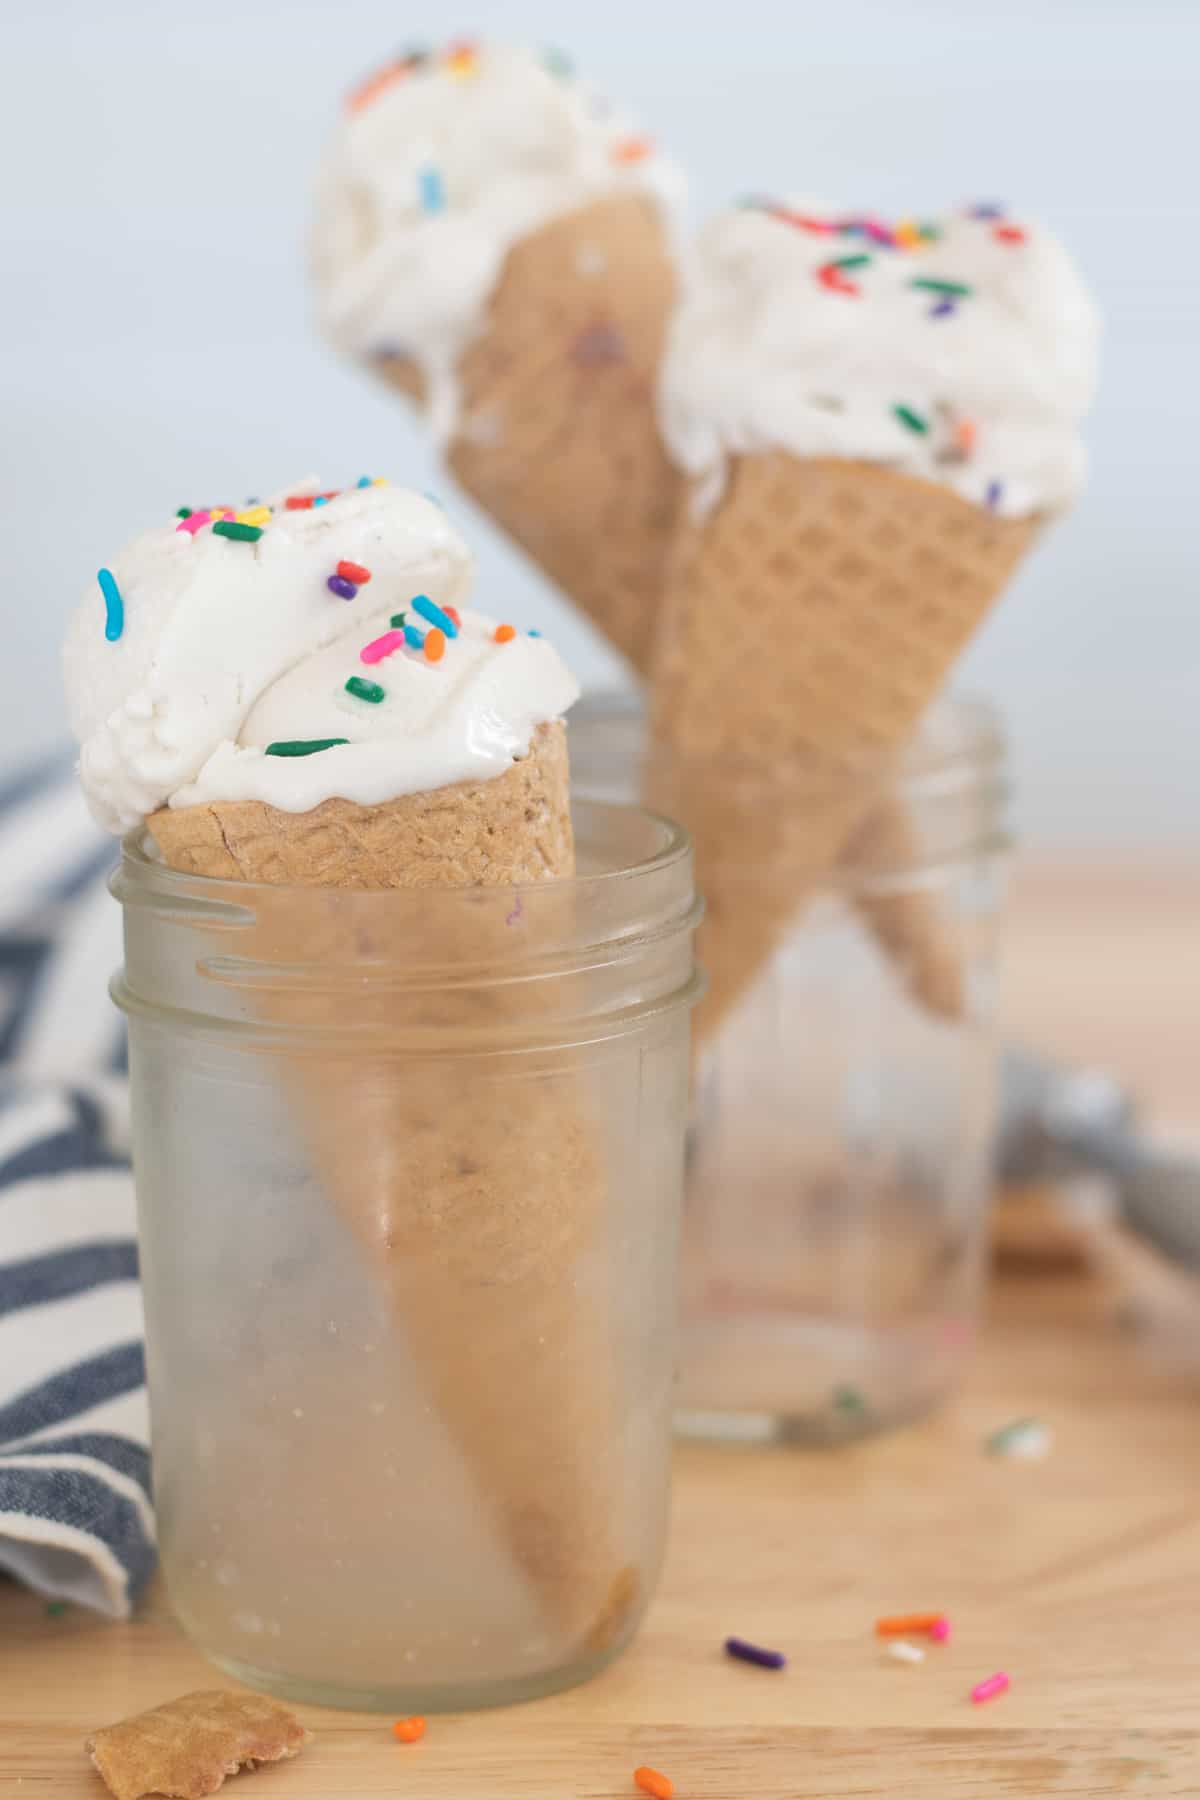
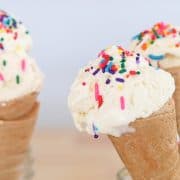
Eat immediately or cover and freeze for 4 to 8 hours for pretty scoops 🍨
Toppings
Here are some topping ideas I think you'll love...
- Low-Carb Caramel Sauce
- Keto Chocolate Syrup
- Sugar-Free Chocolate Chips
- Keto Sprinkles
- Edible Cookie Dough
- Low-Carb Cones (not GF!)
- Gluten-Free Cones
- Sugar-Free Balsamic Glaze (Or Reduction)
- Or check out this roundup of ice cream toppings (just be careful of the carbs)
Or if you're looking for more ice cream recipes, I think you'll love this strawberry banana nice cream (dairy-free but not low-carb) from A Dash Of Megnut and this Keto Death By Chocolate Ice Cream from All Day I Dream About Food!
And this peach ice cream from Ice Cream From Scratch looks amazing too and could easily be made low-carb by replacing the sweetener with allulose.
Top tips
- If you have to freeze your bowl, make sure it is frozen - really frozen. It needs a full 24 hours in the freezer for best results (or follow the instructions for your specific machine).
- After churning, transfer it quickly from the bowl to the freezer as fast as possible. Freezing fast will help prevent large ice crystals.
- I don't recommend re-freezing the ice cream after it has thawed. Otherwise, it will be icy.
- Even though the gelatin and guar gum are optional, I recommend using one of them in the dairy-free, and especially the no-churn versions. It helps prevent it from being icy.
- Choosing between guar gum and gelatin: Both work really well, but I prefer guar gum. However, guar gum is a more obscure ingredient and gelatin is very good for gut health, which is why I added the gelatin option.
- There is no gelatin option for the ice cream machine version. This is because the gelatin has to be added just before churning. However, the mixture has to be extremely cold to churn so it's not a good idea to add boiling gelatin water, lol 🤣
If you've tried this Keto Vanilla Ice Cream Maker Recipe, please let me know what you think in the comments below!
Craving more? FOLLOW ME on Pinterest, Instagram, Facebook, YouTube, or E-Mail to find more delicious food!
📖 Recipe
Keto Vanilla Ice Cream Maker Recipe
Ingredients
- 3 Cups Heavy Whipping Cream - OR 27 oz (2 cans) full-fat canned coconut milk for dairy-free
- 2 tablespoon Butter, Ghee, Or Non-Dairy Butter
- ¾ Cup Allulose - see notes below for substitutions
- ⅛ tsp. Sea Salt
- 1 tablespoon Pure Vanilla
- ½ tsp. Guar Gum - optional but VERY highly recommended for the dairy-free, and especially the no-churn options (OR 1 tablespoon Unflavored Gelatin, see notes below)
Instructions
- Whisk together 2 cups of the heavy whipping cream or 1 13.5 oz can of full-fat canned coconut milk, allulose, and butter in a medium-sized saucepan.
- Bring to a boil. Reduce heat and simmer for 30 to 40 minutes, or until slightly thickened and reduced by about half. This is our homemade sweetened condensed milk.
With An Ice Cream Maker:
- *Note- If your ice cream machine requires that you freeze your bowl, be sure to freeze it a full 24 hours.Remove from heat and transfer to a bowl. Whisk in the pure vanilla, sea salt, and remaining heavy whipping cream or coconut milk. If the coconut milk is clumpy, place it in a blender (or food processor) and blend on low until combined.
- Place plastic wrap directly onto the mixture and cool to room temperature. Transfer to the fridge and chill for 4 hours to overnight. This allows time for the flavors to meld together and for the mixture to get cold. If the mixture isn't extremely cold, it will not thicken properly in the ice cream machine.
- If using guar gum, very slowly sprinkle it into the mixture while whisking. Do not dump it in or it will clump! Then, churn in an ice cream machine according to the manufacturer's directions until the mixture resembles soft-serve, usually 20 to 30 minutes. Do not over-churn, otherwise, it may turn into whipped cream! Enjoy right away or cover and freeze for 4 to 8 hours for pretty scoops. Store tightly covered in the freezer for 2 to 3 months.
Without An Ice Cream Maker:
- Whipped Cream Version: Transfer the mixture to a bowl and allow to slightly cool. Then, place plastic wrap directly onto the mixture and cool to room temperature. Transfer to the fridge and chill for 4 hours, or until thoroughly chilled. Add the remaining heavy whipping cream, vanilla, and sea salt to a large bowl. Beat on low speed with an electric hand mixer or with the whisk attachment on a stand mixer. Once the mixture starts to thicken, slowly increase speed to medium-high and beat until soft peaks form. If using gelatin: Place the whipped cream in the refrigerator. Evenly sprinkle the gelatin into a shallow bowl of ¼ cup cold water. Allow to sit for 1 to 2 minutes so the gelatin can dissolve. Microwave the mixture for 10 to 15 seconds, or until the gelatin dissolves, and whisk with a fork. Add it to the cooled, sweetened milk.If using guar gum: Very slowly sprinkle the guar gum into the sweetened milk mixture while whisking constantly. Do not dump it in or it will clump!Then, briefly beat the cooled, sweetened milk into the whipped cream on low until incorporated. Do not over-beat.Pour into a freezer-safe container. Tightly cover and freeze for 4 to 8 hours.
- Coconut Milk Version: Transfer the mixture to a bowl and allow it to slightly cool. Then, place plastic wrap directly onto the mixture and cool to room temperature. Transfer to the fridge and chill for 4 hours, or until thoroughly chilled. Allow the second can of coconut milk to chill in the fridge for at least 24 hours. Remove the lid, then scoop out the solid white cream and place it into the jar of a blender.Add the sweetened milk mixture, pure vanilla, sea salt, and guar gum or gelatin (see below👇) to the blender. Blend until combined and smooth.If using gelatin: Evenly sprinkle the gelatin into a shallow bowl of ¼ cup cold water. Allow to sit for 1 to 2 minutes so the gelatin can dissolve. Microwave the mixture for 10 to 15 seconds, or until the gelatin dissolves, and whisk with a fork. Add it to the mixture.Pour into a freezer-safe container. Cover tightly and freeze for 4 to 8 hours. Allow to set on the counter for 15 to 30 minutes to slightly soften before serving.*Note - The coconut milk no-churn method was slightly updated in June 2022 because using a blender makes lighter, softer ice cream as opposed to using a hand-held mixer.
Add Your Own Notes
Video
Notes
- See how easy this recipe is to make on my YouTube channel! Watch the full video here: Ice Cream YouTube Video
- For the sweetener, I strongly recommend using pure allulose or an allulose/monk fruit blend. It's the secret ingredient that makes it creamy and scoop-able! Erythritol-based sweeteners will work, but they will result in hard ice cream. However, if you have to use an erythritol-based sweetener be sure to use the powdered variety and add 2 tablespoon of vodka or white rum to help soften the ice cream. Then, allow it to rest at room temperature 15 to 30 minutes before serving.
- If you're only dairy-free and not keto, feel free to use ½ cup of pure cane sugar instead of allulose.
- Pure allulose isn't as sweet as other sweeteners. If using an allulose blend or another sweetener, start with ½ cup.
- To make this a vanilla bean recipe, simply reduce the pure vanilla to 1 tsp. Then, split a vanilla bean in half lengthwise and scrape out the seeds. Add them and the pod to the mixture and refrigerate as directed. Remove the pod before churning.
- I don't recommend re-freezing the ice cream after it has thawed, otherwise, it will be icy.
- The dairy-free version will have a mild coconut taste.
- For the canned coconut milk, I only recommend Thai Kitchen, Native Forest, or Sprouts brands. These are 3 brands I know taste good. Other brands may leave an aftertaste.
- Even though the gelatin and guar gum are optional, I recommend using one of them in the dairy-free, and especially the no-churn versions. It helps prevent them from being icy.
- Be sure to measure the guar gum accurately! If you use a rounded spoon, it will negatively affect the texture.
- Choosing between guar gum and gelatin: While both will work, I think the guar gum produces a creamier texture. However, guar gum is a more obscure ingredient and gelatin is very good for gut health, which is why I added the gelatin option.
- There is no gelatin option for the ice cream machine version. This is because the gelatin has to be added just before churning. However, the mixture has to be extremely cold to churn so it's not a good idea to add boiling gelatin water, lol 🤣
Nutrition
NET CARBS = Total Carbs - Fiber - Allulose - Xylitol
Nutritional information is approximate and may vary. Sugar alcohols, xylitol, and allulose are included in the total carbs and fiber.
Looking for more information on the keto diet? Check out my

Anita Elsbree says
Hi tried coconut milk keto recipie (26 oz milk) and 1 Tablespoon vodka.
Ice cream has frozen hard! Do I need to add more vodka to keep it soft?
Thanks so much!! Nita
Cassidy Stauffer says
Hi Anita, I'm sorry the ice cream is hard!
Yes, 2 Tablespoons of vodka can help soften the ice cream. But unfortunately, when I tested this recipe with vodka alone (without guar gum or gelatin), it still turned out pretty hard. Did you add guar gum or gelatin to the recipe - or replace them with vodka? For softer scoops, I recommend guar gum with gelatin as a close second. And even though it's not required, an ice cream machine will make it even softer because it will incorporate a lot of air into the mixture!
I hope this helps!
XO
Cassidy