
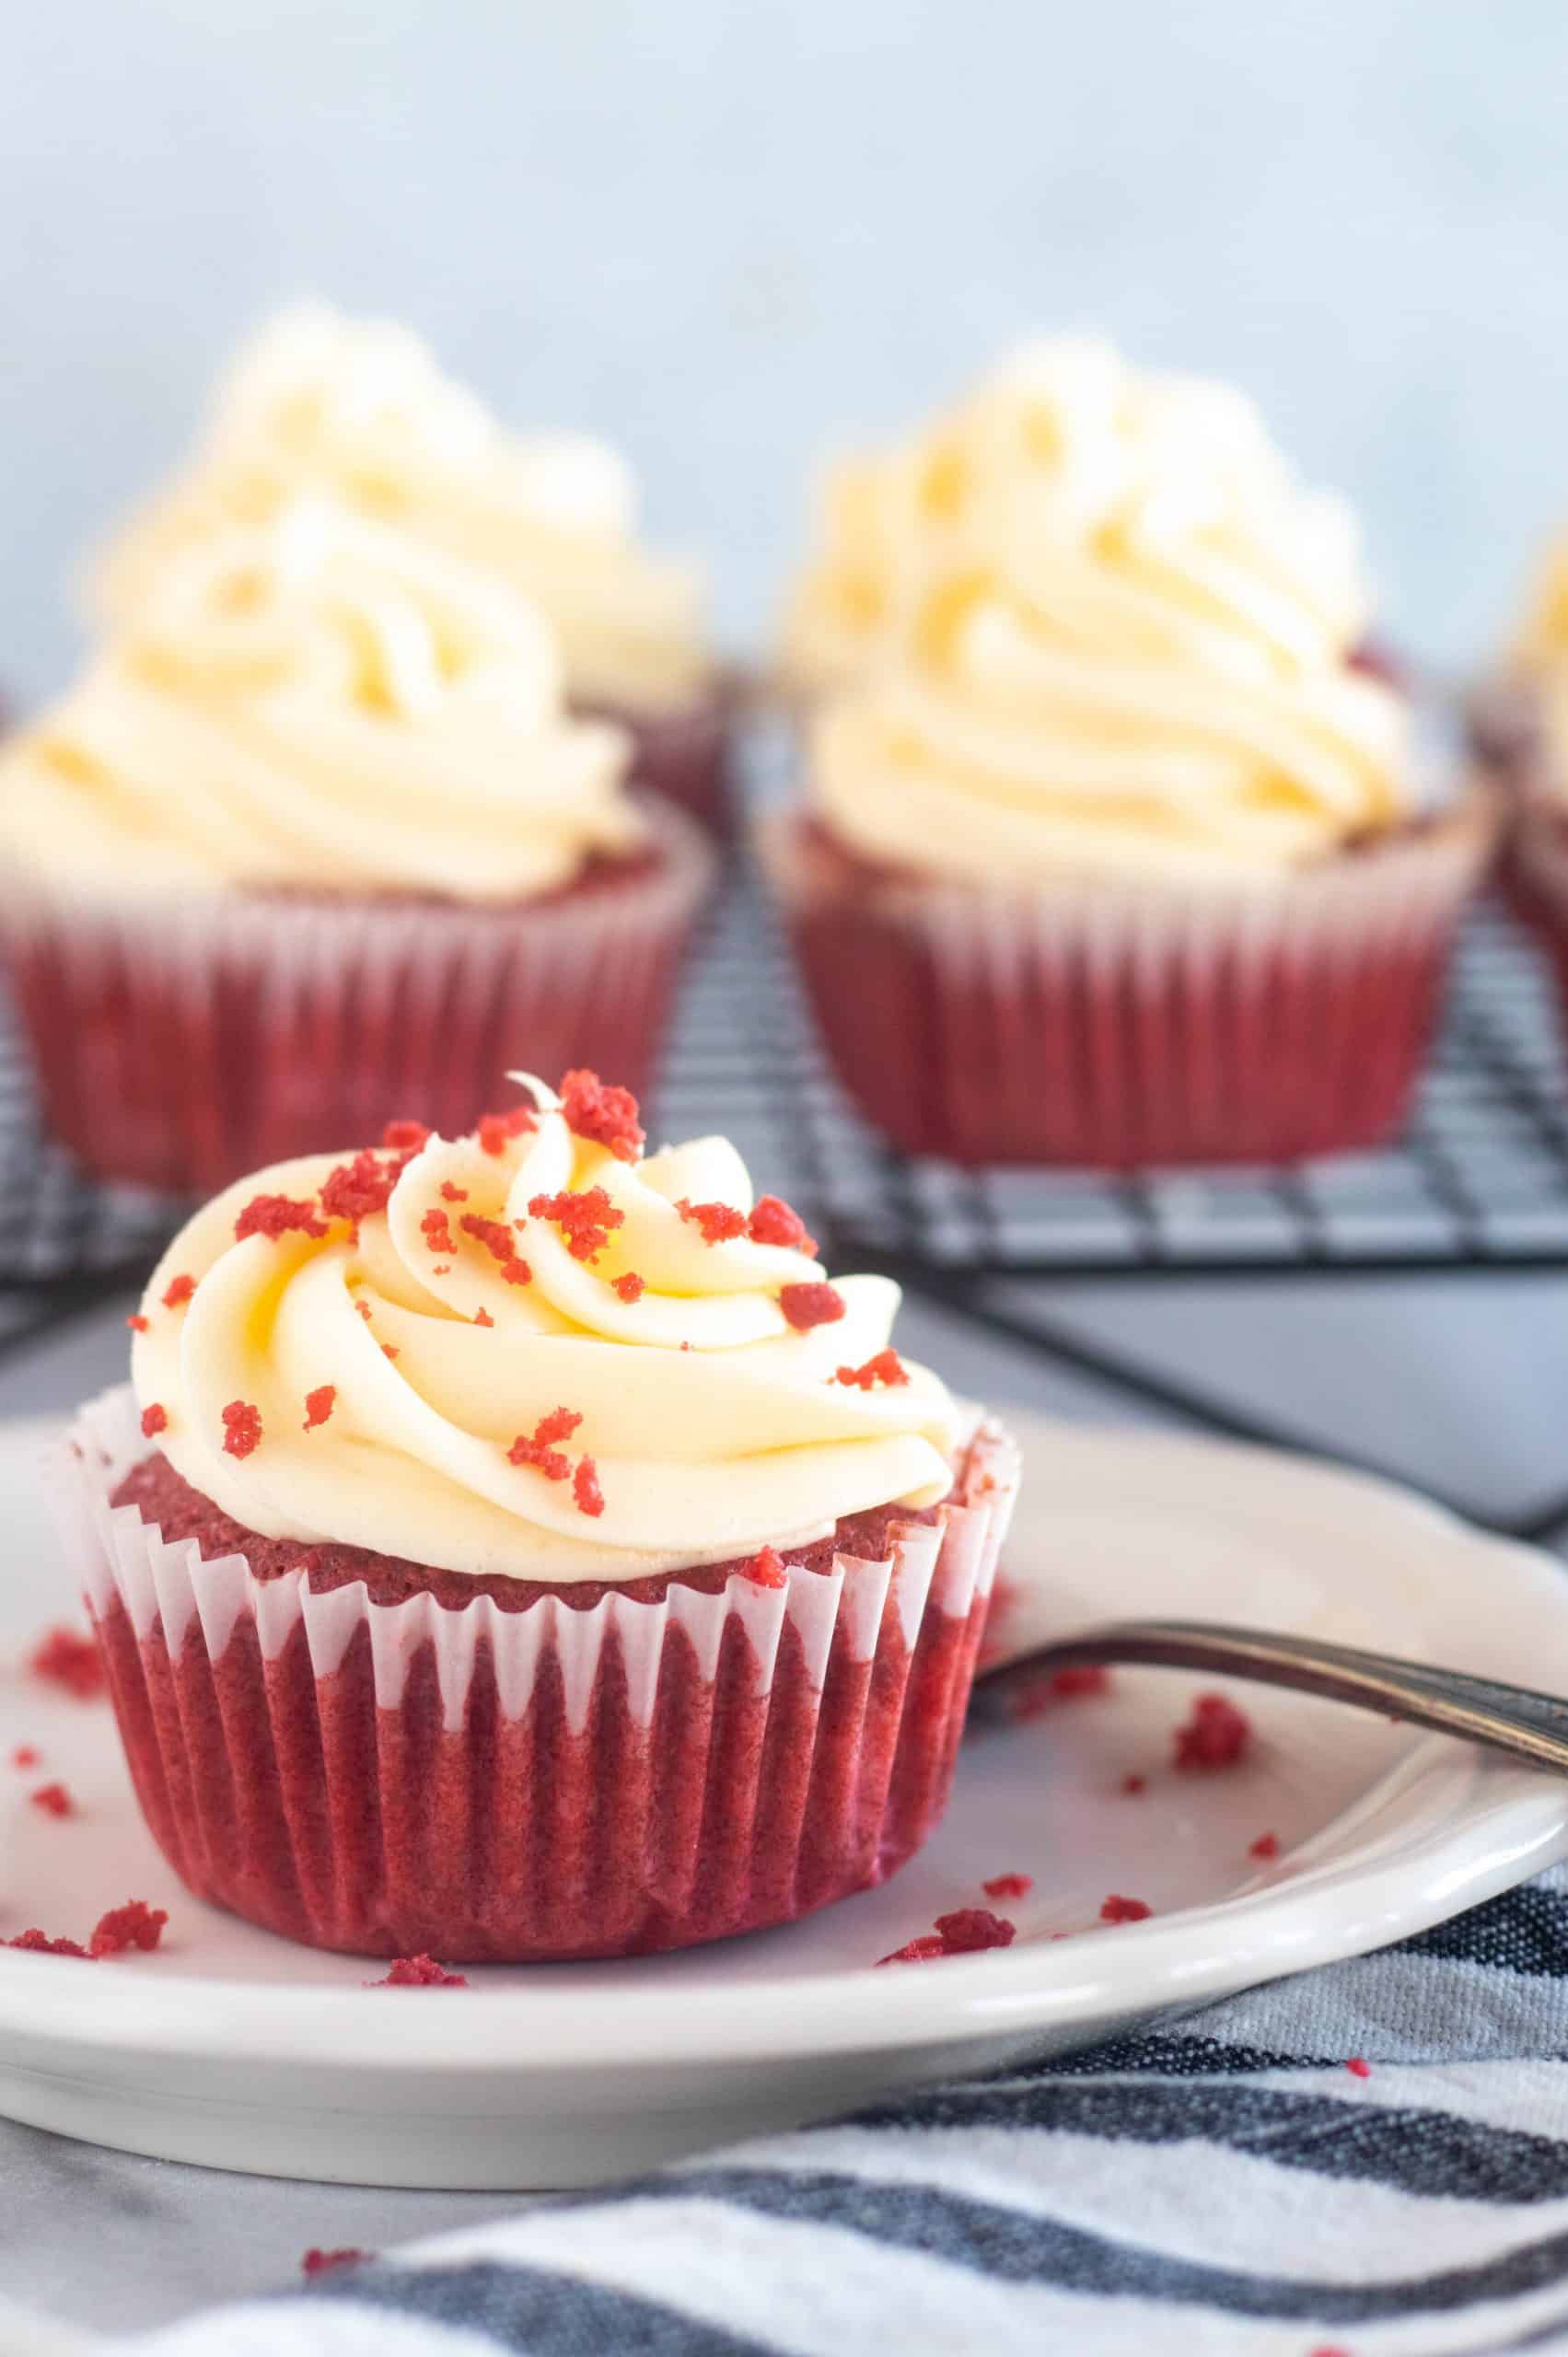
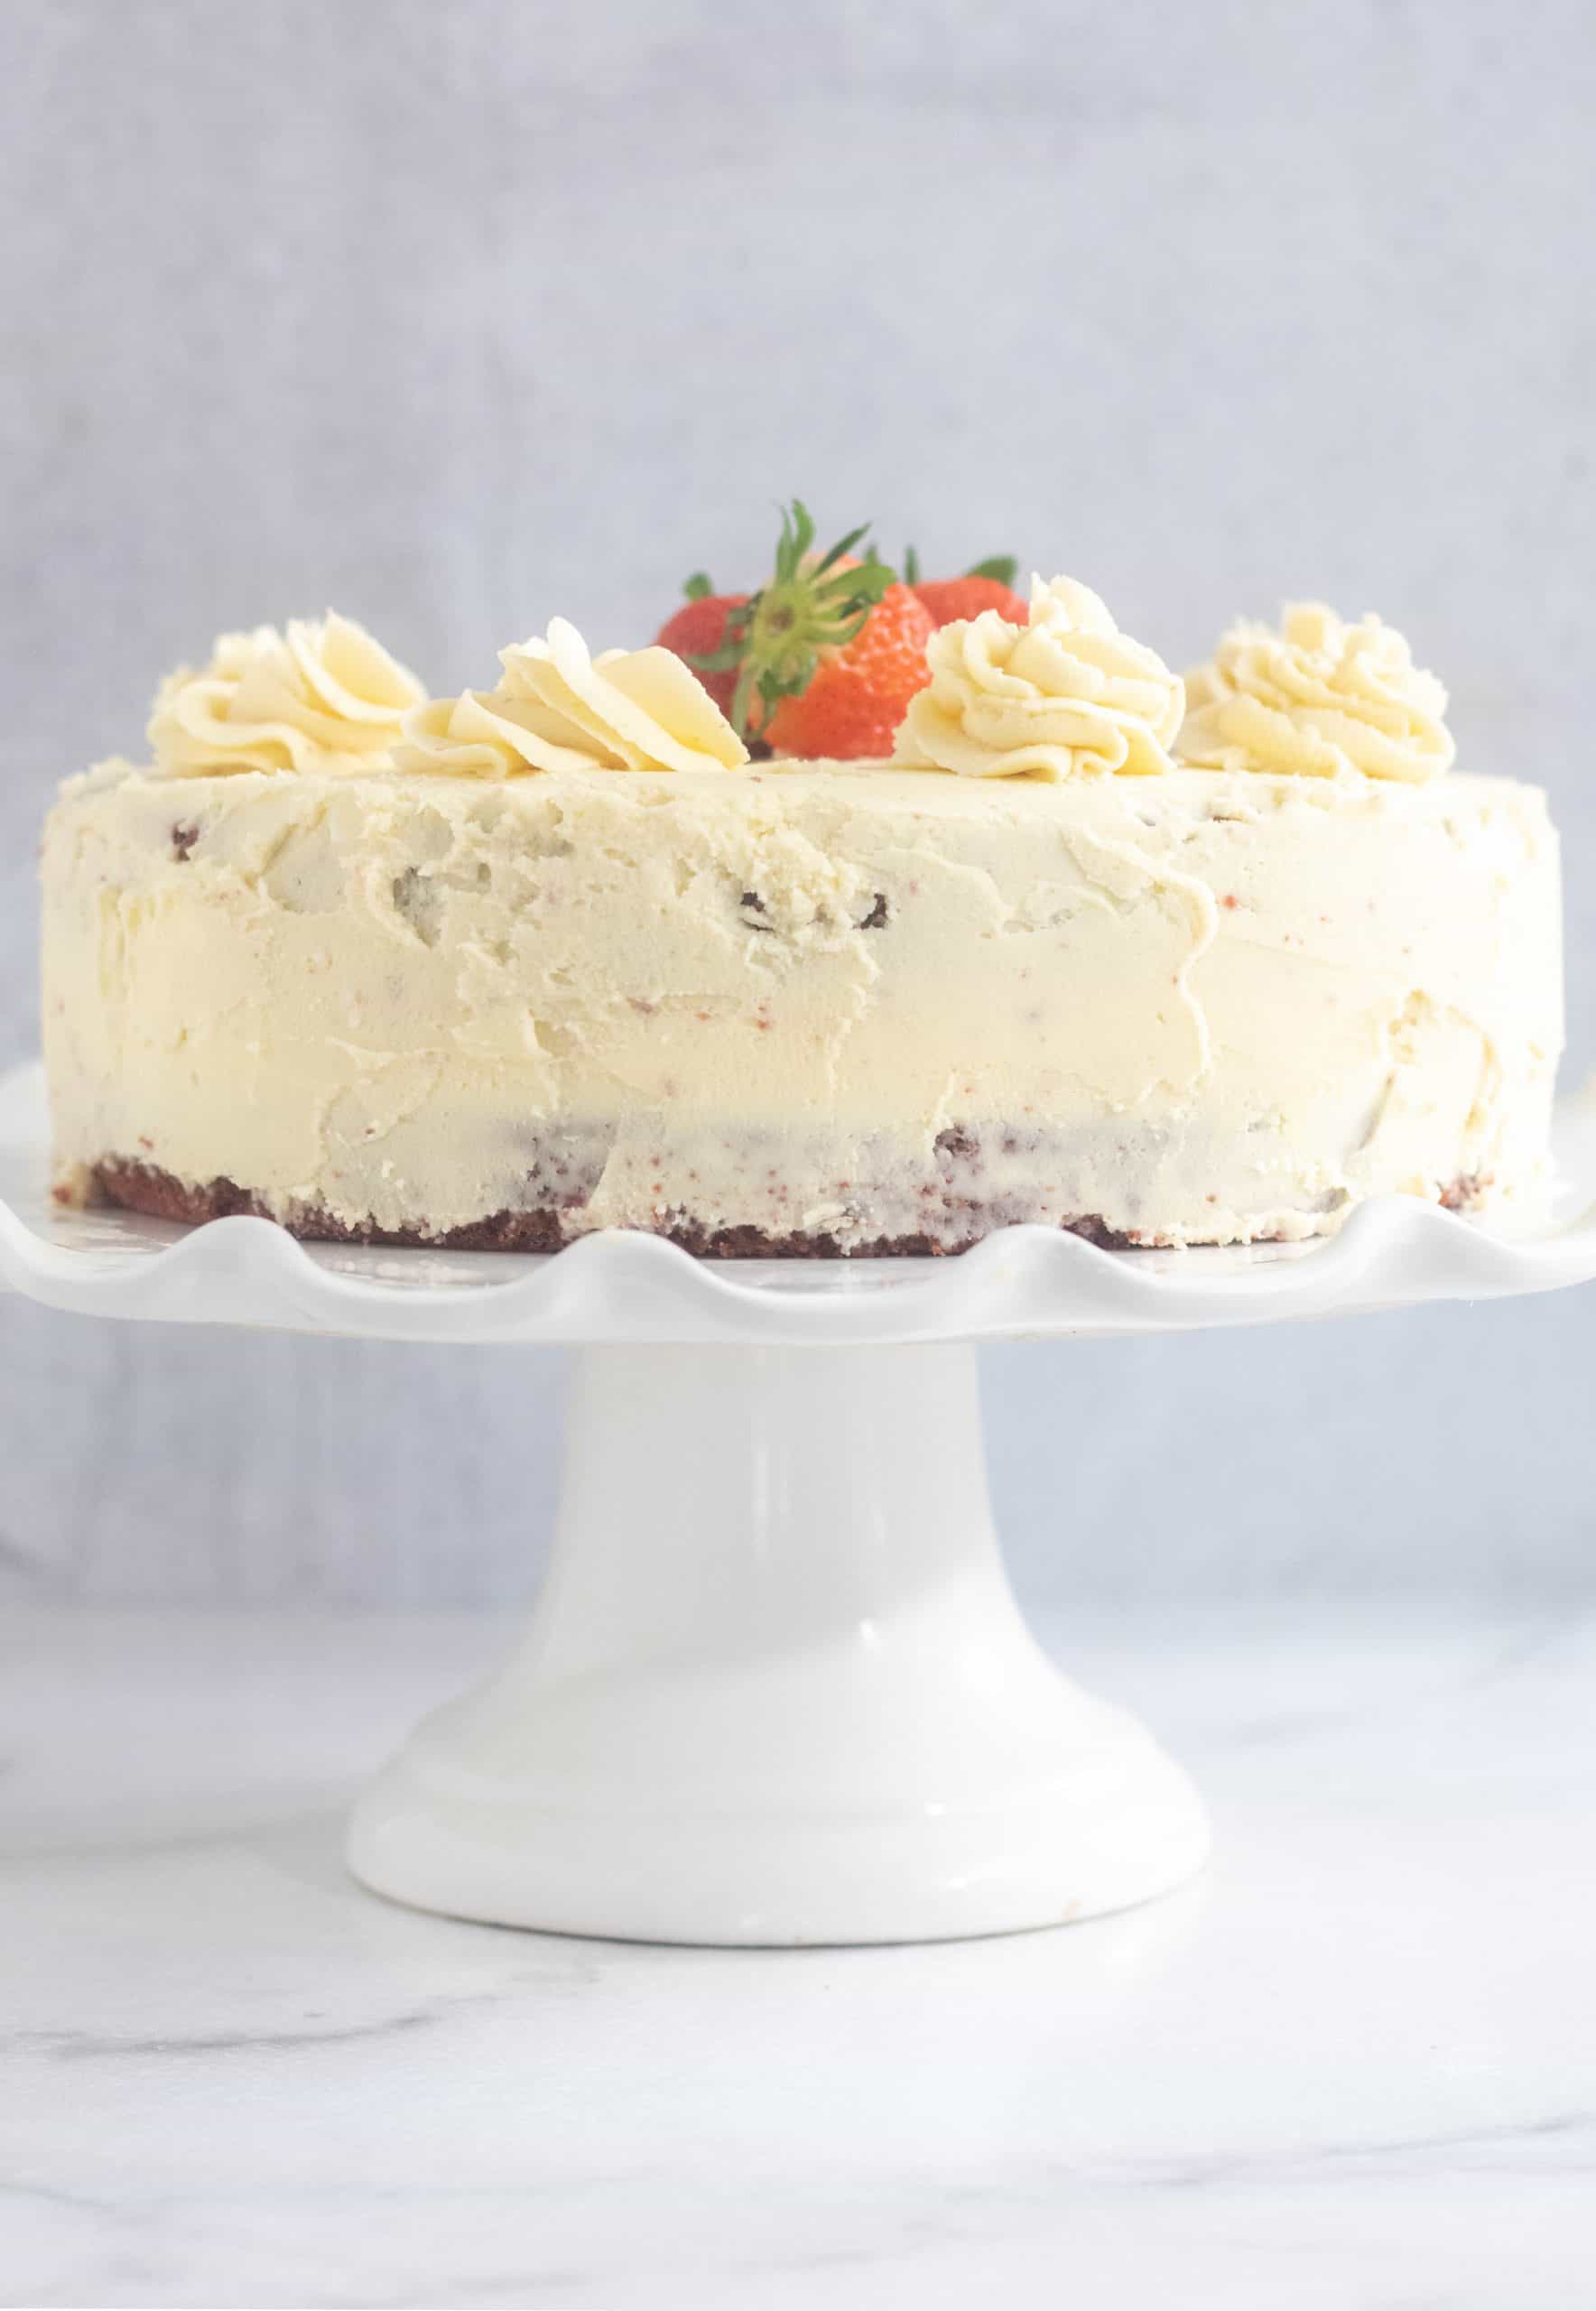
The best keto red velvet cake (or cupcakes!) recipe. It features a soft velvety crumb, hints of vanilla and cocoa powder, and then it's coated in smooth and creamy cream cheese frosting!
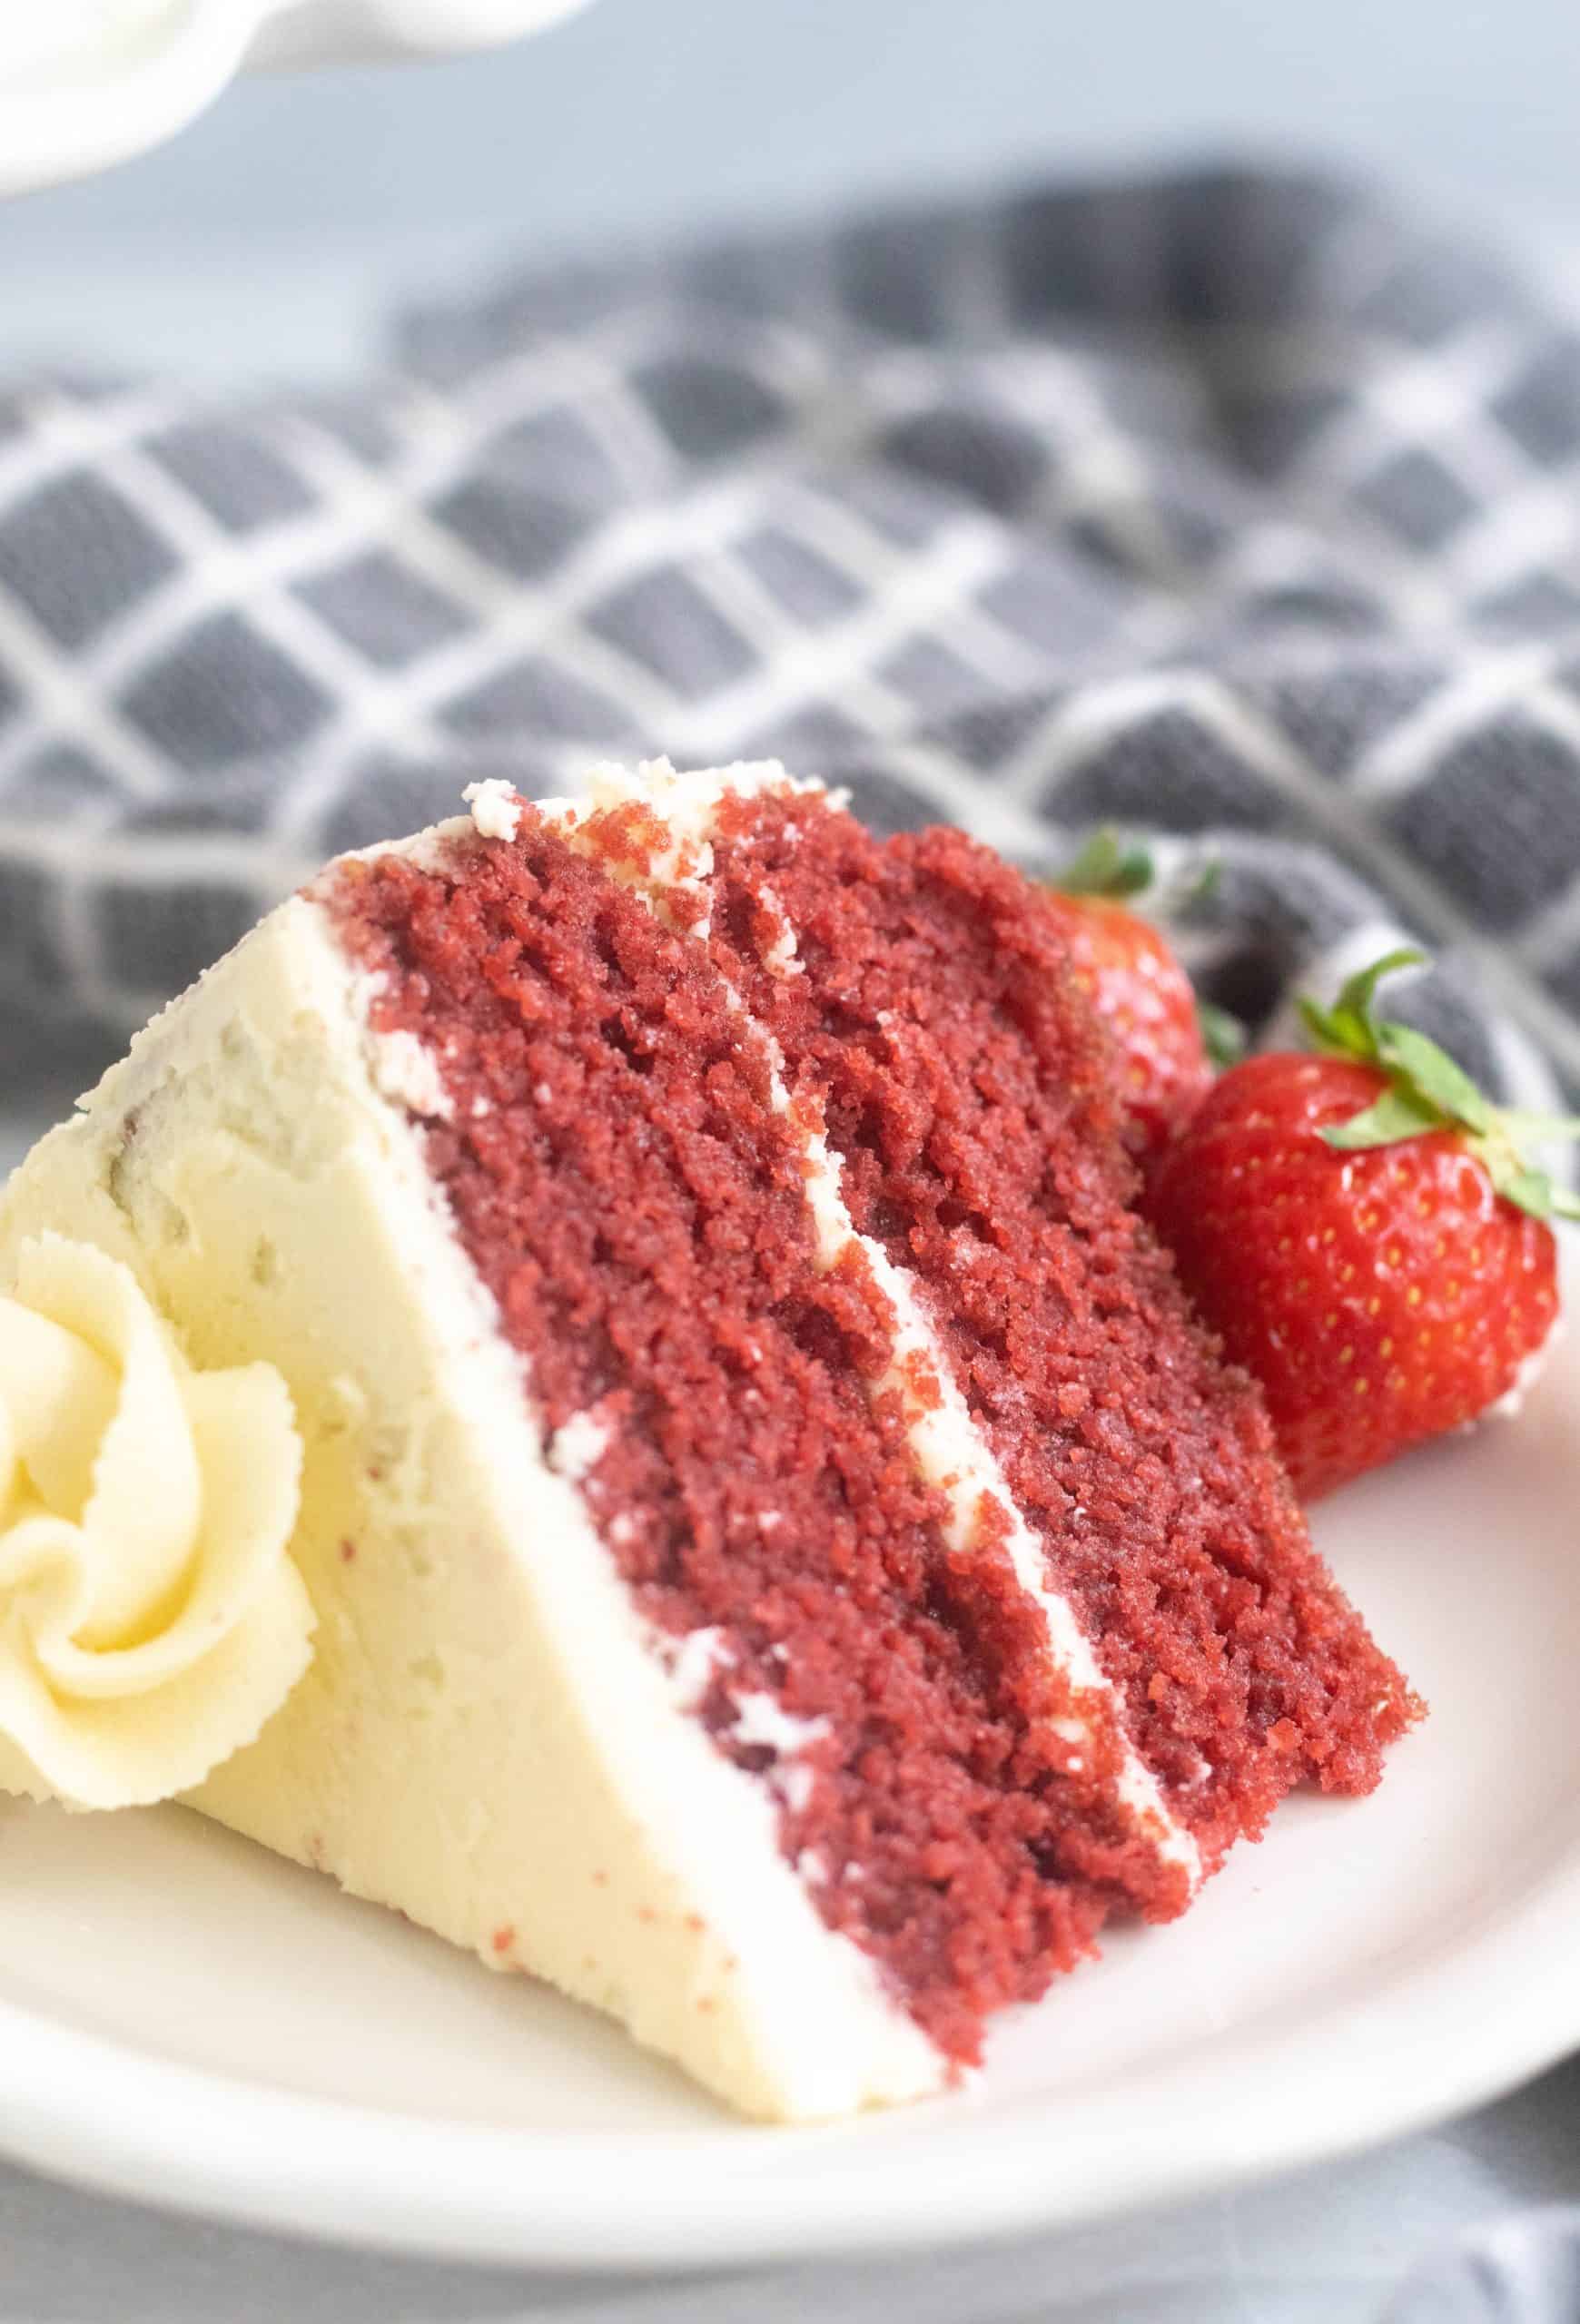
This stunning layered low-carb keto red velvet cake recipe (or cupcakes!) has hints of vanilla and cocoa powder, a super moist crumb, and is then coated in a creamy sugar-free cream cheese frosting recipe.
If you've never tried red velvet cake before, you are in for a treat!
What does a red velvet cake taste like?
Many people have difficulty putting their finger on exactly what a red velvet cake tastes like. Is it vanilla? Chocolate? Or just a yellow cake with red food coloring?
It tastes like the following:
- Buttery
- Sweet Vanilla
- Mild Cocoa
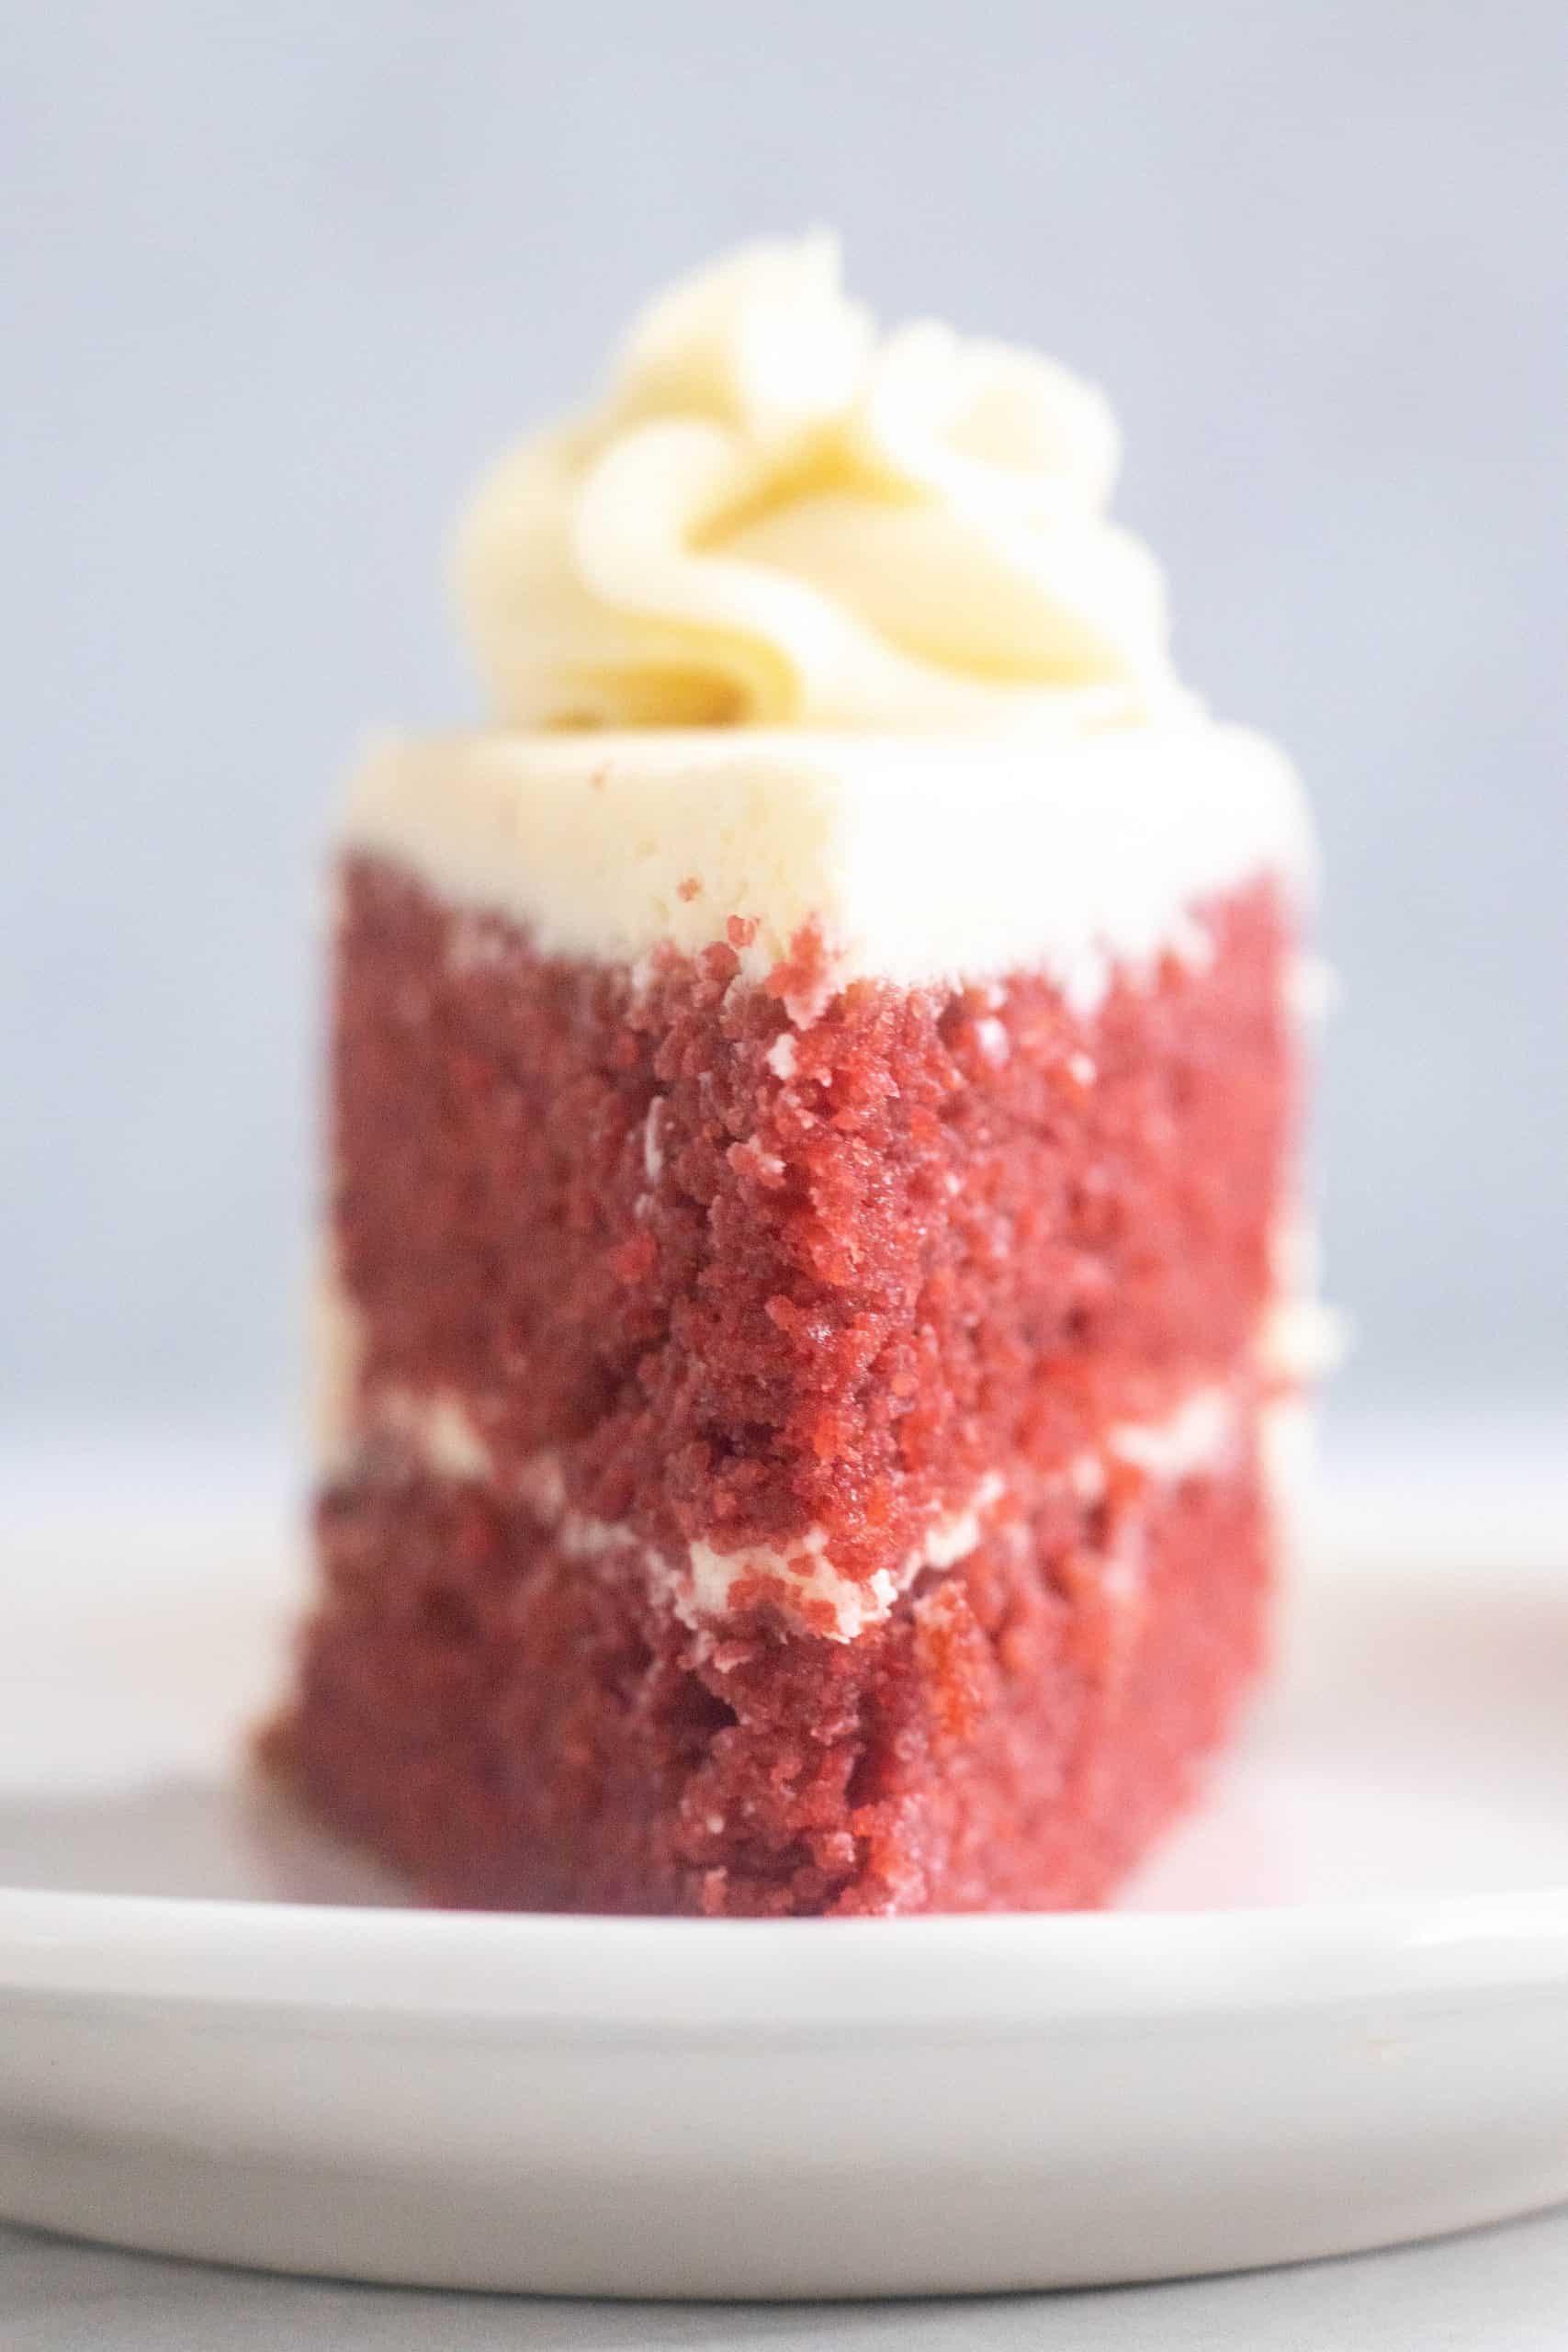
- Extra Soft, Velvety Crumb
This keto red velvet cake has all of the above elements without excess carbs or sugar, coming in at only two net carbs per slice or cupcake!
Ingredients
Here are the simple keto red velvet cake ingredients:
- Blanched Almond Flour: Keto flour. Be sure to use finely ground, blanched almond flour.
- Coconut Flour - This makes the crumb extra soft and fluffy! Be careful, though; not all brands are the same! I recommend Bob's Red Mill, Besti, or Arrowhead Mills.
- Unsweetened, Natural Cocoa Powder - Slight cocoa taste. For a stronger taste, use Dutch-processed cocoa powder.
- Baking Powder & Baking Soda - For rising.
- Sea Salt - Enhances the flavor. Omit if using salted butter
- Unsalted Or Salted Butter - Soft crumb and buttery taste! Be sure the butter is well softened.
- Monk Fruit/Allulose Sweetener, Allulose, Or Xylitol - The secret ingredient to this cake's soft and tender crumb is by using one of the sugar-free sweeteners above! While you can use an erythritol-based sweetener, the crumb will not be quite as soft and may lend a slight cooling-like aftertaste.
- Large Eggs - Bring the eggs to room temperature so they mix well in the batter.
- Pure Vanilla - If possible, use pure vanilla instead of the imitation variety.
- Unsweetened Almond Milk - Be sure to use unsweetened, non-dairy milk because cow's milk is higher in carbs.
- Apple Cider Vinegar or White Vinegar - Adds rise and tenderness. But don't worry, you can't taste it in the final product!
- Red Food Coloring - Optional for a classic red hue. See the subheading below for red food coloring options.
- Keto Cream Cheese Frosting - Classic frosting for a red velvet cake.
💭Top Tip: Pure allulose isn't as sweet as other sweeteners. If using pure allulose, increase the amount to 2 cups.
Food coloring
Most cocoa powders today are Dutch processed, meaning they will not react with the buttermilk and vinegar to give the cake a reddish tint. So, to achieve a beautiful, classic red color, you must add food coloring.
Here are some options:
- Traditional Food Coloring - This is what I use in this recipe. You'll need 1 ½ Tablespoons.
- Gel Food Coloring - Gel is more concentrated, so you'll only need 1 to 2 teaspoons.
- Natural Food Coloring - You'll need at least 1 to 1 ½ Tablespoons, and the cake will be more like a soft pink. You may also need to add cream of tartar to activate the food coloring.
- Beet Root Powder - Beetroot will create a red hue but will not be super bright red. Please don't use more than 2 Tablespoons, or it may leave an aftertaste.
Frequently asked questions
No, you do not have to add food coloring if the color isn't important to you. However, to achieve that classic deep red color, you must add some type of red food coloring.
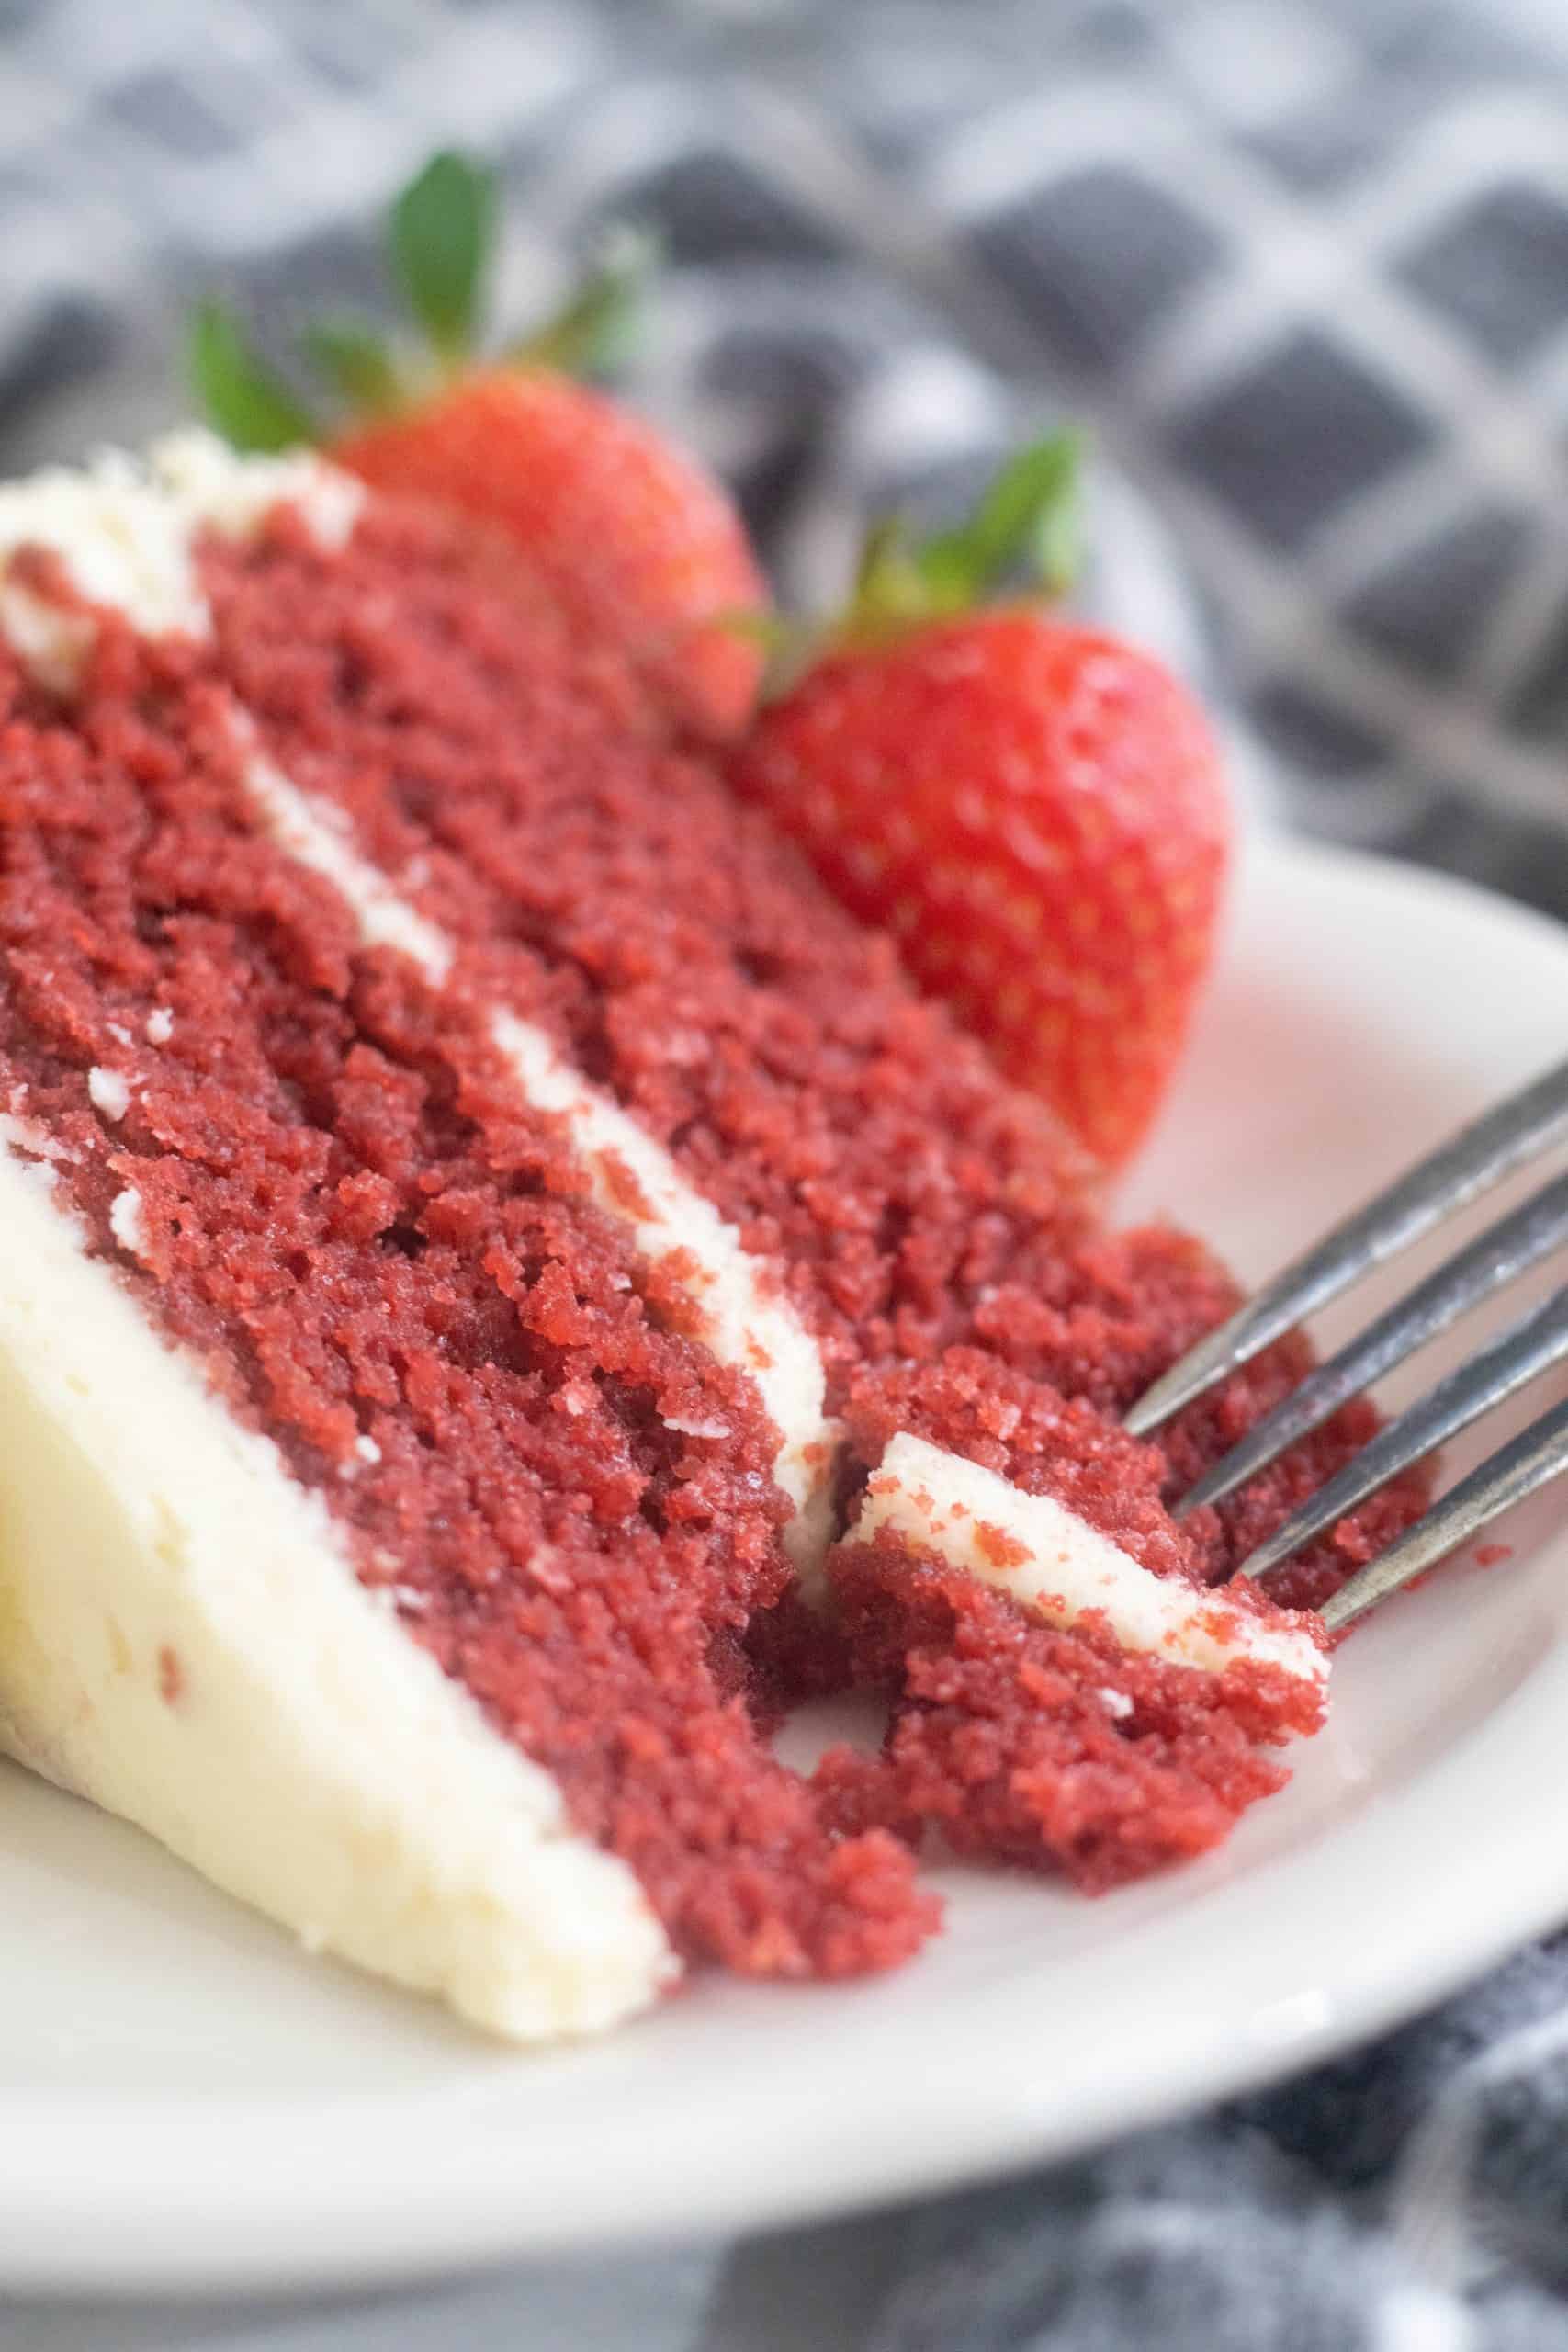
No, the crumb has a tighter and softer "velvety" texture and only has a slight hint of cocoa powder, along with hints of butter and vanilla. Also, it is typically served with cream cheese frosting instead of chocolate frosting.
Initially, it was made by a chemical reaction between cocoa powder, buttermilk, and vinegar to create a reddish tint. However, during the great depression, a food coloring company started marketing red food coloring in red velvet cakes to give them the much brighter red color we know today.
Easy instructions
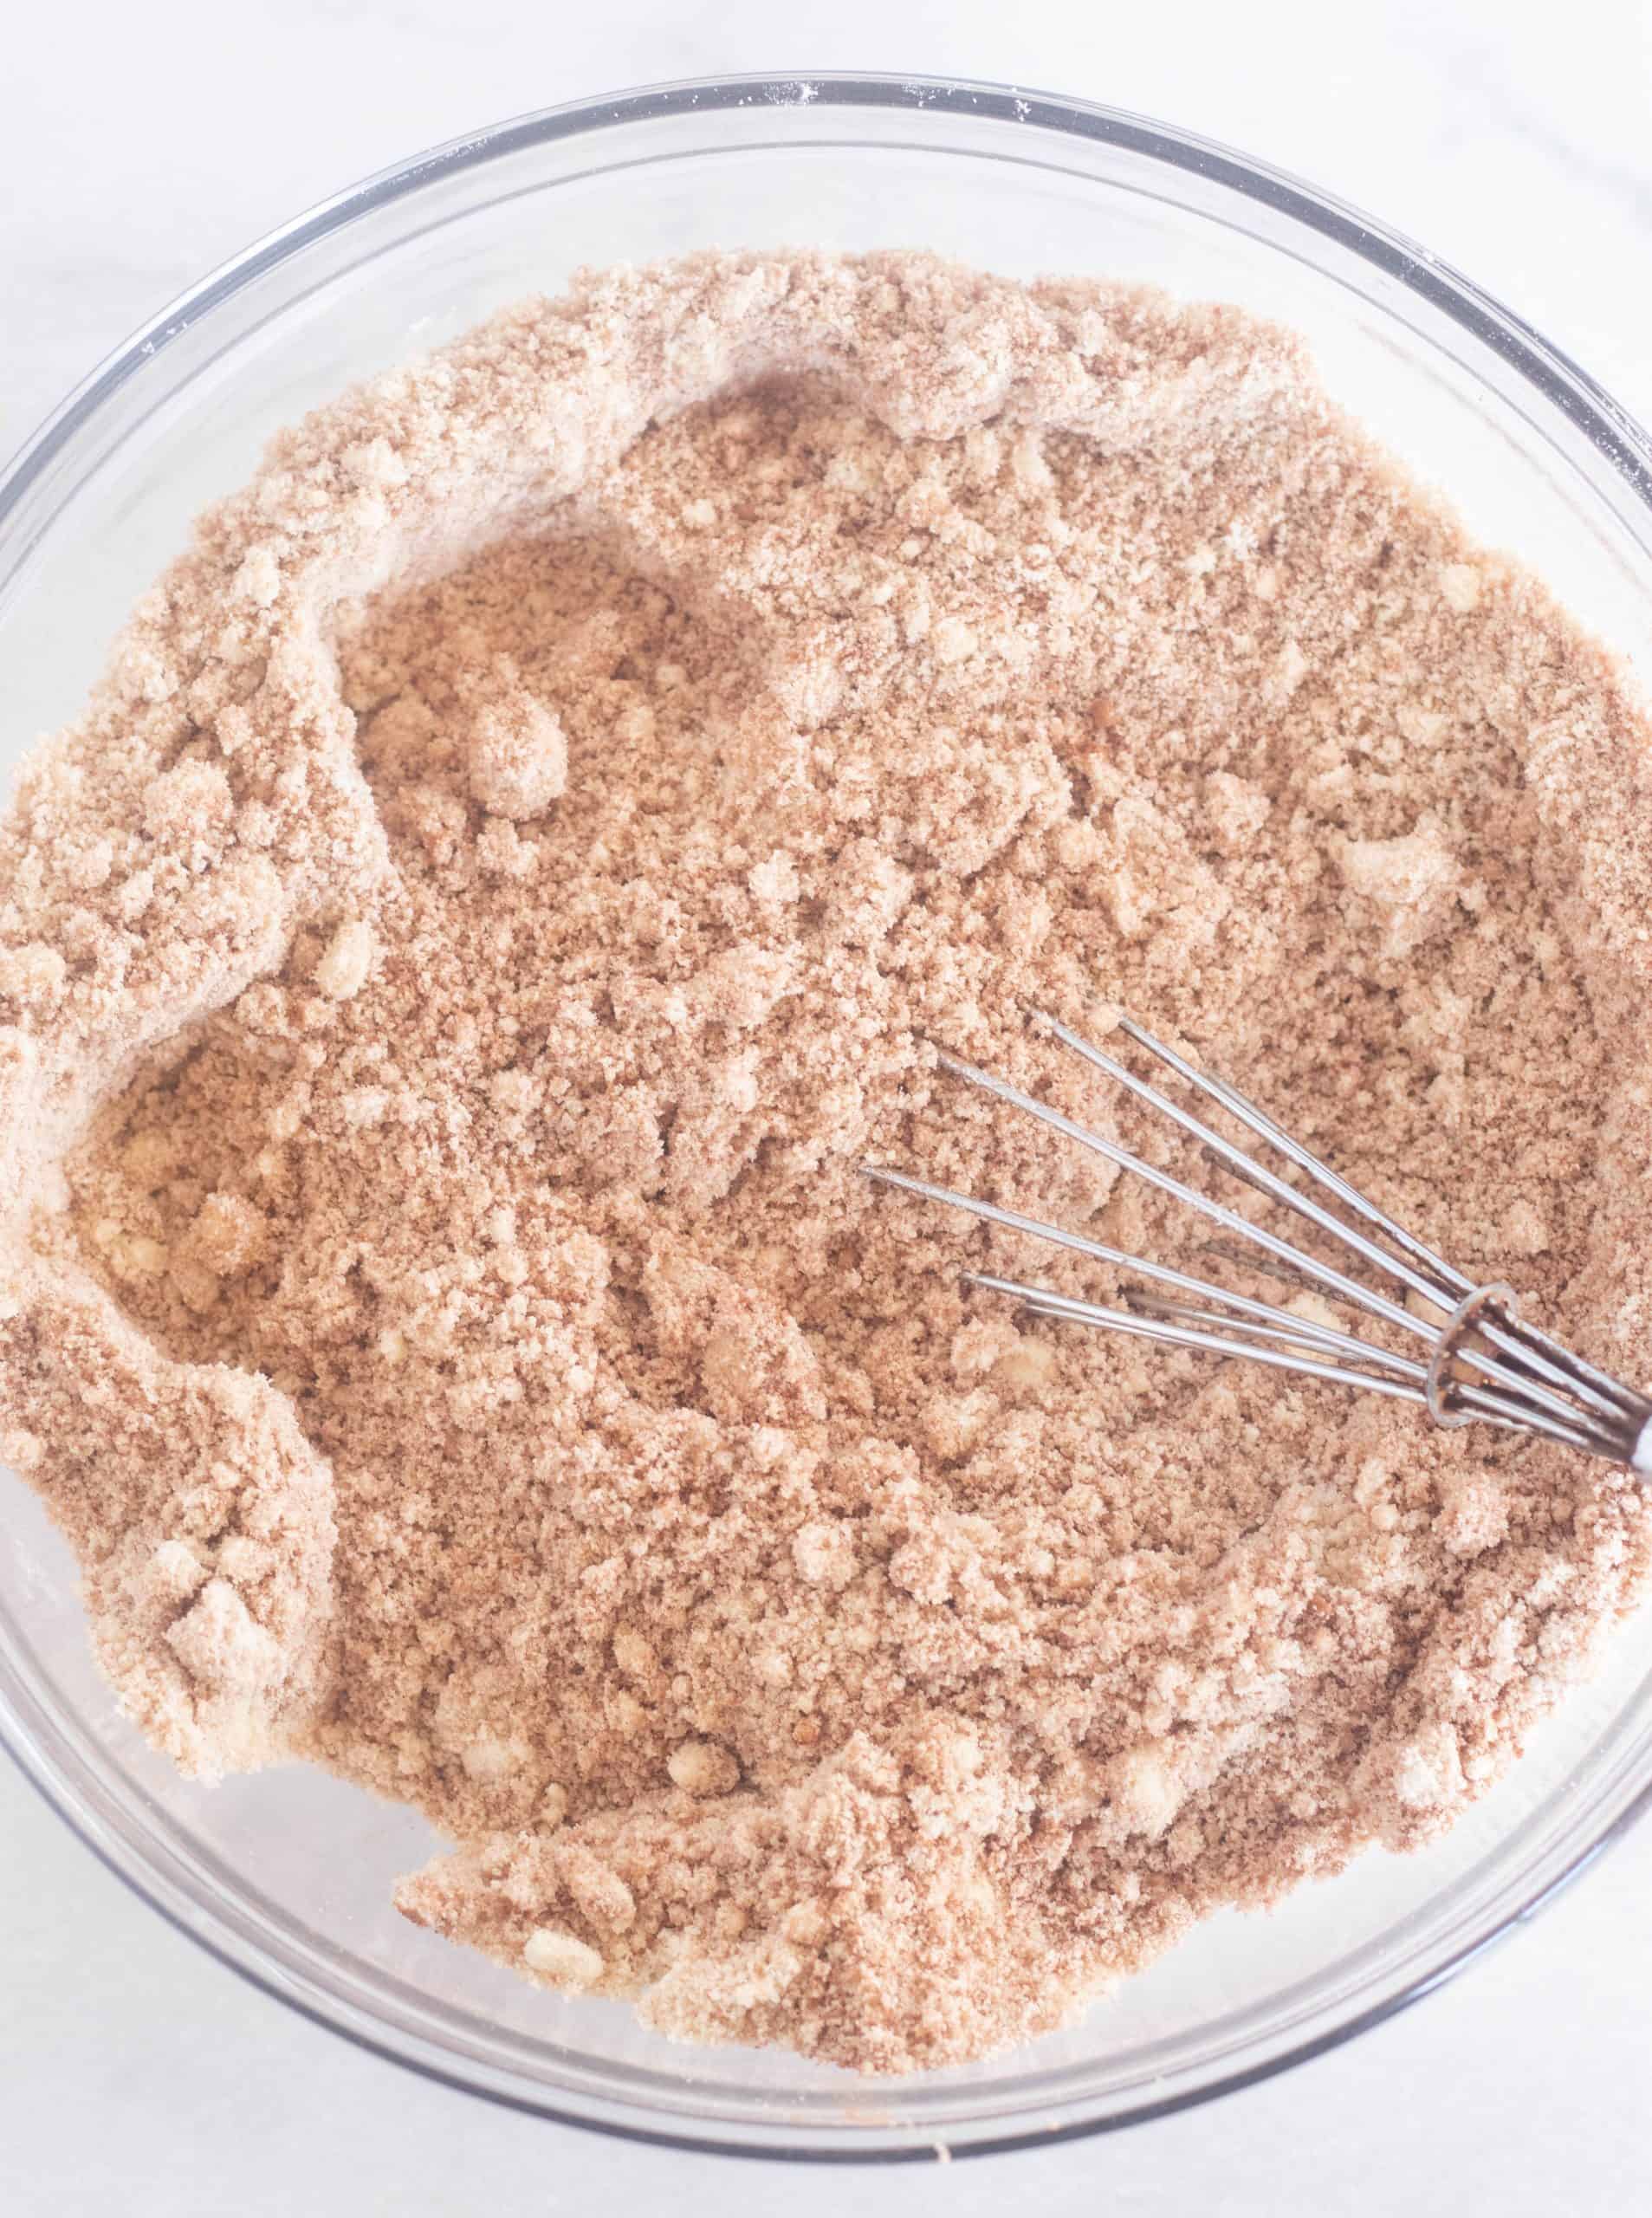
- Start by whisking together the dry ingredients. This includes almond flour, coconut flour, cocoa powder, baking soda, baking powder, and sea salt.
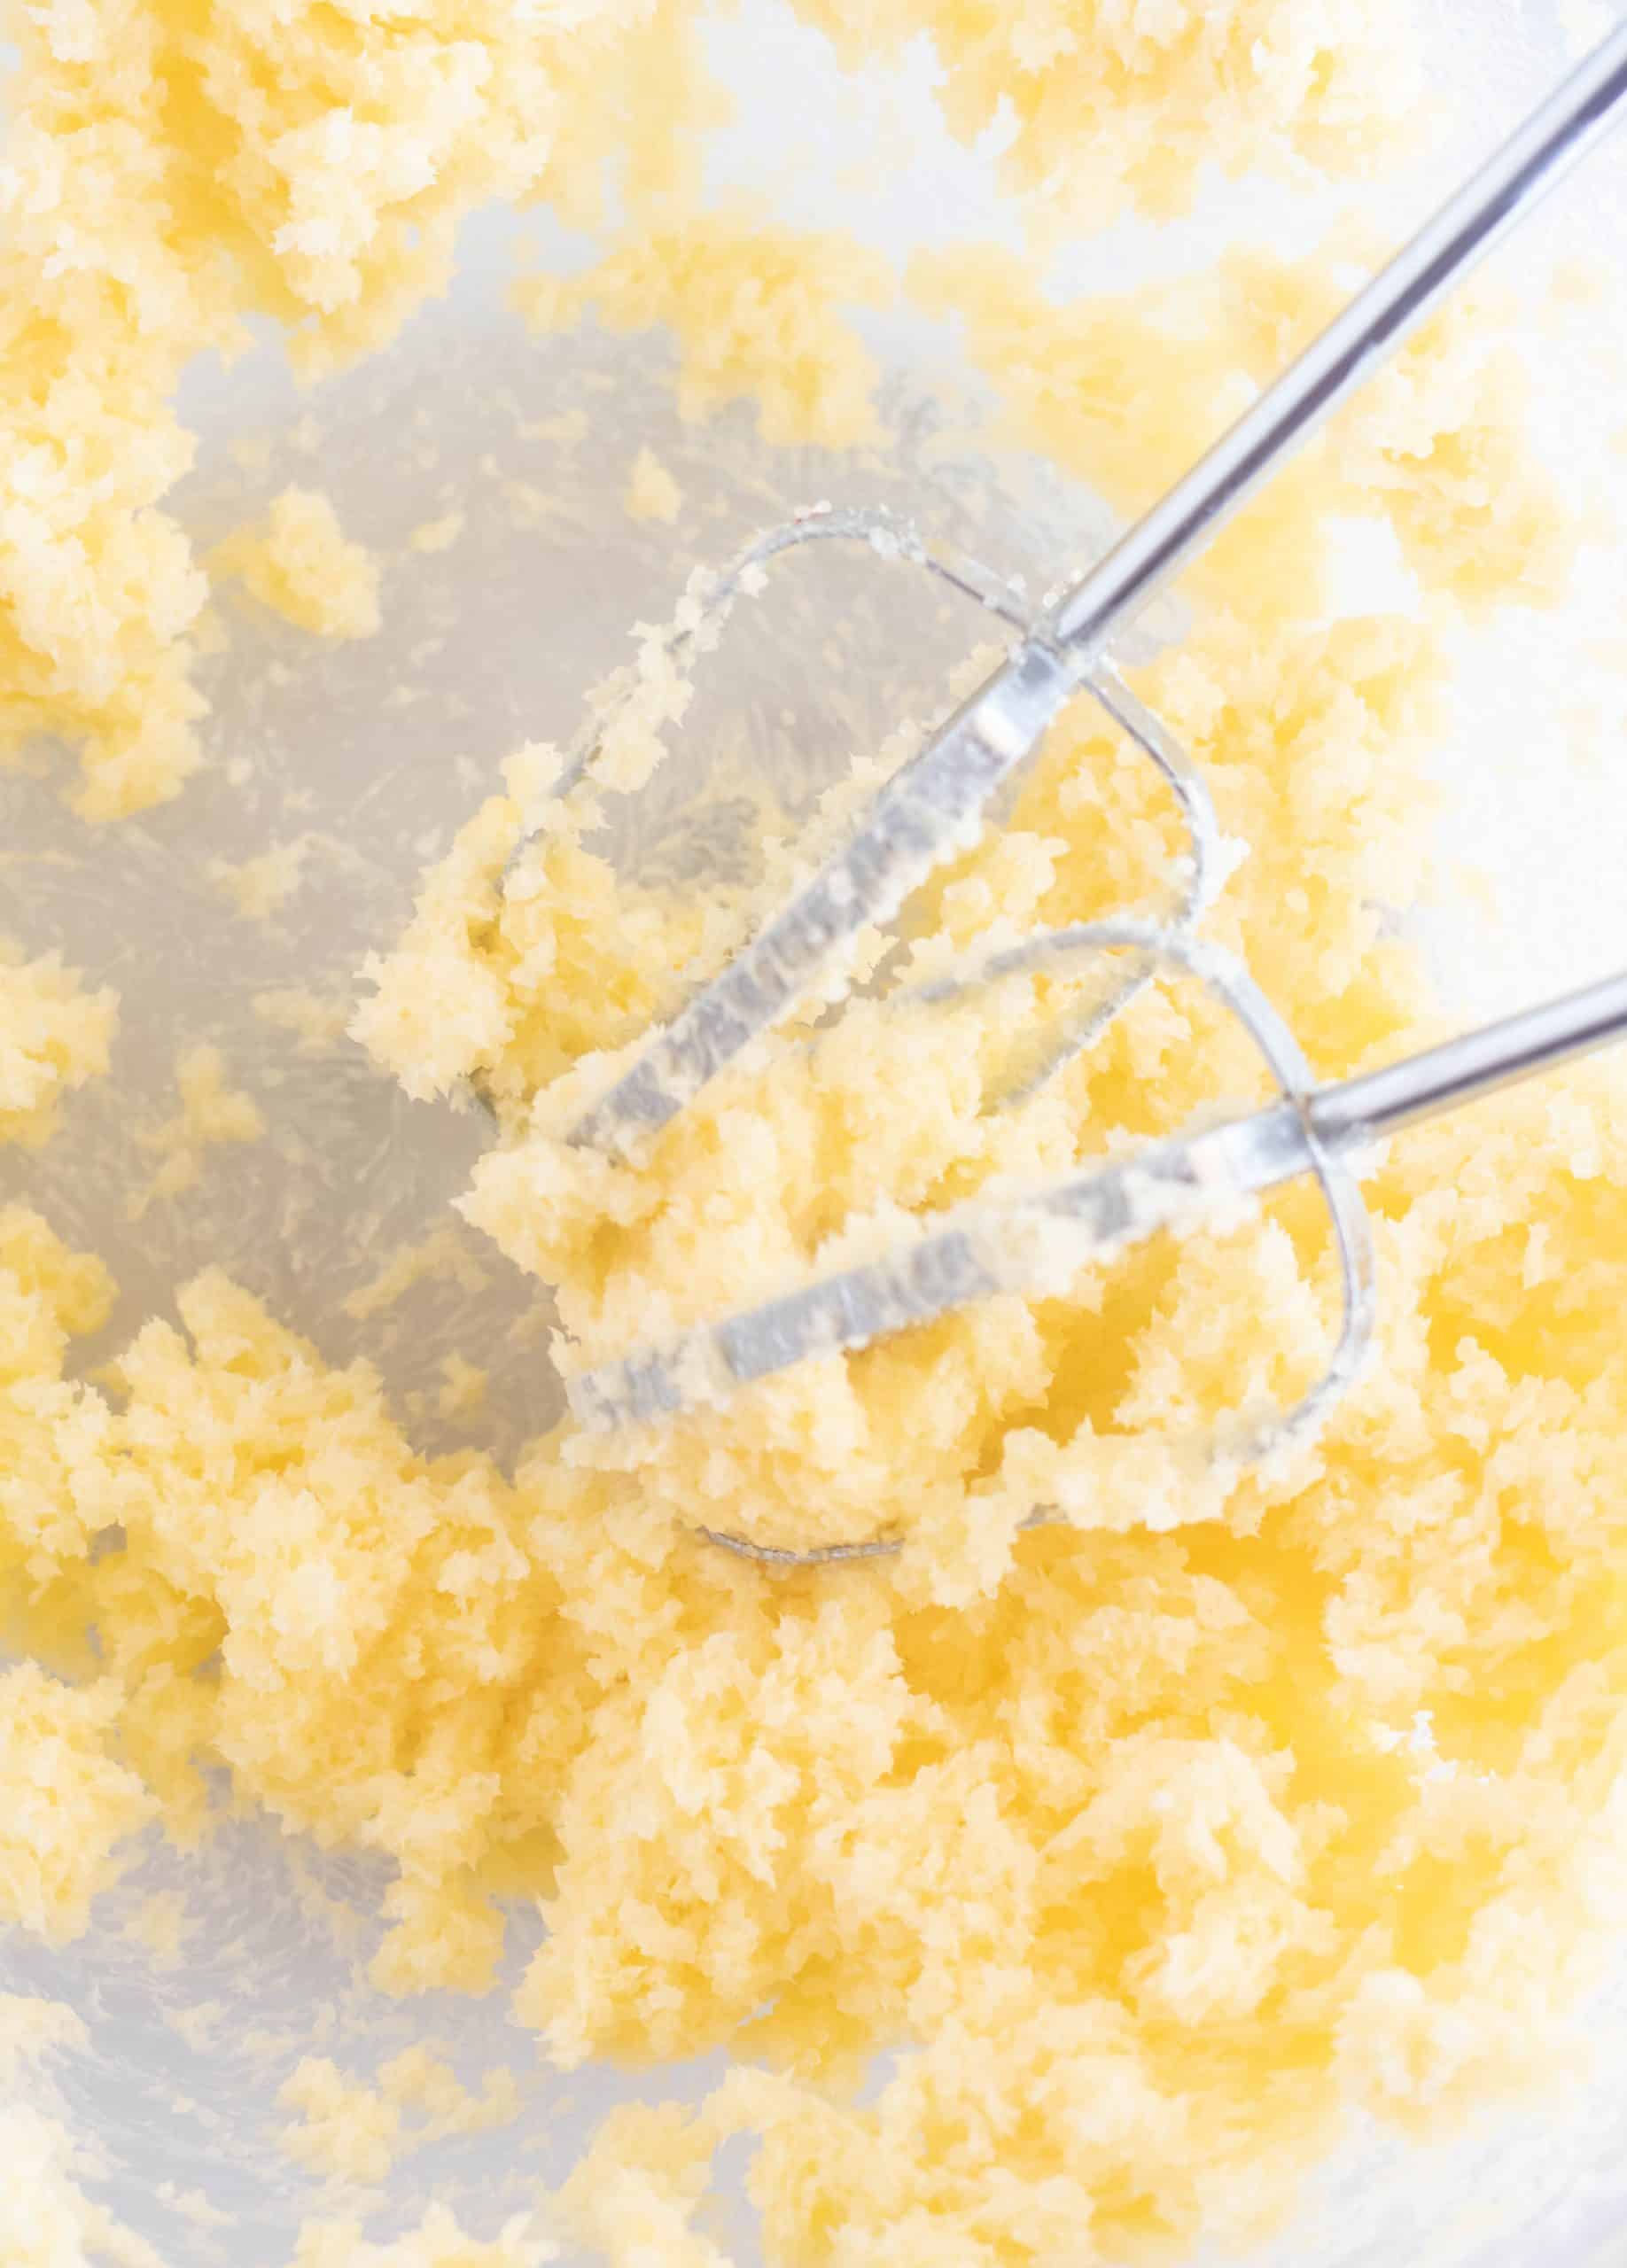
2. In a separate bowl, cream softened butter with the keto sweetener together.
*Note- If you forgot to set out your butter to soften, I love this tutorial from Sally's Baking Addiction on How To Soften Butter Quickly!
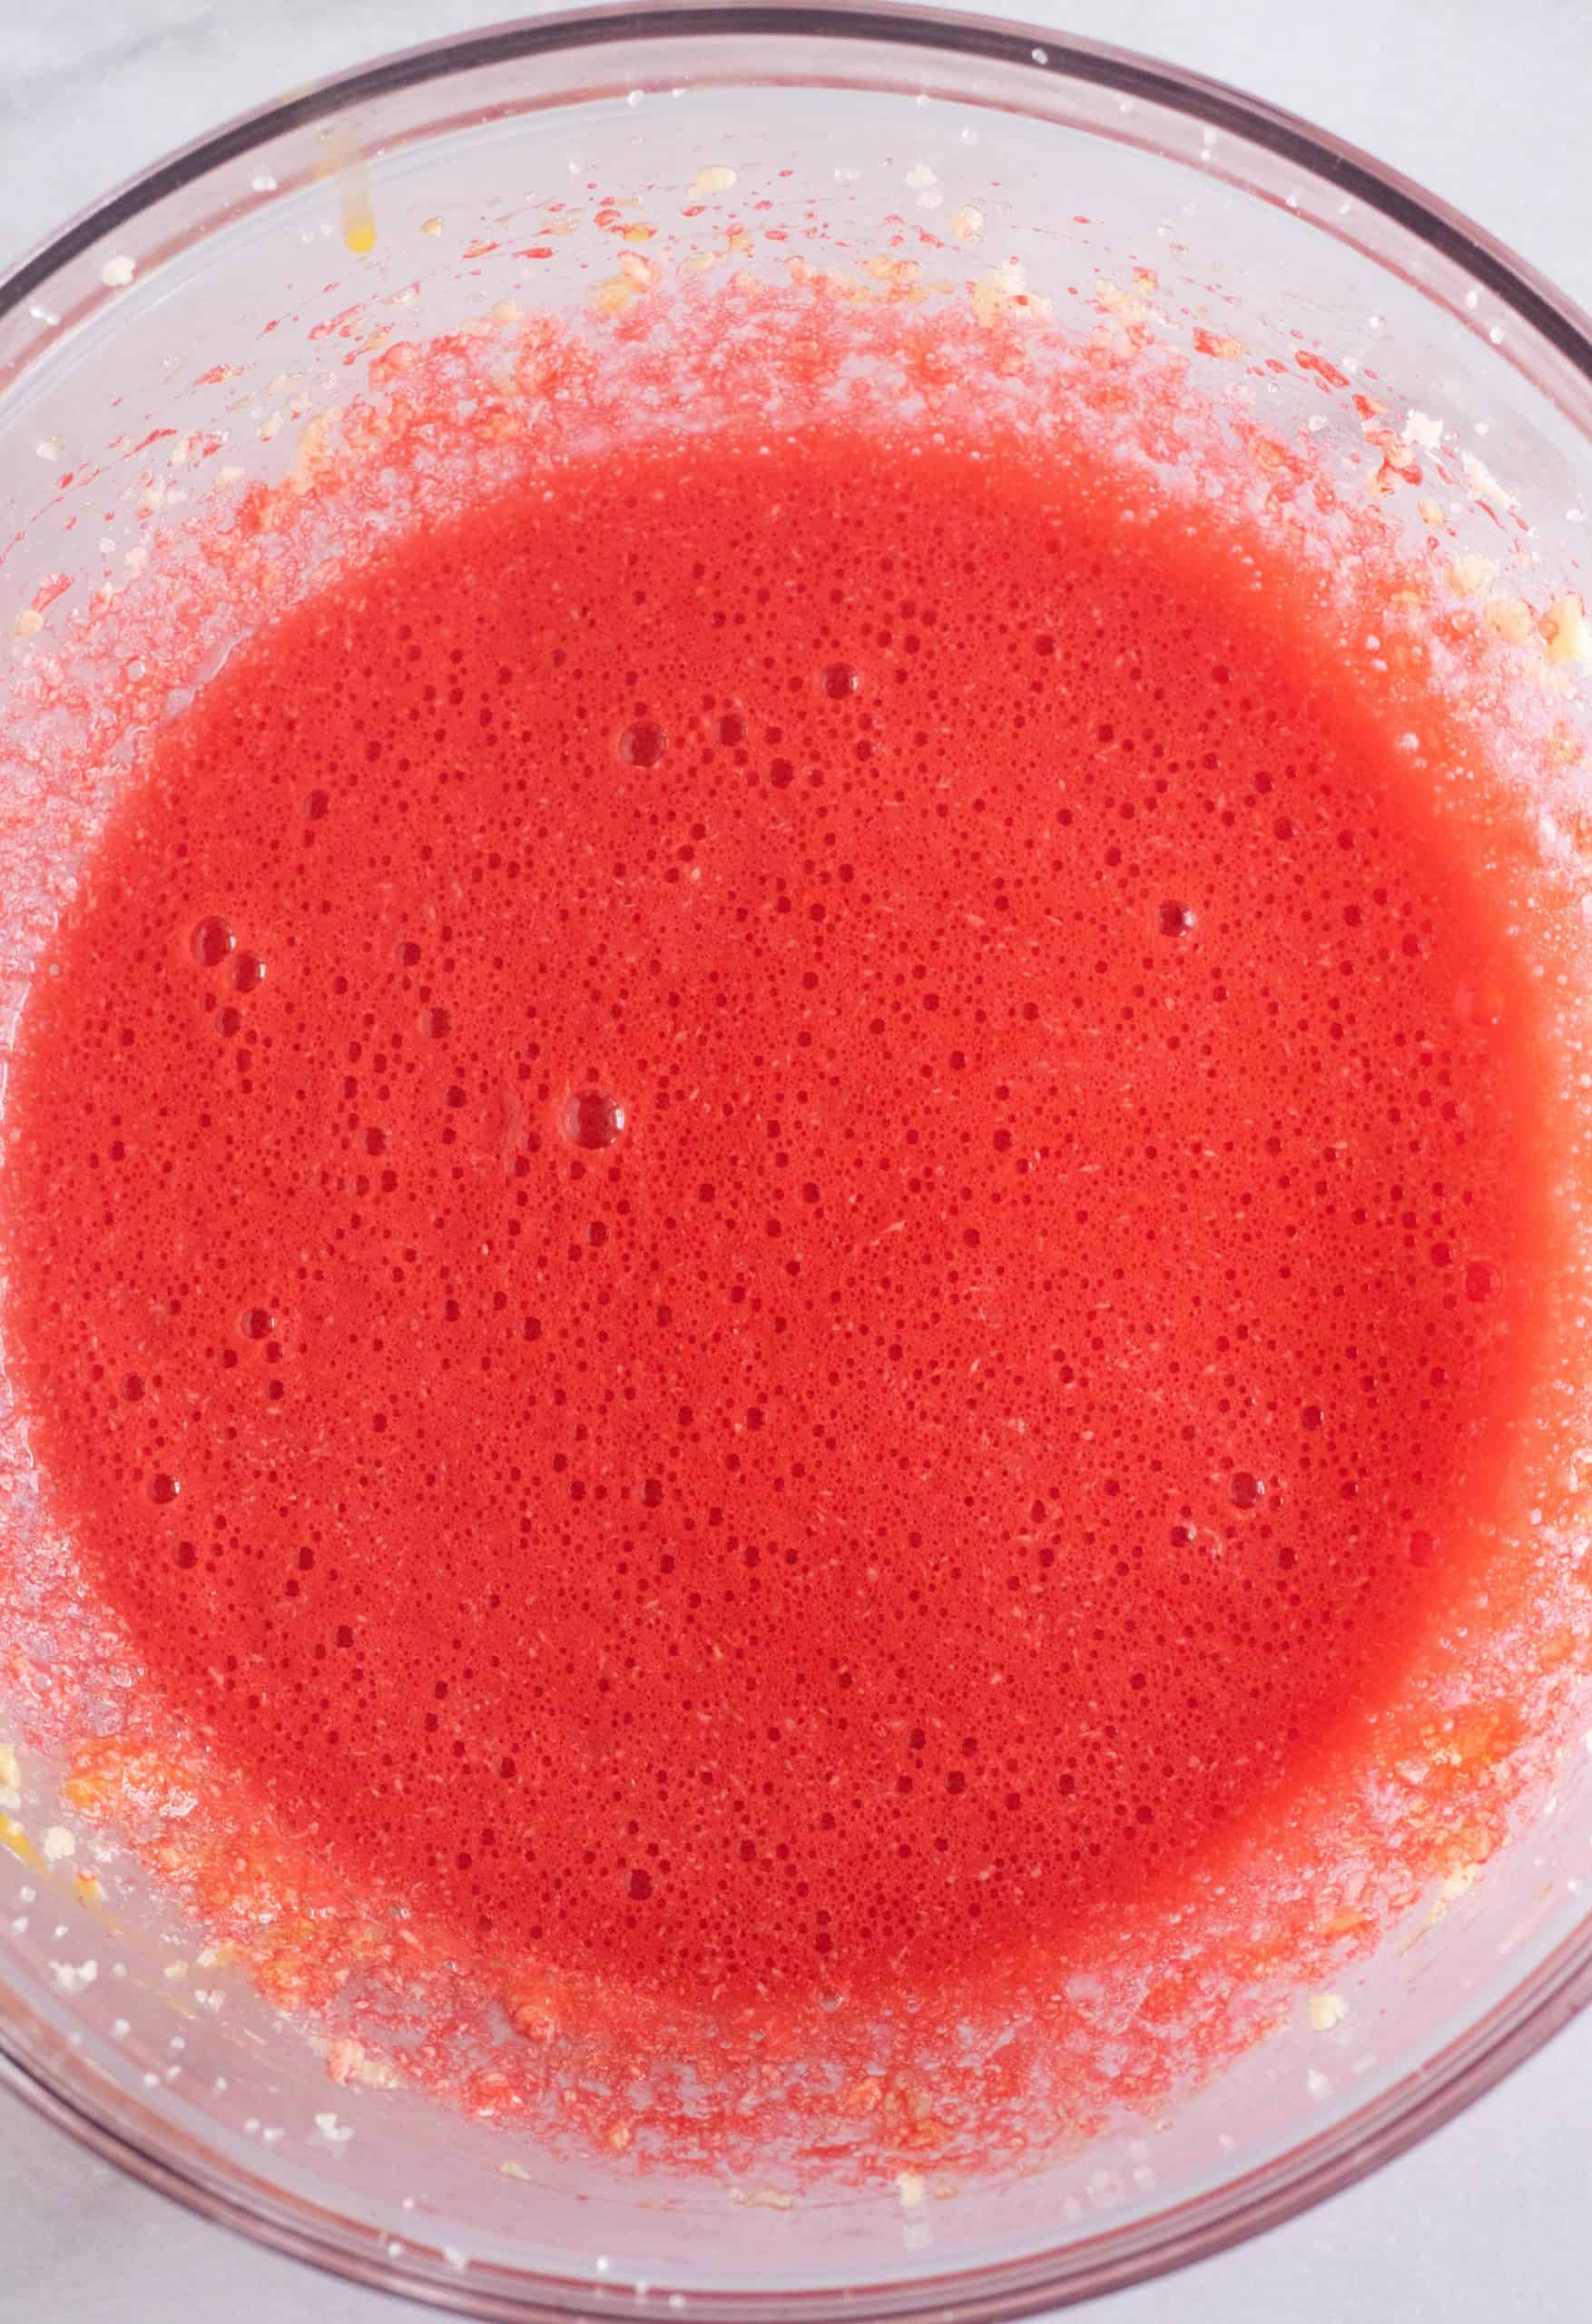
3. Beat in the eggs, one at a time. Then, beat in the pure vanilla, non-dairy milk, and vinegar.
The vinegar reacts with the non-dairy milk to make homemade buttermilk, making the cake extra tender.
💭 Tip: Be sure to use unsweetened non-dairy milk because it is much lower in carbs than cow's milk.
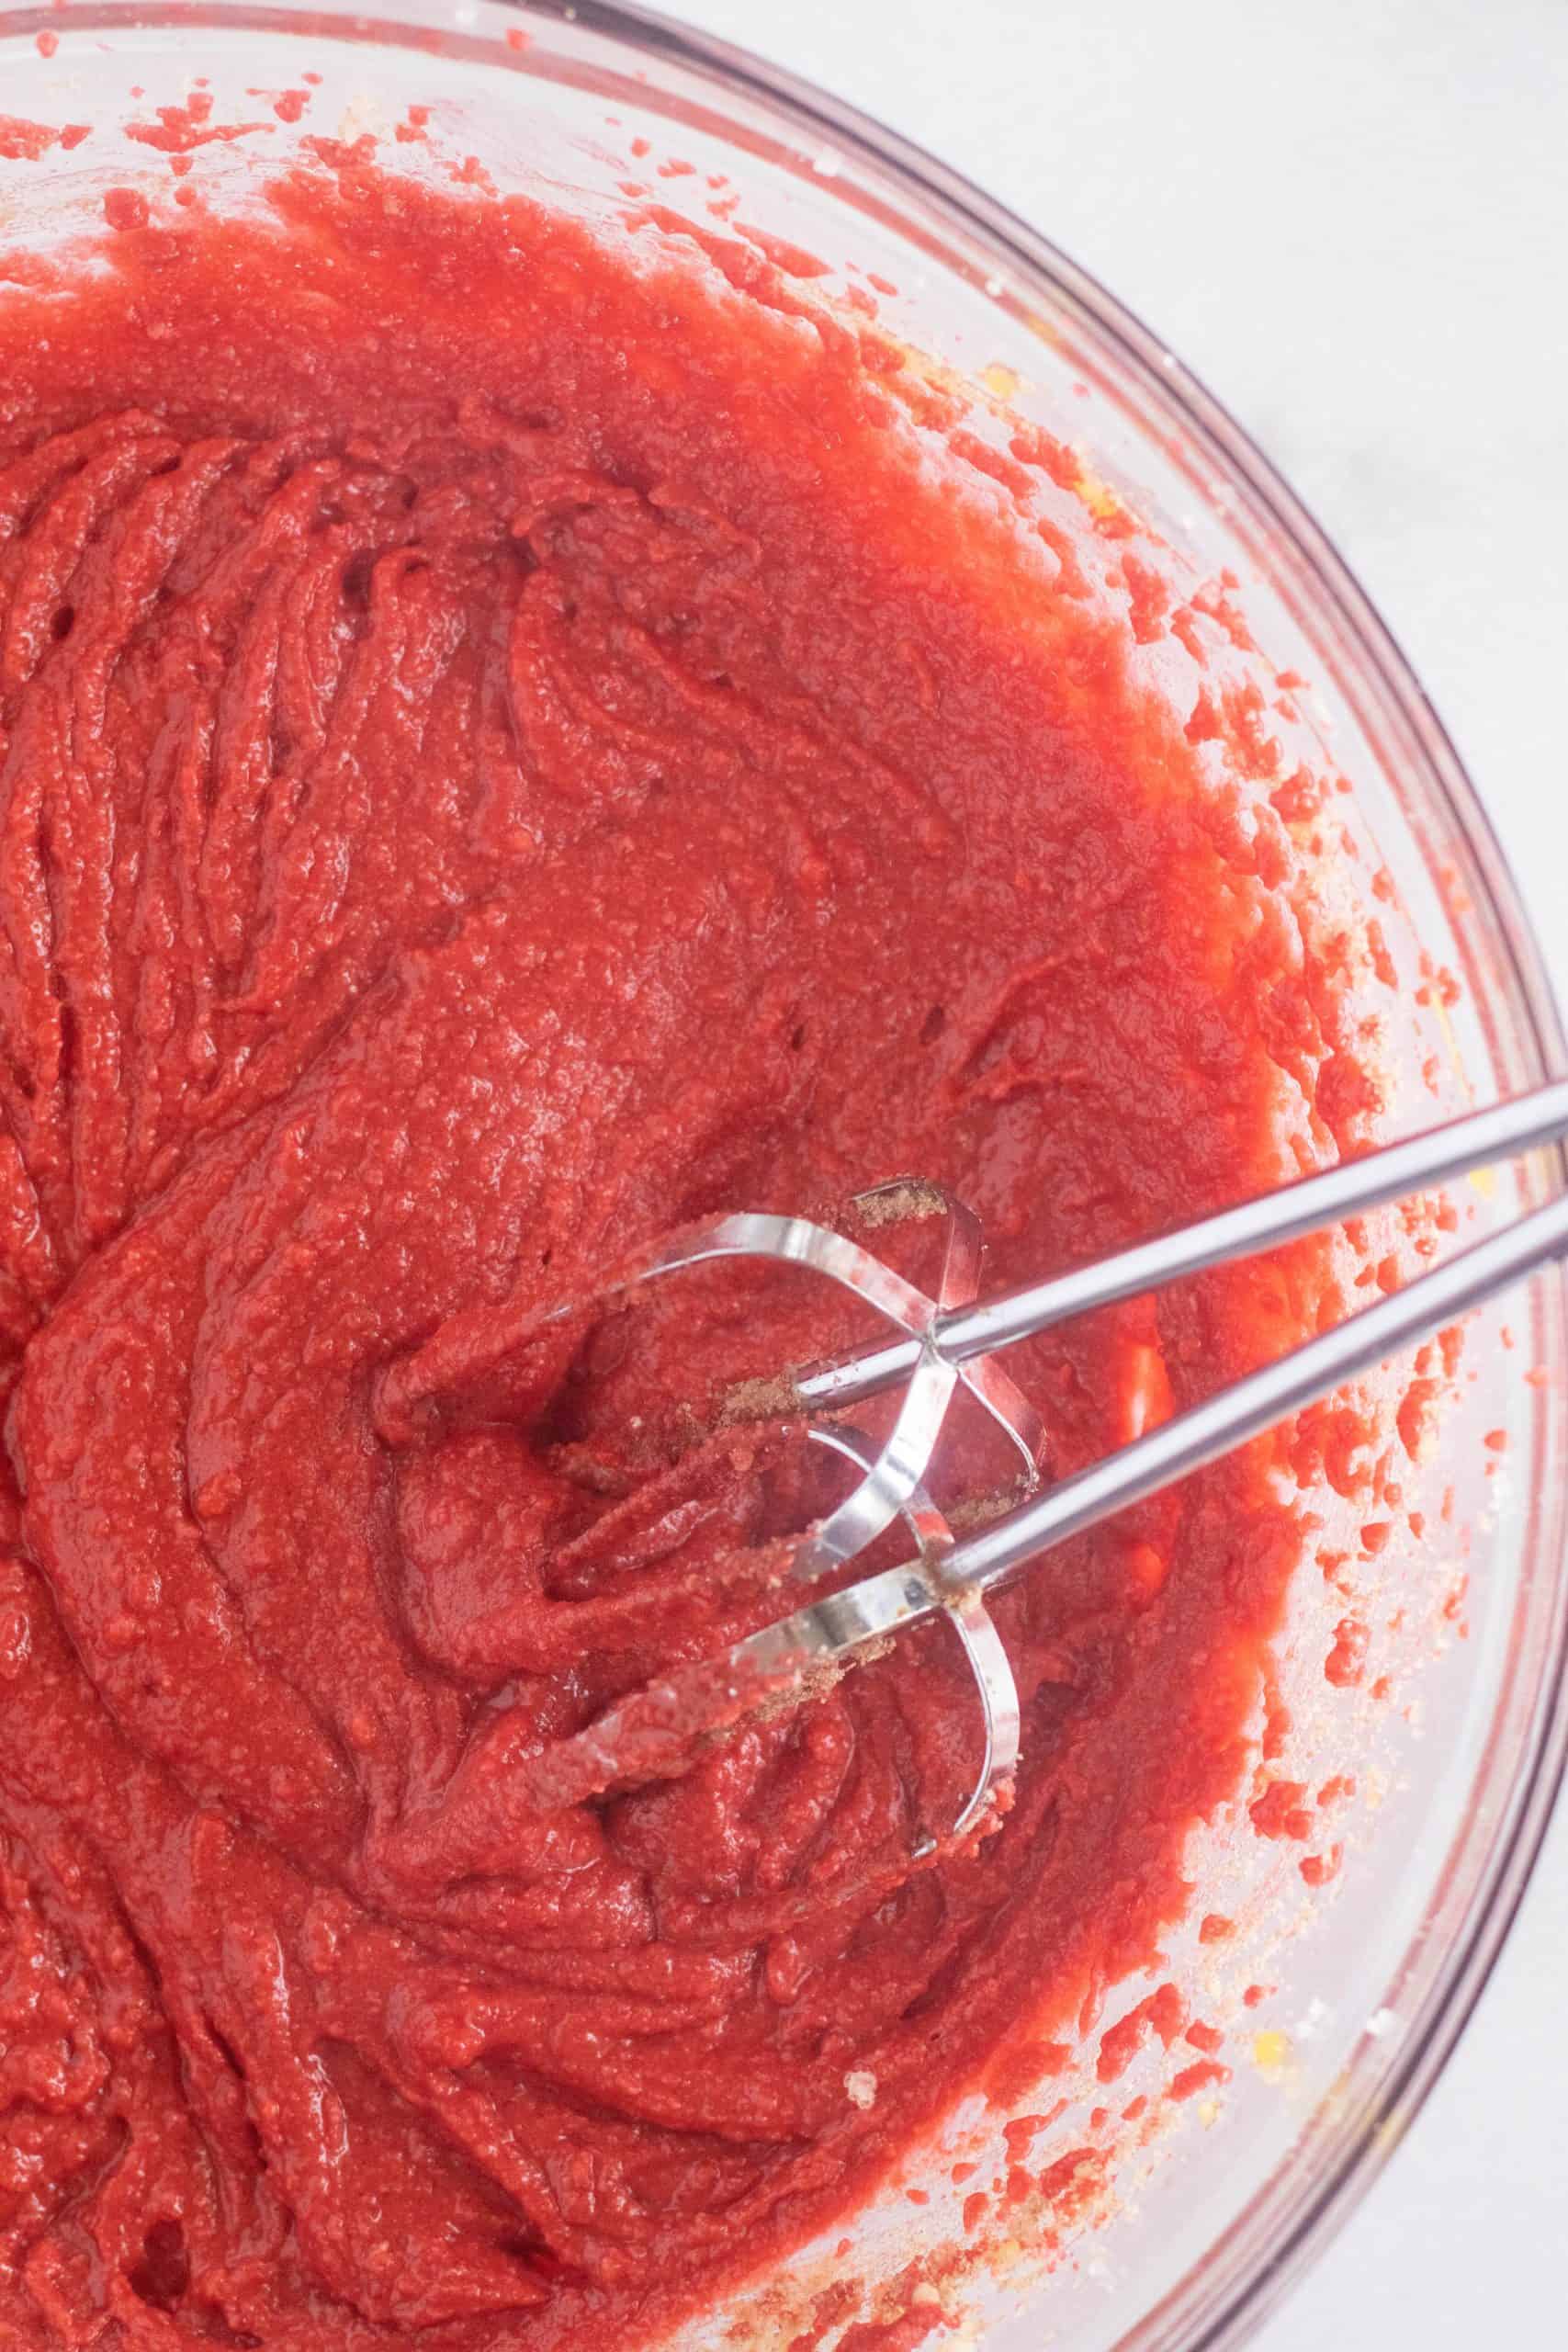
4. Next, slowly beat in the dry ingredients. The batter will be thick but not stiff. It will also be lumpy, but this is normal!
🍰 For the cake
To bake keto cakes, evenly divide the batter between 2 parchment-lined and greased 9-inch cake pans. You do not want your cakes to stick and ruin, so do not skip the parchment paper!
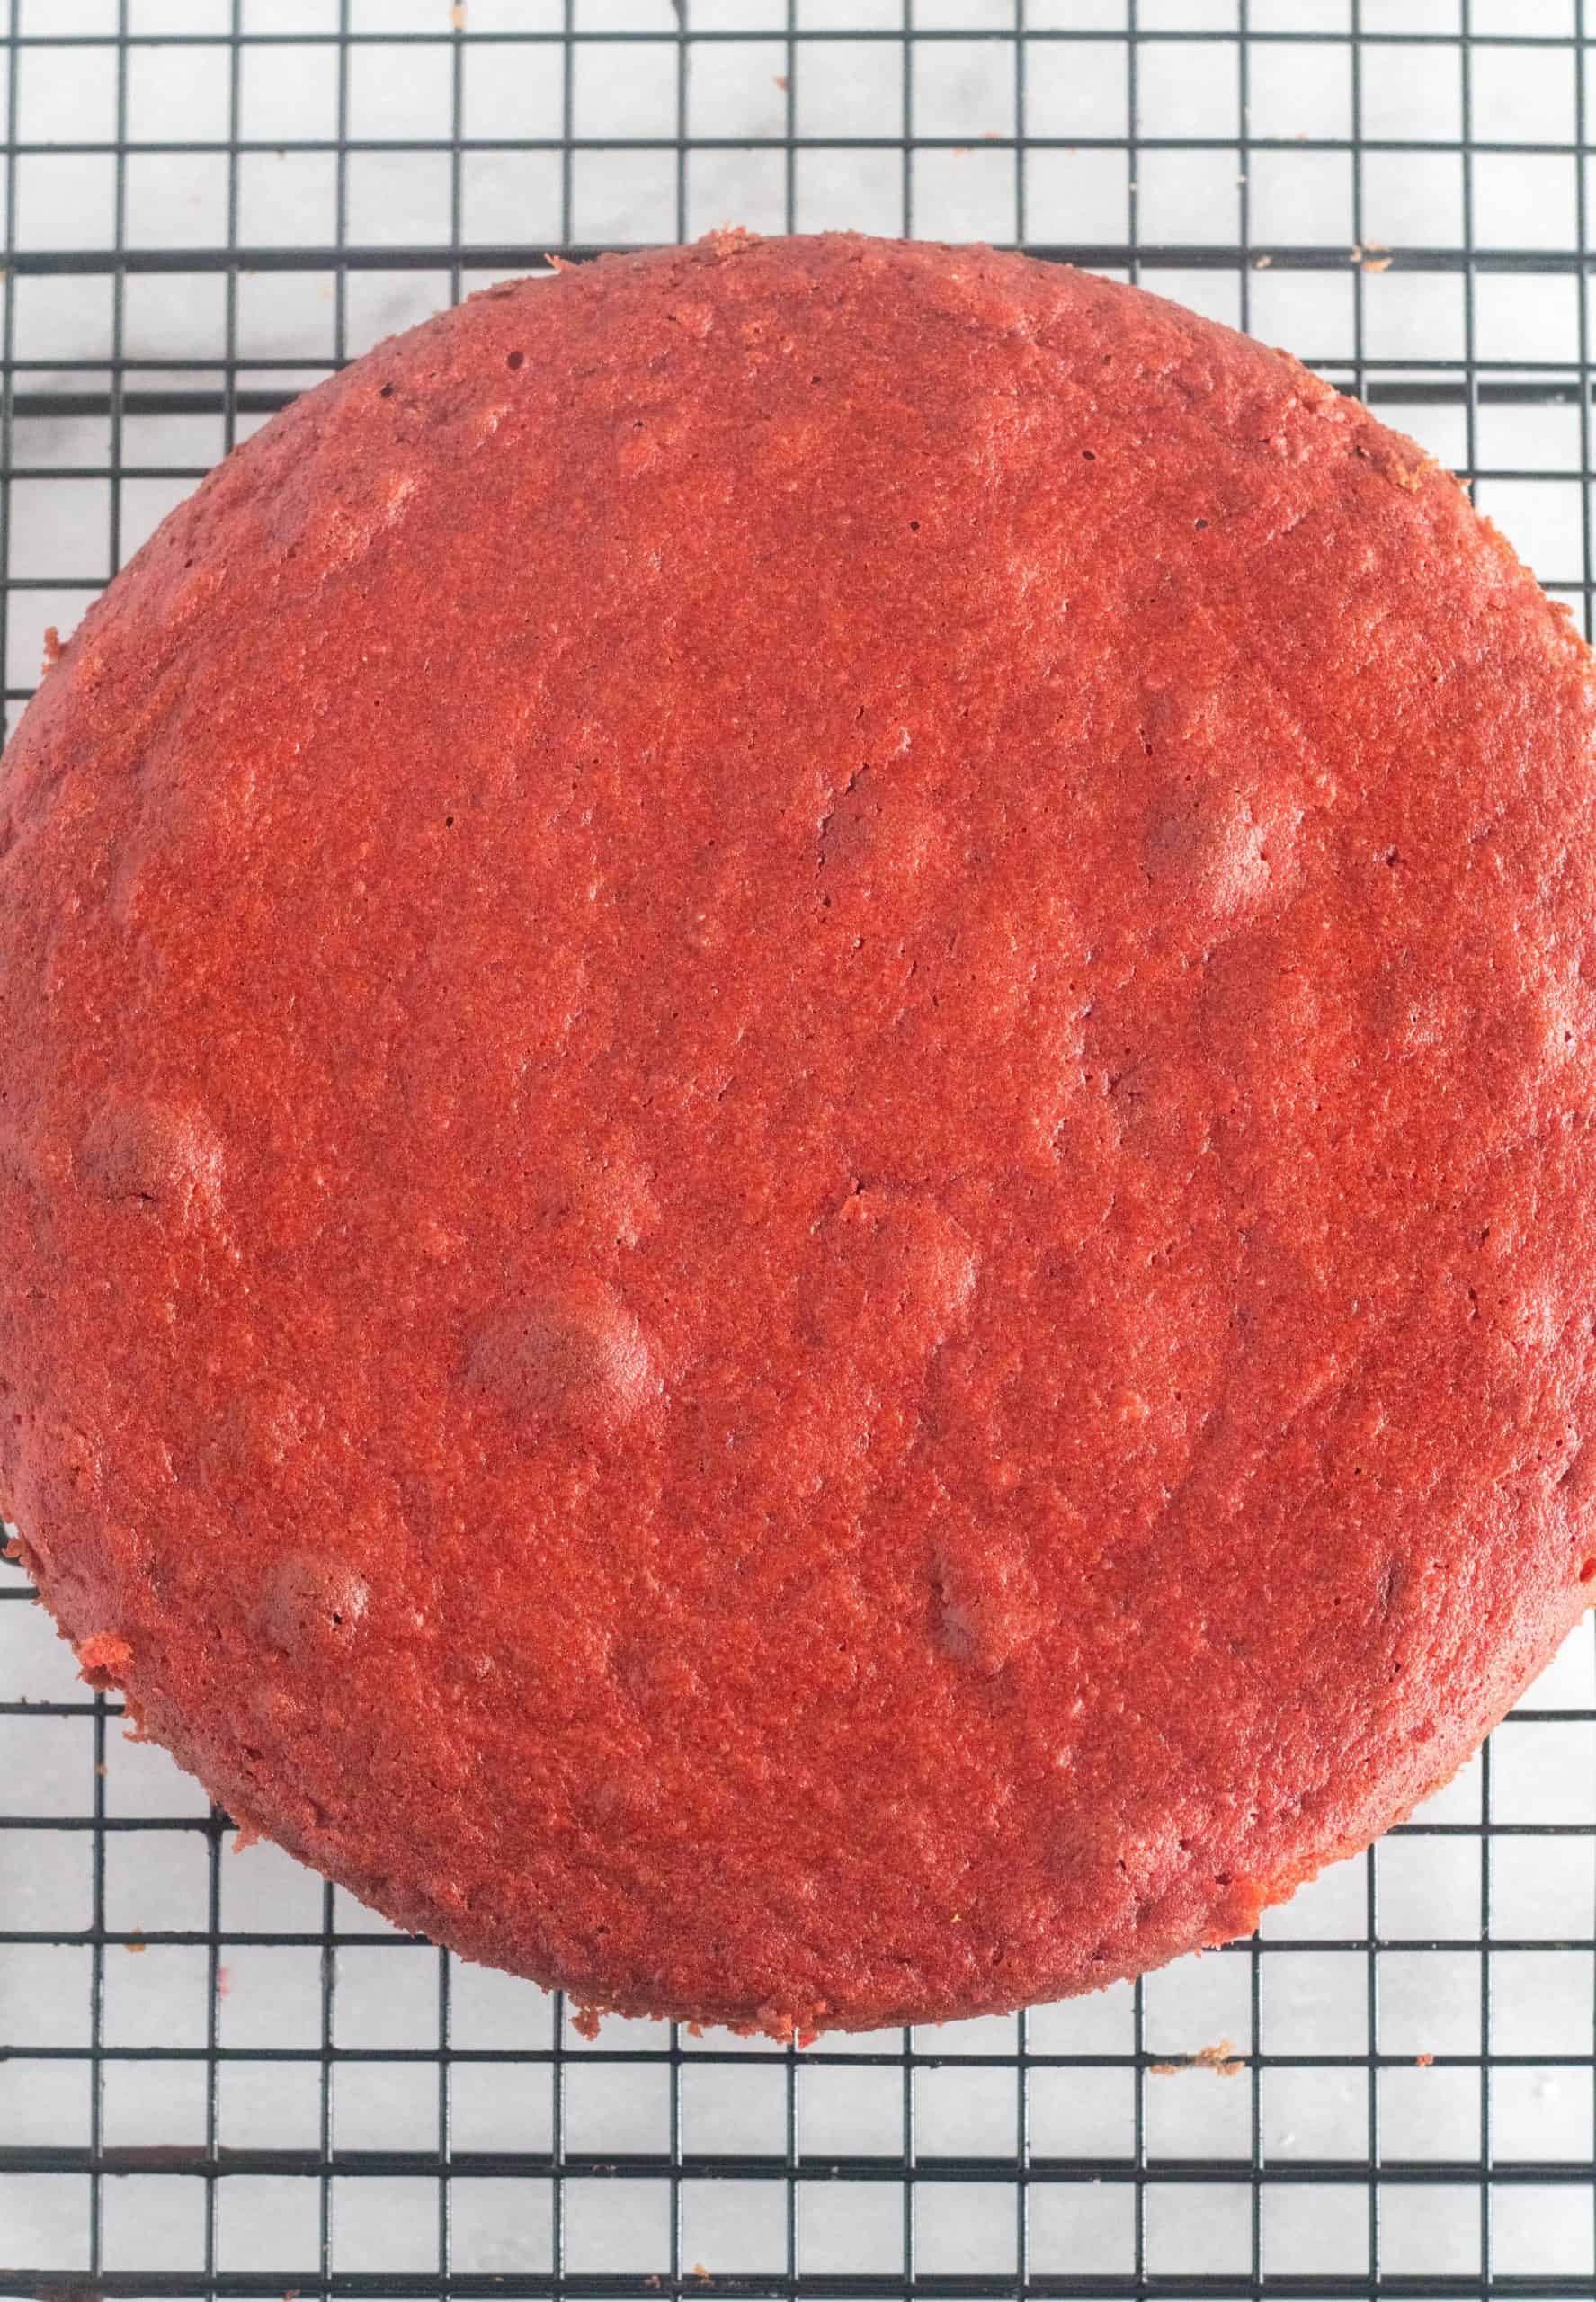
Bake at 350 degrees for 20 - 25 minutes until the tops are set, and a toothpick inserted into the center comes out clean.
Allow the cakes to cool slightly, then transfer them to a cooling rack to cool completely.
💭 Tip: Handle the cakes carefully; they will be extremely delicate!
Once cooled, wrap them tightly in plastic wrap and place them in the refrigerator for 1 to 2 hours or up to 2 days. This lets the cakes completely cool and firm up more before frosting.
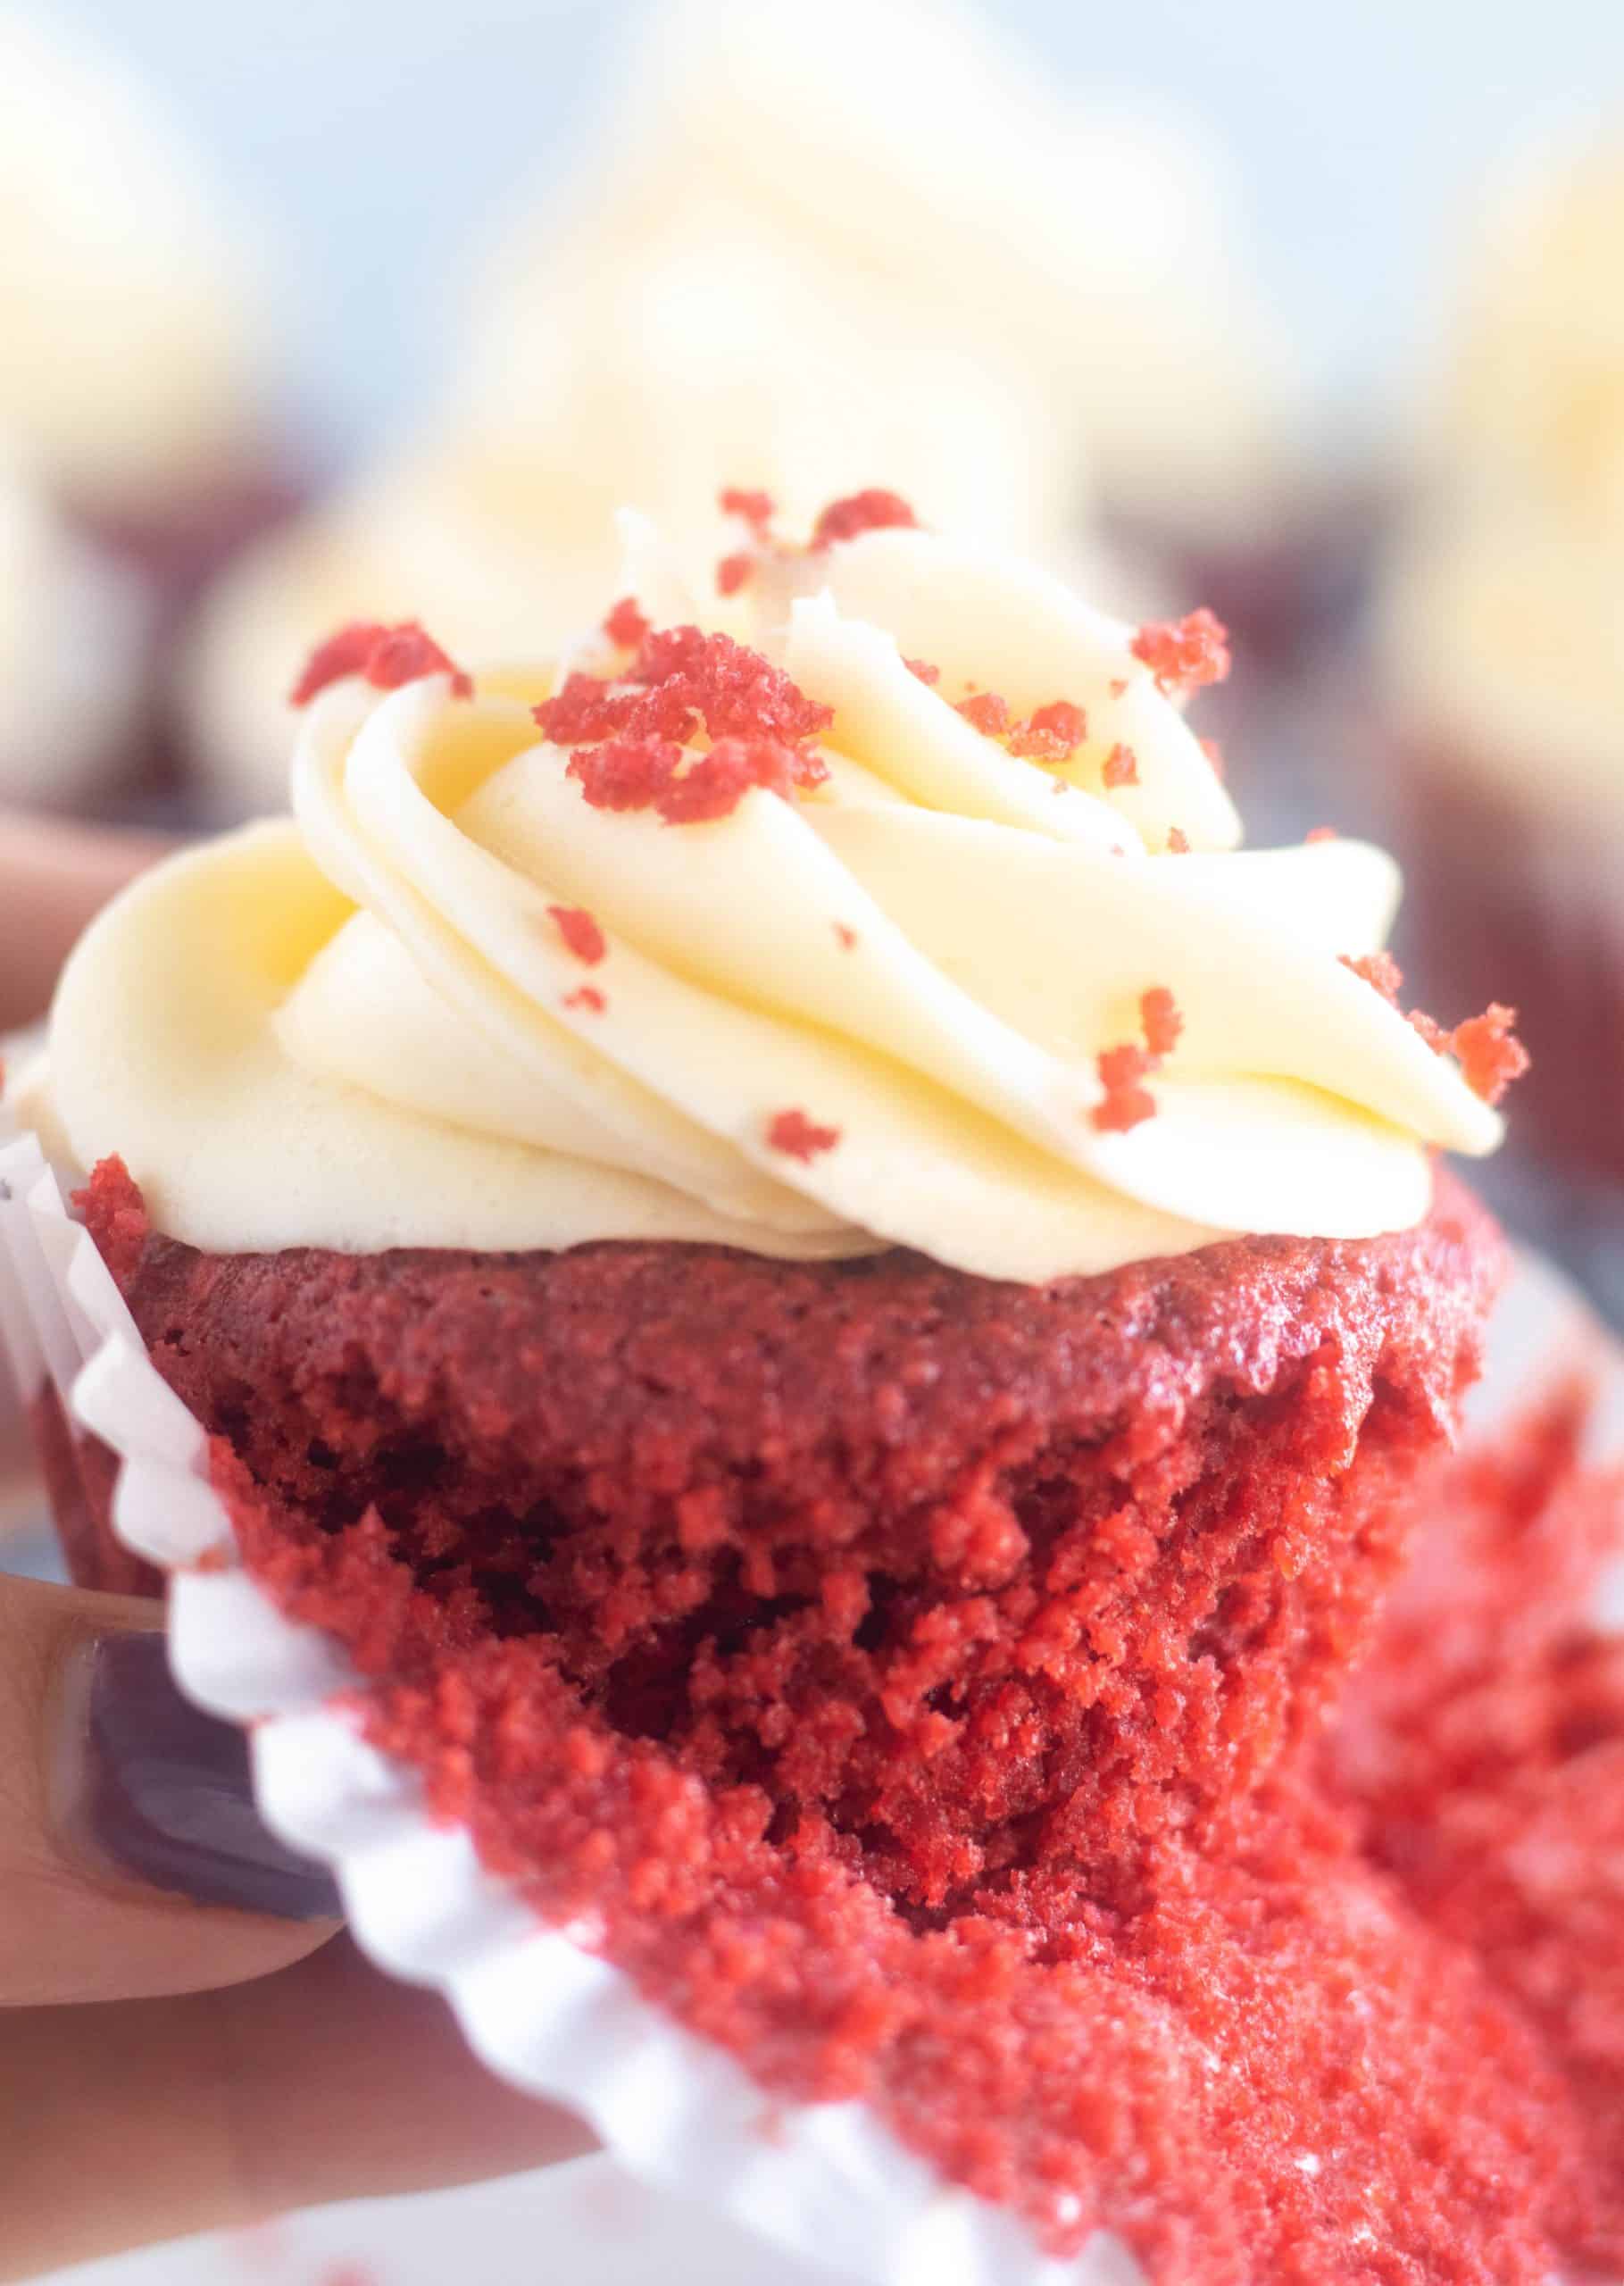
🧁 For cupcakes
For keto red velvet cupcakes, line a muffin tin with paper cups. Fill each cup between ½ to ¾ full. Smooth the top with your fingers.
Bake at 350 degrees for 20 minutes or until the tops are set, and a toothpick inserted into the center comes clean.
As written, this recipe makes 24 cupcakes. However, it can be cut in half to only make 12 cupcakes.
Cool completely before frosting.
The frosting
Once cooled, frost with creamy keto cream cheese frosting.
If you need a little help with the frosting, check out my easy, step-by-step tutorial on how to frost a naked cake or a semi-naked cake!
Place the frosted keto red velvet cake in the refrigerator for 30 minutes to 1 hour for the frosting to re-set.
Cut into slices and serve 🍰
Storage and make-ahead
- Store: Leftover low-carb cake and cupcakes can be stored, tightly covered in plastic wrap, in the refrigerator for 3 to 5 days.
- Make-ahead: Store the cake layers tightly covered with plastic wrap in the refrigerator for up to 2 days ahead of time. To store a fully frosted cake overnight, chill the uncovered cake in the fridge for 30 minutes to 1 hour so the frosting sets, and then loosely cover it with plastic wrap or a cake keeper. Before serving, allow it to sit on the counter for about 30 minutes.
- Make-ahead and freeze: Tightly cover the cake layers with plastic wrap and foil once cooled, then place in a freezer-safe container for up to two months. To thaw: Remove the cakes from the freezer-safe container, but leave them wrapped. Allow them to thaw overnight in the refrigerator. While it can be frozen after it's been frosted, the frosting is much better when made fresh.
Top tips
- Use room temperature ingredients. If the ingredients are cold, it can prevent the flour from mixing properly and can interfere with how the cake rises.
- To line the pans with parchment paper: 1) Place the pans on a large sheet of parchment paper. 2) Trace the bottom of the pans with a pencil. 3) Cut the parchment paper using the lines you traced. 4) Grease the pan, place the parchment paper in the pan, then grease the parchment paper. This will ensure easy removal.
- Handle the keto cake layers very carefully; they are extremely delicate.
- The secret ingredient in this cake is the keto sweetener! To make the crumb extra soft and velvety, use either xylitol, allulose, or a monk fruit/allulose blend. While you can use an erythritol-based sweetener, the crumb will not be quite as tender and may lend a slight cooling-like aftertaste.
If you tried this recipe, please let me know what you think in the comments below 👇
Craving more? FOLLOW ME on Pinterest, Instagram, Facebook, YouTube, or E-Mail to find more delicious food!
📖 Recipe
Keto Red Velvet Cake Or Cupcakes
Ingredients
- 3 Cups Blanched Almond Flour - finely ground
- ¼ Cup Coconut Flour - not all are the same! I recommend Bob's Red Mill, Besti, or Arrowhead Mills
- 2 Tablespoons Unsweetened, Natural Cocoa Powder
- 2 teaspoons Baking Powder
- ½ teaspoon Baking Soda
- ¼ tsp. Sea Salt - omit if using salted butter
- ¾ Cup Unsalted Or Salted Butter - softened
- 1 ½ Cups Monk Fruit/Allulose Sweetener - or xylitol, see notes below for substitutions
- 6 Large Eggs - room temperature
- 1 Tablespoon Pure Vanilla
- ¼ Cup Unsweetened, Non-Dairy Milk - room temperature
- 1 teaspoon Apple Cider Vinegar or White Vinegar
- 1 ½ Tablespoons Red Food Coloring - see notes below for more options
- 1 Batch Keto Cream Cheese Frosting
Equipment
- 2 9-inch Round Cake Pans
- Parchment Paper
- Scissors
- Cake Stand
- Bench Scraper for frosting the cake
Instructions
- Preheat oven to 350 degrees. Line the bottom of 2 9-inch cake pans with parchment paper and grease with oil or line a muffin tin with paper cups. Set aside.
- In a large mixing bowl, whisk together the dry ingredients, including the blanched almond flour, coconut flour, cocoa powder, baking powder, baking soda, and sea salt (if using). Set aside.
- In another large bowl, beat together the softened butter and monk fruit/allulose sweetener or xylitol until nicely combined, this may take several minutes.
- Beat in the eggs, one at a time. Then add the pure vanilla, non-dairy milk, vinegar, and food coloring. Beat to combine.
- Slowly beat in the dry ingredients until well incorporated.
- Divide the batter evenly between the two prepared pans and smooth out the top with a spatula or fill each paper with between ½ to ¾ full and smooth out the tops with your fingers.
- For Cake: Bake for 20 to 25 minutes, or until the top is set and a toothpick inserted into the center comes out clean. Allow to cool for around 30 minutes, then carefully (the cakes will be very delicate!) run a knife around the edges and transfer to a cooling rack to cool completely. Once cooled, carefully wrap in plastic wrap and place in the refrigerator for 1 to 2 hours, or up to 2 days, to firm up a bit more before frosting.
- For Cupcakes: Bake for 20 minutes, or until the tops are set and a toothpick inserted into the center comes out clean. Allow to slightly cool, then transfer to a cooling rack to cool completely.
- Prepare the cream cheese frosting as directed and frost as desired. If you need a little help with the frosting, check out my easy, step-by-step tutorial on how to frost a naked cake or a semi-naked cake! Place the cake in the refrigerator for 30 minutes to 1 hour for the frosting to re-set before slicing.
Add Your Own Notes
Video
Notes
- See how easy this recipe is to make on my YouTube channel! Watch the full video here: YouTube Video
- Use room temperature ingredients. If the ingredients are cold it can prevent the flours from mixing properly and can interfere with how the cake rises.
- To line the pans with parchment paper: 1) Place the pans on a large sheet of parchment paper. 2) Trace the bottom of the pans with a pencil. 3) Cut the parchment paper using the lines you traced. 4) Grease the pan, place the parchment paper in the pan, then grease the parchment paper. This will ensure easy removal.
- Completely cool cake layers before frosting. If you try to assemble or frost this cake, even if it's the slightest bit warm, it will be a disaster! To ensure they are completely cool after they come to room temperature, cover them in plastic wrap and place them in the fridge for 1 to 2 hours or up to 2 days before frosting.
- The sweetener: To make the crumb extra soft and velvety, use either xylitol, allulose, or a monk fruit/allulose blend. While you can use an erythritol-based sweetener, the crumb will not quite be as soft, and it may lend a slight cooling-like aftertaste. If using pure allulose, it isn't as sweet as other sweeteners, so you will need to increase the amount to 2 cups.
- Leftovers can be stored tightly covered in the refrigerator for 3 to 5 days. They can also be frozen (tightly covered with plastic wrap and foil then placed in a freezer-safe container) for up to two months. However, the frosting isn't quite as good after being frozen.
- Xylitol is toxic to dogs, even in small amounts! So be careful if you have a pup!
- Traditional Food Coloring - This is what I use in this recipe, you'll need 1 ½ Tablespoons.
- Gel Food Coloring - Gel is more concentrated, so you'll only need 1 to 2 teaspoons.
- Natural Food Coloring - You'll need at least 1 to 1 ½ Tablespoons and the cake will be more like a soft pink. You may also need to add cream of tartar to activate the food coloring.
- Beet Root Powder - Beet root will create a red hue but will not be super bright red. Don't use more than 2 Tablespoons, or it may leave an aftertaste.
Nutrition
NET CARBS = Total Carbs - Fiber - Allulose - Xylitol
Nutritional information is approximate and may vary. Sugar alcohols, xylitol, and allulose are included in the total carbs and fiber.
Looking for more information on the keto diet? Check out my
Did you make this recipe? Let me know!