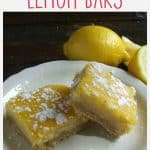
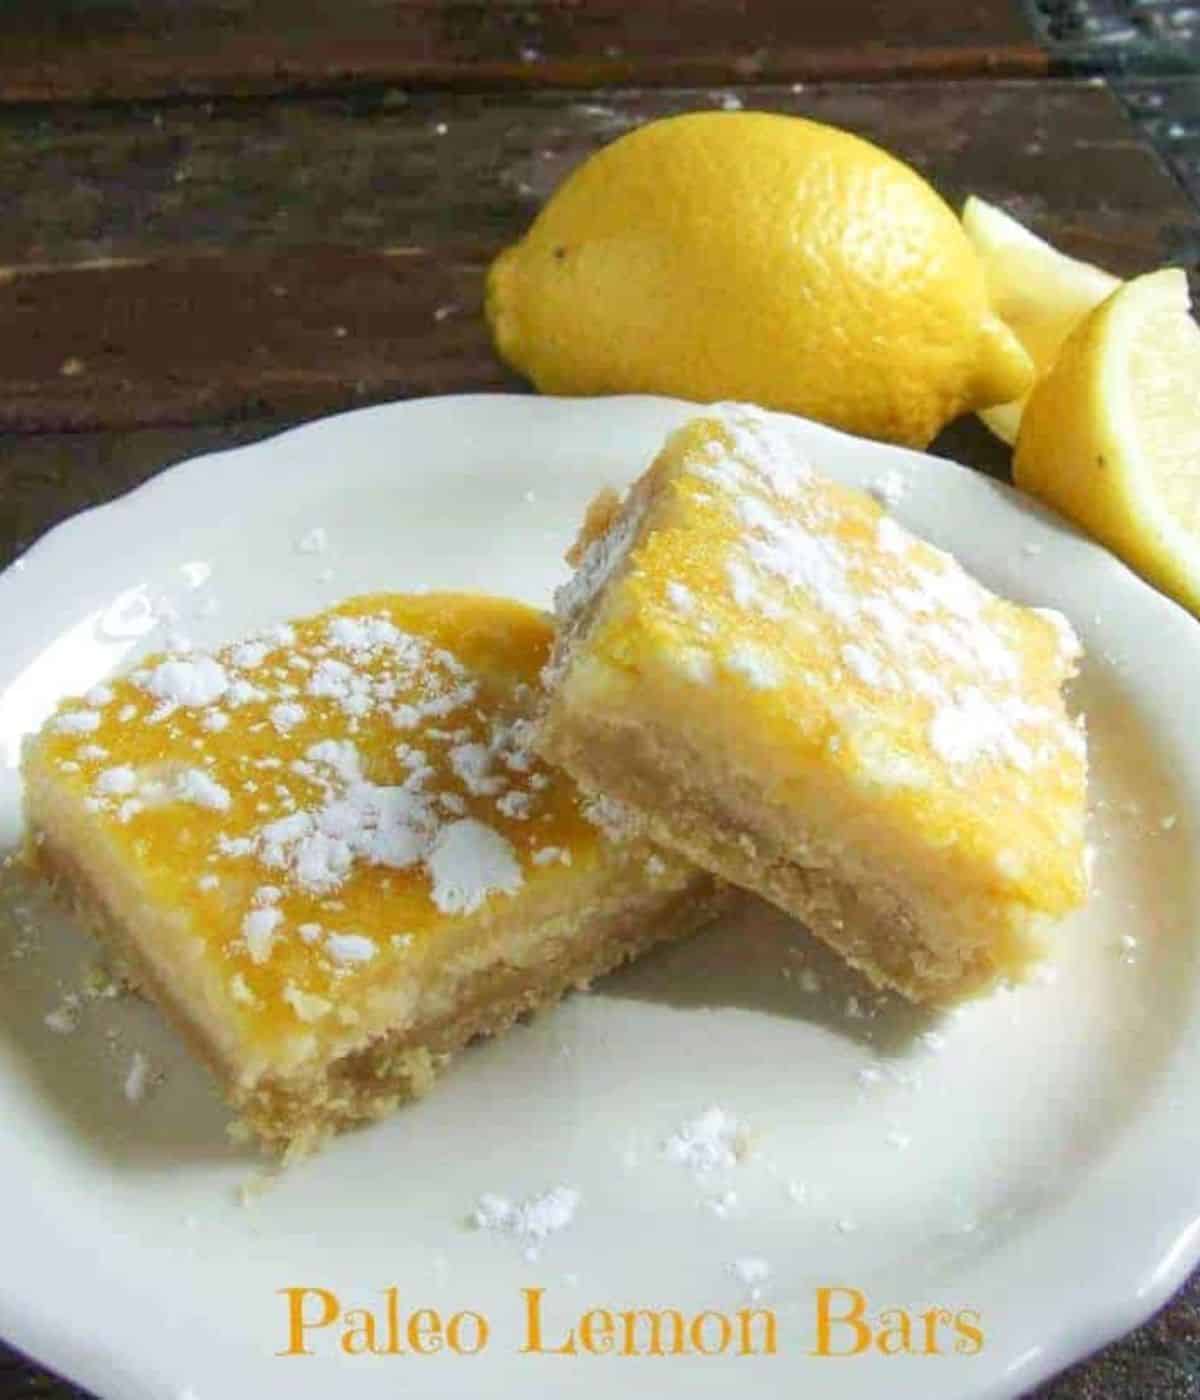
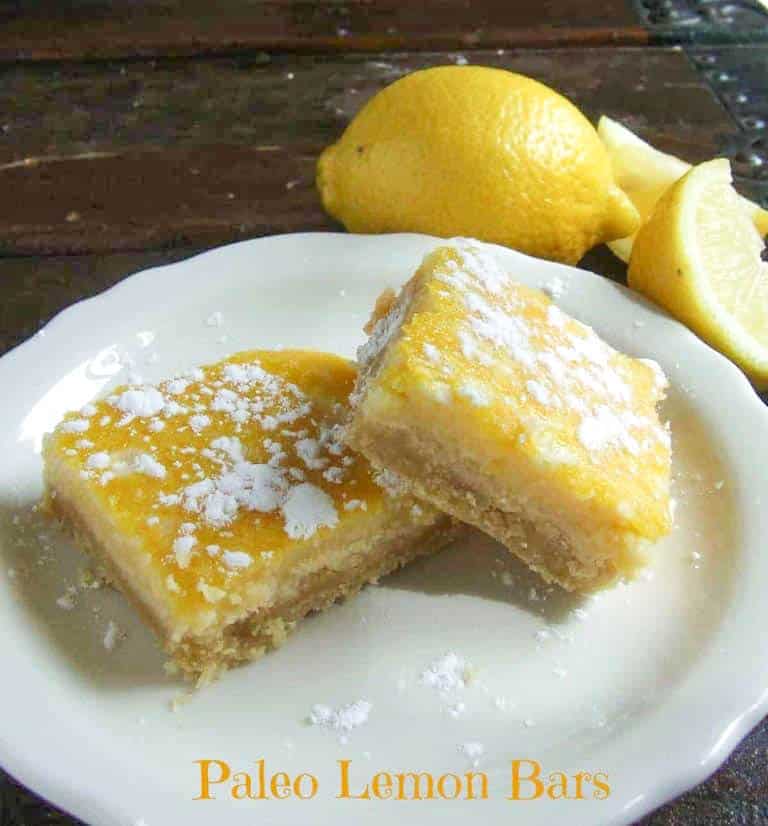
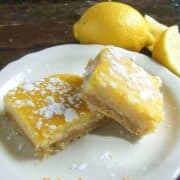
These Paleo Lemon Bars have a soft but sturdy shortbread-like crust and the filling is super creamy with the perfect combination of sweet and tart.
Admittedly, when choosing a dessert I usually pick something that's super-rich & chocolaty.
However, lately, I've been craving something a little lighter and more spring-like and these healthy lemon bars are perfect! They are gluten-free, dairy-free, and paleo - so they tick all the boxes!
Or if you follow a keto diet, be sure to check out these Sugar-Free Lemon Bars!
These paleo lemon bars have a soft but sturdy shortbread-like crust and the filling is super creamy with the perfect combination of sweet and tart.
I dusted the top with tapioca flour just to be pretty because powdered sugar isn't very Paleo-like, but I won't judge you if you decide to use powdered sugar 😀
If you love lemon desserts, you might also like my Keto Lemon Poppyseed Balls, Keto Lemon Poppyseed Cake, or this Gluten-Free Lemon Cake from Gluten-Free Palate!
Frequently asked questions
Yes, you can! They actually need to be made ahead of time so they can have enough time to set up properly. They can be made and stored in the refrigerator for 2 to 3 days. Also, to help with the prep, the crust can be made and stored in the fridge for 2 to 3 days before using it. Simply wrap the dough in plastic wrap and store it in the fridge until you're ready to bake it.
A glass or ceramic pan is preferred. While my particular pan works fine, some metal pans can leave a metallic aftertaste.
There are two steps to keep this from happening. 1) Don't poke holes in the crust before baking. This will cause the filling to run underneath it. 2) Pour the filling into the hot crust and bake as soon as it comes out of the oven. So be sure to have the filling ready when the crust comes out of the oven!
Shortbread crust instructions
In the bowl of a food processor, add almond flour, coconut flour, and sea salt. Whirl to combine.
Next, add ¼ Cup of coconut oil and pulse until it's combined. After that, mix in 2 Tbsp. of honey, an egg, and ½ tsp. vanilla. It should form a ball in your food processor.
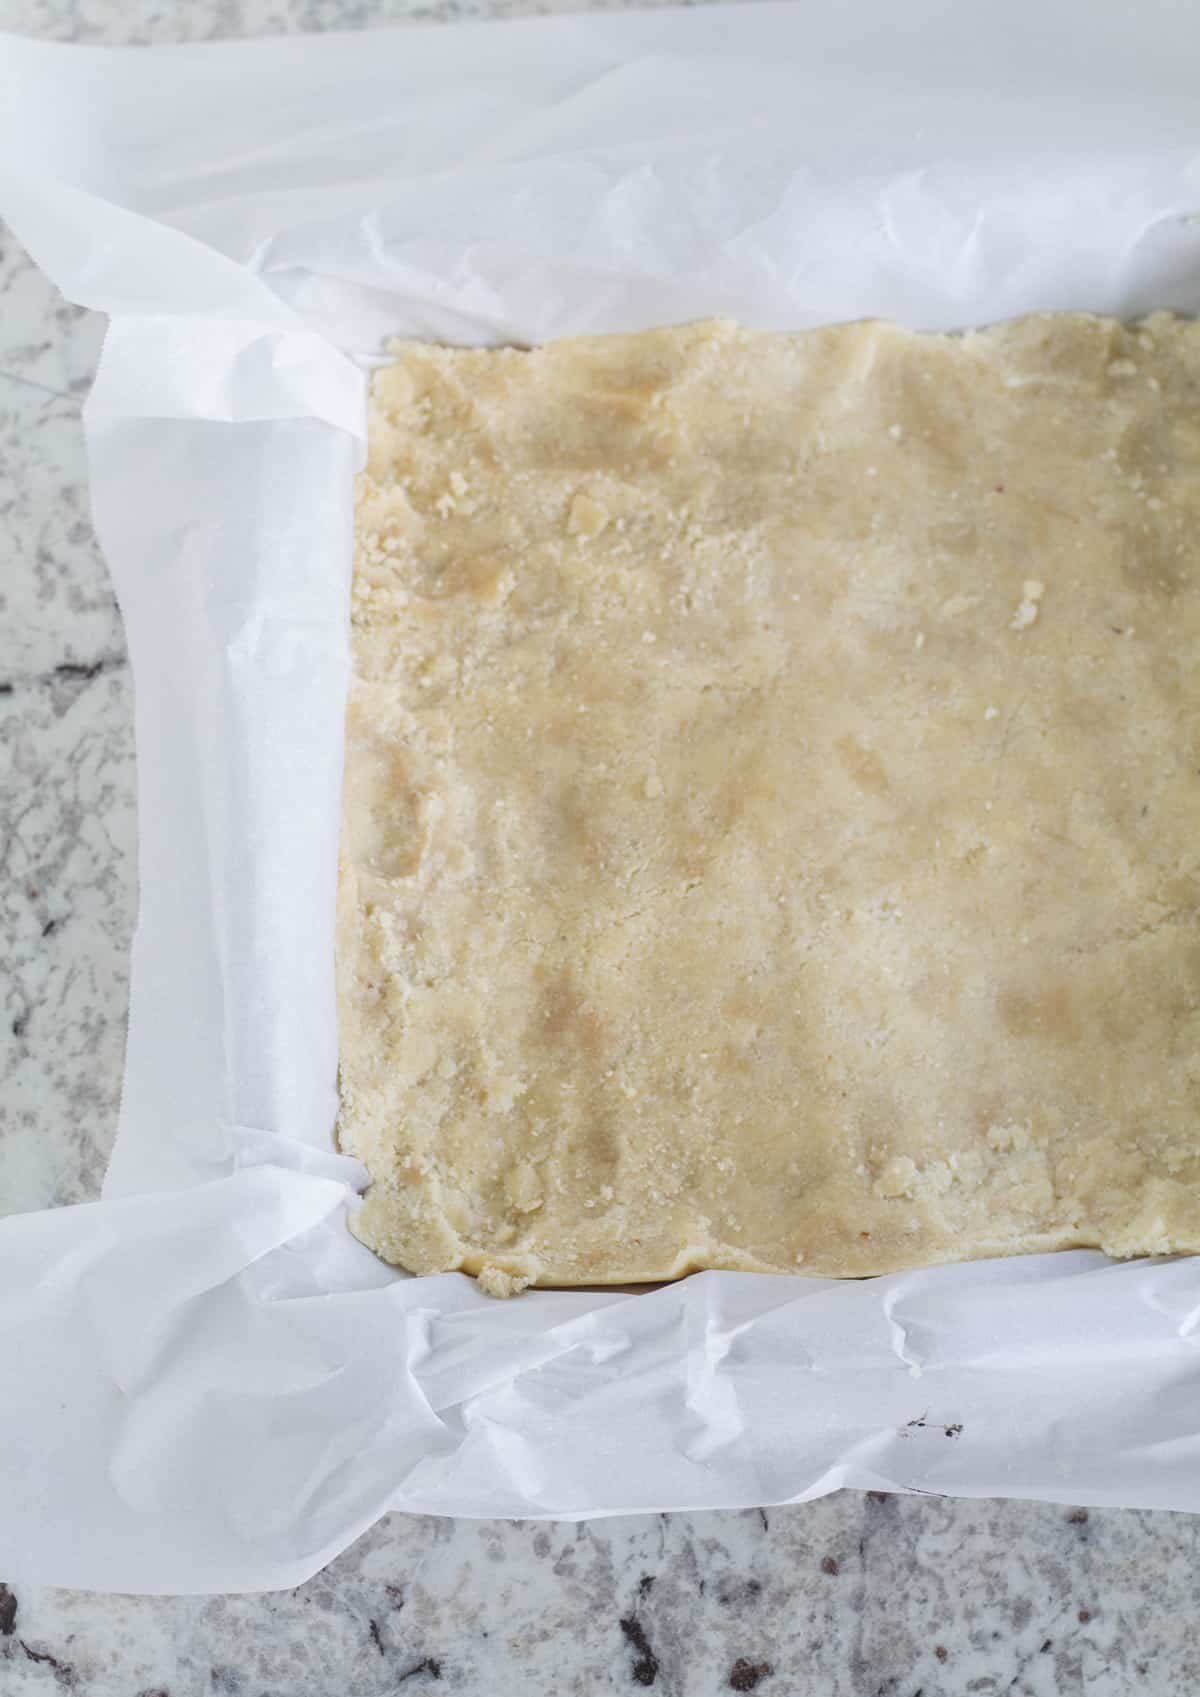
Press the dough into the bottom of a greased 8 x 8-inch baking dish.
Preheat the oven to 350 degrees. While the oven is preheating, place the crust in the freezer.
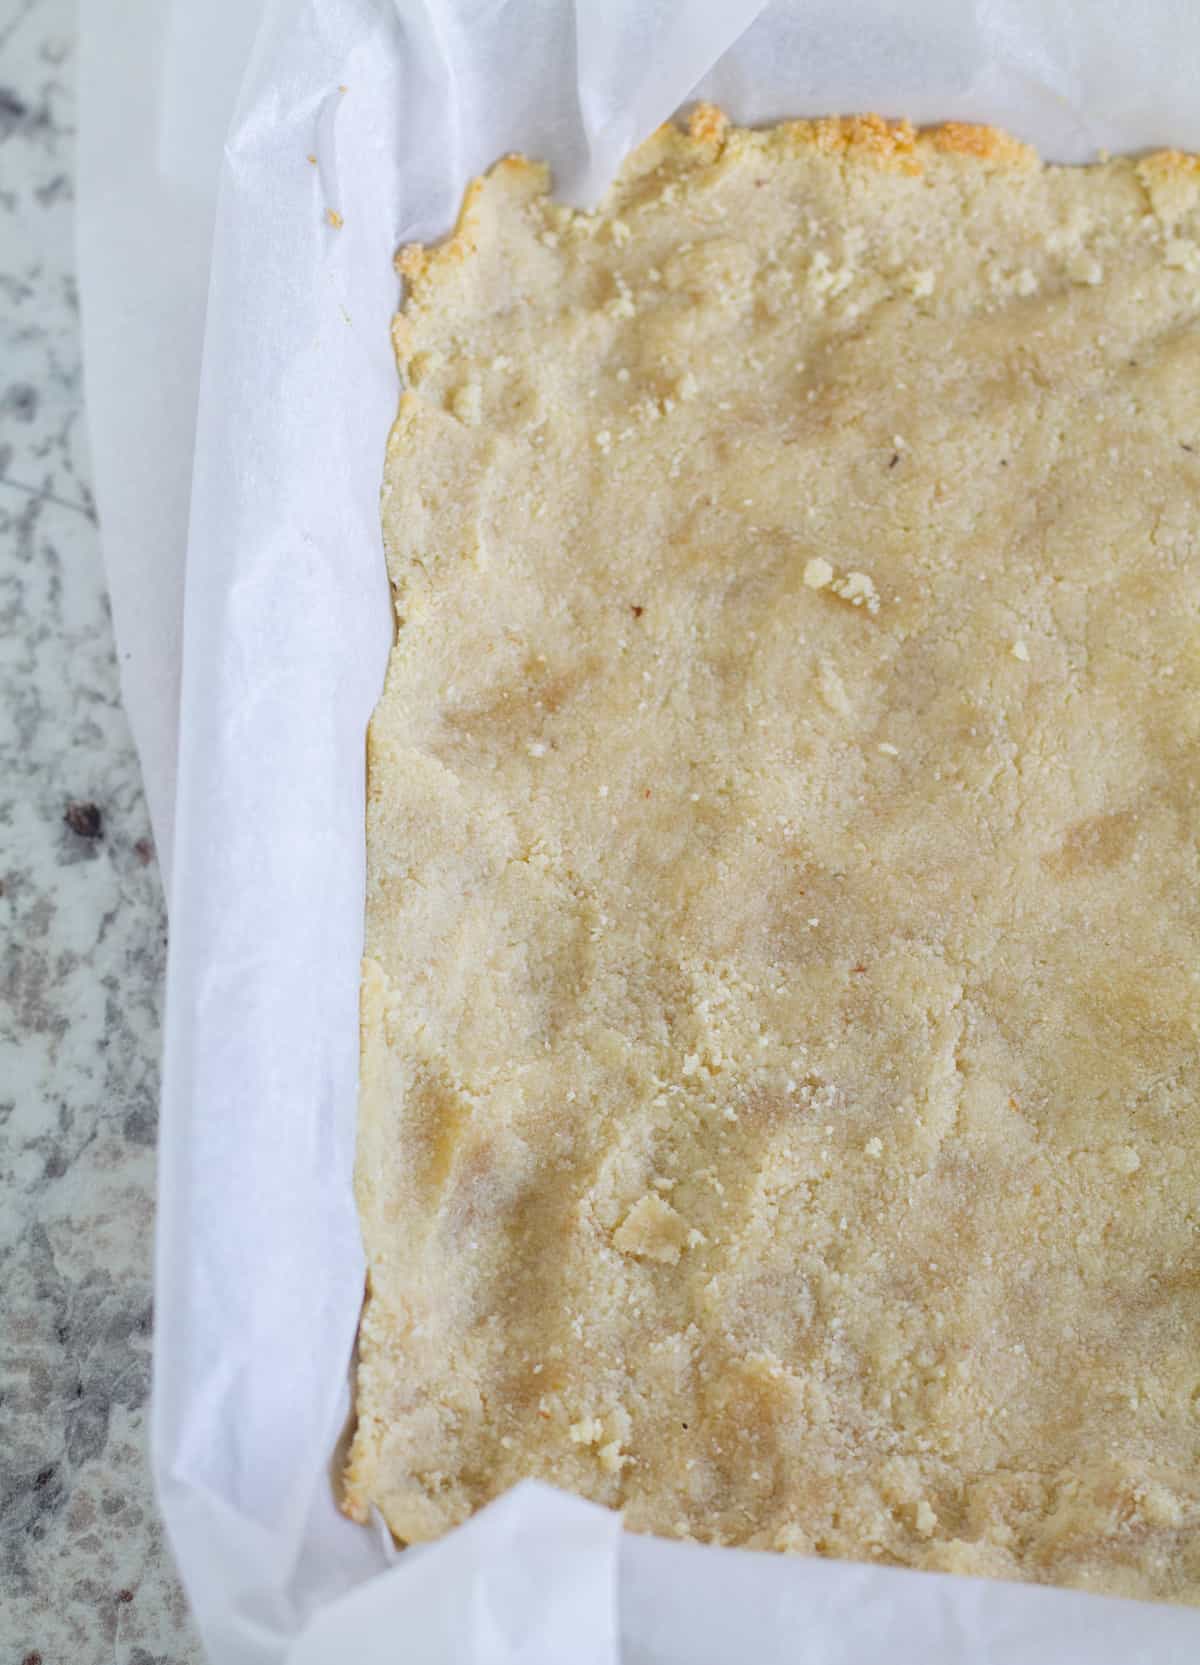
Bake the crust for 8 - 10 minutes or until lightly browned. Set aside.
Easy filling instructions
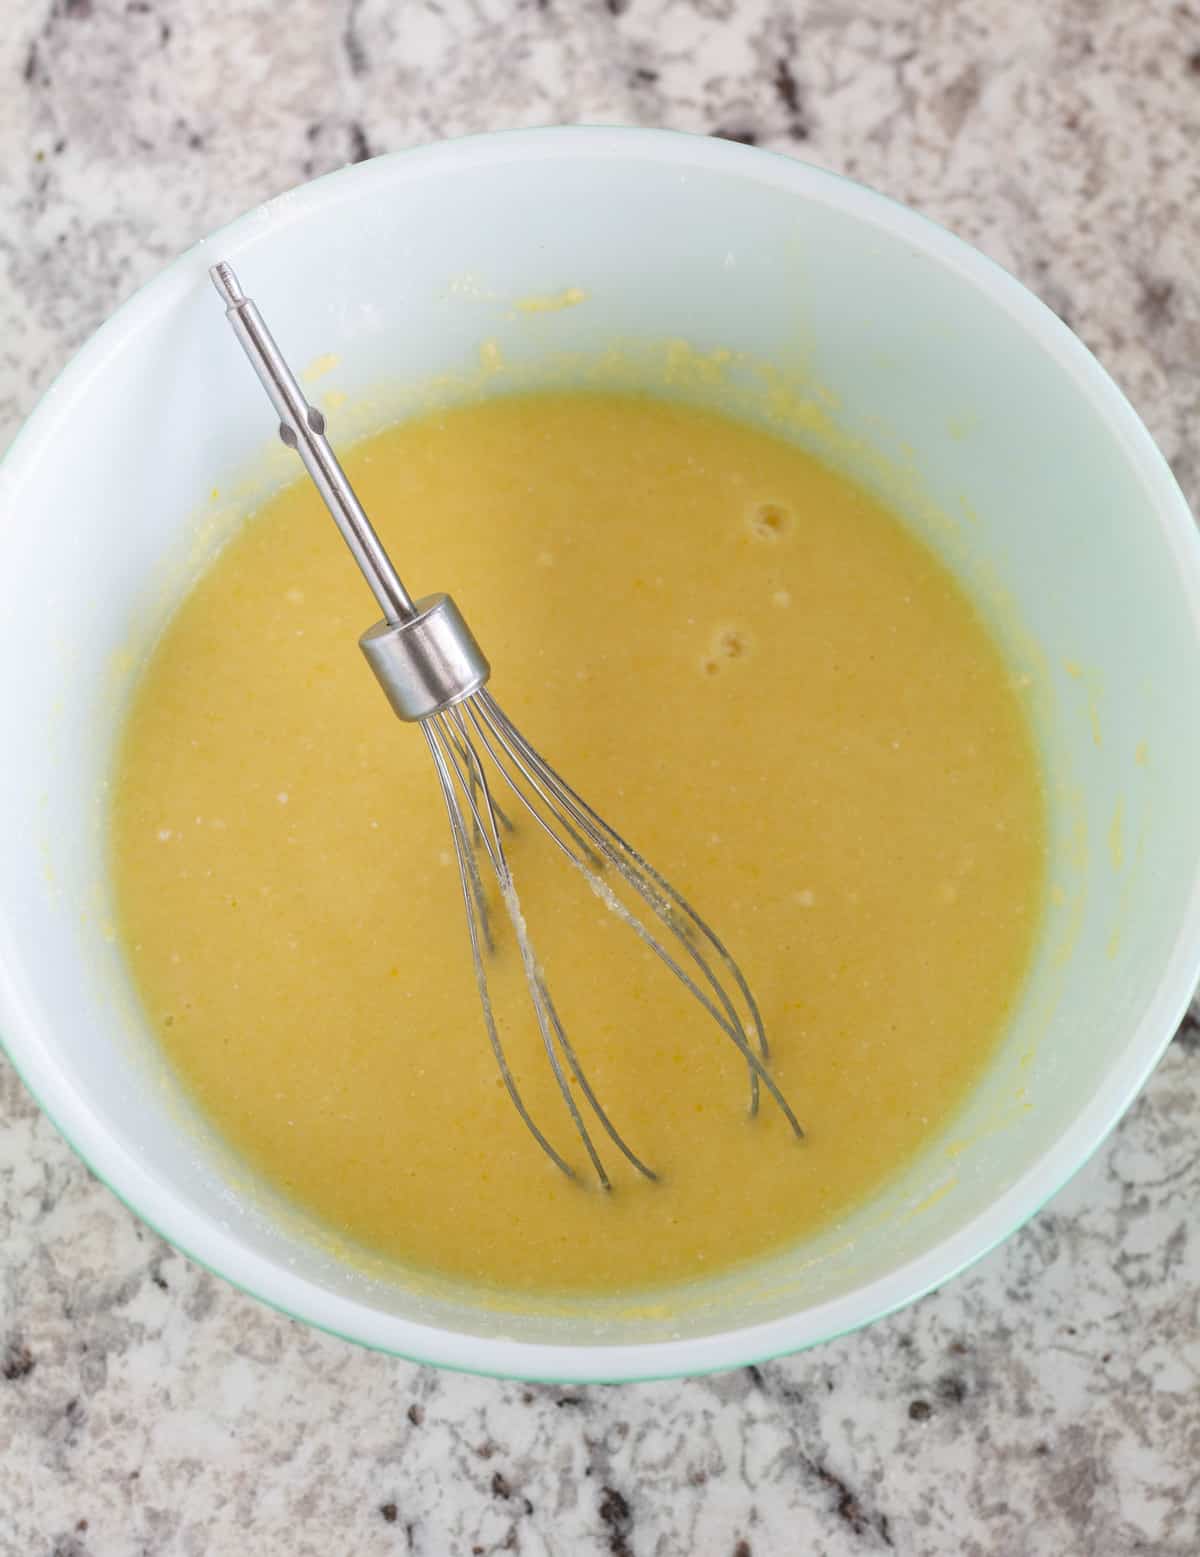
For the filling, juice the lemons until you reach ½ Cup. Then whisk together the lemon juice, zest, honey, eggs + egg yolk, coconut flour, and tapioca or arrowroot flour.
Pour the filling into the baked crust as soon as it comes out of the oven.
Place back in the oven for 15 - 20 minutes, or until the center is set but slightly jiggly. Cool on a wire rack for 20 minutes.
Then, refrigerate until chilled to finish setting up, then enjoy your luscious paleo lemon bars!
Cool the gluten-free lemon bars on a wire rack for 20 minutes then place them in the fridge until chilled to finish setting up, about 2 or 3 hours.
Once cooled, lift the parchment out of the pan, cut it into 16 equal-sized squares, and sprinkle it with powdered sweetener or tapioca flour for extra decoration.
Storage
Cover and store in the refrigerator for up to one week.
💭 Top tips
- A word of caution: all coconut flour isn’t the same! Some coconut flours are much more absorbent than others. I recommend using either Bob’s Red Mill, Besti, or Arrowhead Mills because these are 2 brands I know will work. If you need to use another brand, make sure it has a super soft and fluffy texture, not gritty or grainy.
- If you don’t have a food processor: Whisk together the dry ingredients, then cut in the coconut oil with a pastry cutter or 2 forks. Next, add in the egg, honey, and vanilla until well combined.
- For neat squares, wipe the knife clean between each cut.
- There may be a layer of white air bubbles on top of the lemon bars. This is completely normal. It's caused by the eggs rising to the surface and is easily masked by sprinkling the top with powdered sweetener or tapioca flour.
If you’ve tried these Paleo Lemon Bars or any other recipe on the blog please let me know in the comments below 👇
Craving more? FOLLOW ME on Pinterest, Instagram, Facebook, or E-Mail to see more delicious food and find out what I’ve been up to!
📖 Recipe
Paleo Lemon Bars
Ingredients
Crust:
- 1 Cup Blanched Almond Flour
- ⅓ Cup + 2 Tbsp. Coconut Flour
- ¼ tsp. Sea Salt
- ¼ Cup Refined Coconut Oil - solid state
- 2 Tbsp. Honey
- 1 Large Egg
- ½ tsp. Pure Vanilla
Filling:
- ½ Cup Fresh Lemon Juice - about 4 Lemons (PLEASE don't use the stuff in a bottle, its not the same!)
- Zest of 1 Lemon
- ½ Cup Honey
- 5 Large Eggs
- 1 Large Egg Yolk
- 1 tsp. Coconut Flour - sifted
- 1 Tbsp. Arrowroot or Tapioca Flour + more for dusting if desired
Instructions
- For the filling, juice the lemons until you reach ½ C. Then whisk together the lemon juice and zest, honey, eggs, and egg yolk, coconut flour, and arrowroot or tapioca flour. Set aside.
- In the bowl of a food processor, add the almond flour, coconut flour, and salt. Give it a good whirl to combine. Next, add coconut oil and pulse until it's combined. After that, mix in the honey, egg, and vanilla. It should form a ball in your food processor.
- If you are making the crust ahead of time, simply wrap the dough in plastic wrap and place it in the fridge until you are ready to use it. It can be kept in the fridge for up to two days. If not, press the dough into the bottom of a greased 8 x 8-inch baking dish (see notes below) and preheat the oven to 350 degrees. While the oven is preheating, place the crust in the freezer.
- Once the oven is preheated, bake the crust for 8 - 10 minutes or until lightly browned.
- Slightly press the crust down if it puffed up during baking, then immediately pour the filling into the hot crust. Place back in the oven for 15 - 20 minutes or until the center is set but slightly jiggly.
- Cool on a wire rack for 20 minutes then place in the fridge until chilled to finish setting up, about 2 or 3 hours.
- Dust the top with tapioca flour, arrowroot flour, or powdered sugar 🙂
Add Your Own Notes
Notes
- A word of caution: all coconut flour isn’t the same! Some coconut flours are much more absorbent than others. I recommend using either Bob’s Red Mill, Besti, or Arrowhead Mills because these are brands I know will work. If you need to use another brand, make sure it has a super soft and fluffy texture, not gritty or grainy.
- If you don’t have a food processor: Whisk together the dry ingredients, then cut in the coconut oil with a pastry cutter or 2 forks. Next, add in the egg, honey, and vanilla until well combined.
- A glass or ceramic pan is preferred. While this has never happened to me, a metal pan can occasionally leave a metallic aftertaste.
Nutrition
NET CARBS = Total Carbs - Fiber - Allulose - Xylitol
Nutritional information is approximate and may vary. Sugar alcohols, xylitol, and allulose are included in the total carbs and fiber.
Looking for more information on the keto diet? Check out my

Laura says
These turned out beautifully for me!! Thanks 😊
Cassidy Stauffer says
Oh YAY, thank you!! I'm so happy you liked them😍
XO,
Cassidy
M says
Turned into a quiche. Not totally sure what happened, but if you use this recipe, definitely beat eggs for a loooong time and don't bake past 20 min, even if still extremely wet.
Tina Vaz says
I made this today and mine had a strange, almost metallic like aftertaste. I’m wondering if I cooked mine for too long/if this is a result of the egg in the filling cooking for too long, or perhaps this is just something only some people pick up on, flavor-wise?
Cassidy Stauffer says
Oh no Tina, I don't know!! I've never had a metallic aftertaste before, I don't know what caused it - sorry!!!
-Cassidy
Tina Vaz says
It might just be a tastebud thing because a few of my family members tried it and did not pick up on that flavor. They enjoyed it fully (: thank you
Cassidy Stauffer says
Hi Tina,
I did some research on this, and found that if you make this in a metal pan, it can sometimes leave a metallic aftertaste! Thanks so much for bringing this to my attention! I will add a note to the recipe card 🙂
XO,
Cassidy
Liz says
From looking at the top I thought it would be too edgy but it was sooo good. Thanks for the recipe!
Pixie Martinez says
5 stars - Yummy, yummy, yummy. I did add 1/2 tsp lemon extract as my meyer lemons are not very tart! Thank you so much for sharing this recipe. It is going to be my most of the time go to snack!
Cassidy says
Oh YAY, I'm so excited you like them!!!! Lemon extract is a good idea 🙂
-Cassidy